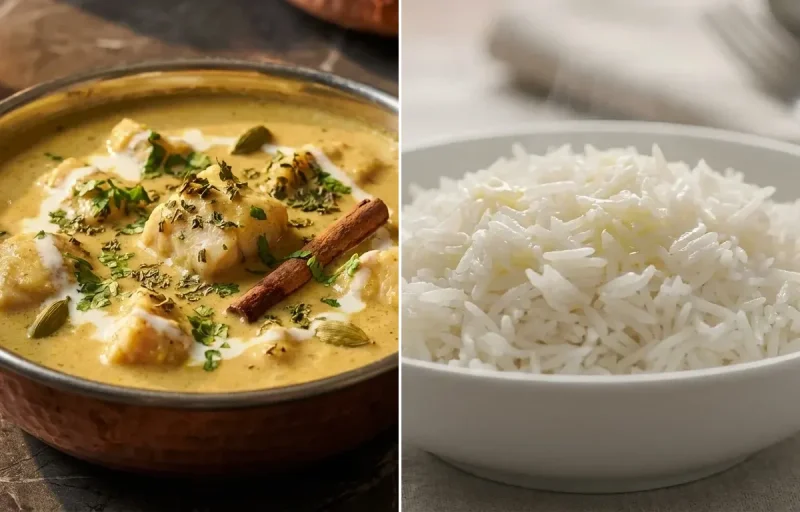
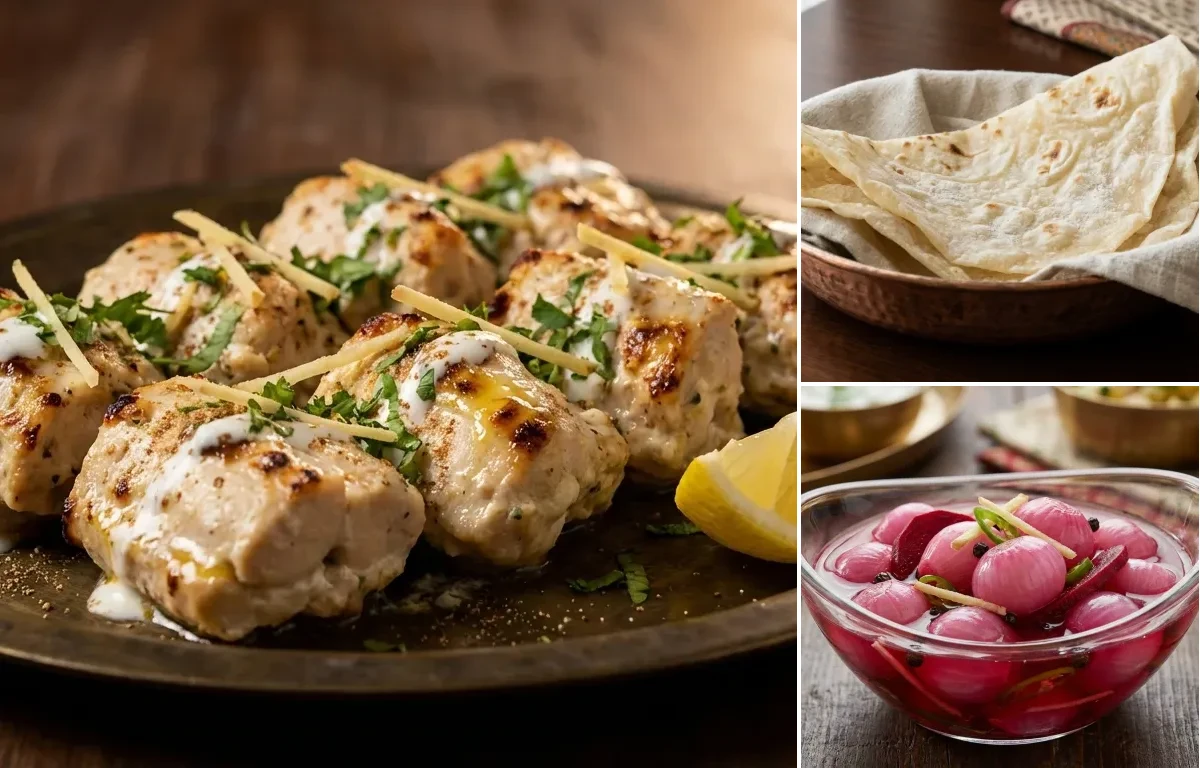
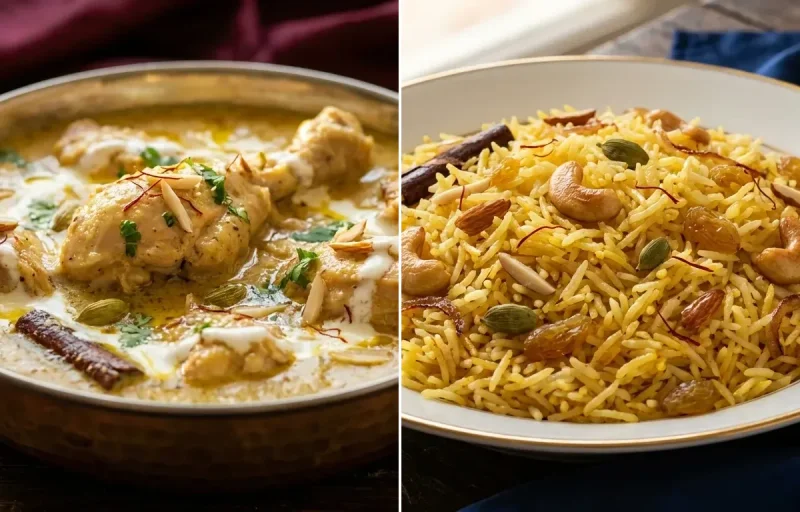
Tender, bite-sized pieces of chicken marinated in a rich, creamy blend of yogurt, cheese, and cashews. Grilled to smoky perfection, this Mughlai classic is mildly spiced and melts in your mouth.
Prep25 min
Cook20 min
Soak30 min
Servings4
Serving size: 1 serving
633cal
40gprotein
10gcarbs
Ingredients
600 g Boneless Chicken Thigh (Cut into 1.5-inch cubes)
2 tbsp Ginger Garlic Paste
2 tbsp Lemon Juice (Freshly squeezed)
1.5 tsp Salt (Divided use)
1 cup Hung Curd (Thick, strained yogurt)
0.5 cup Fresh Cream (Amul or heavy whipping cream)
0.25 cup Processed Cheese (Grated)
15 pcs Cashews (Soaked in hot water for 20 minutes)
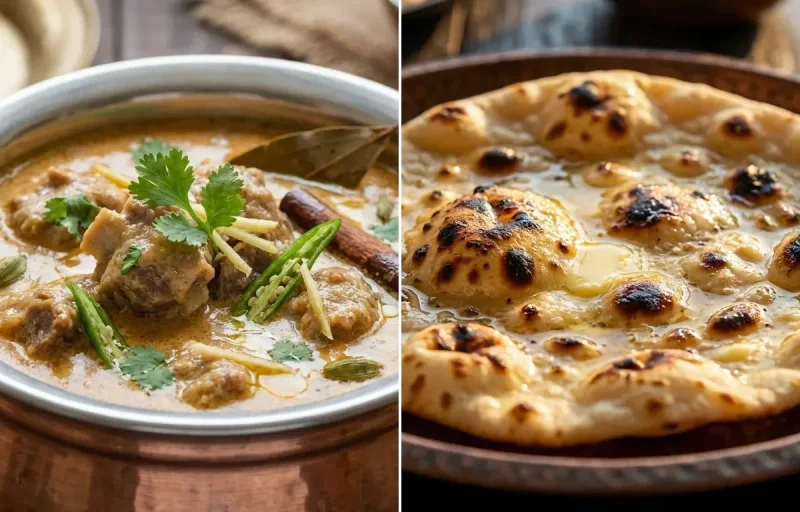
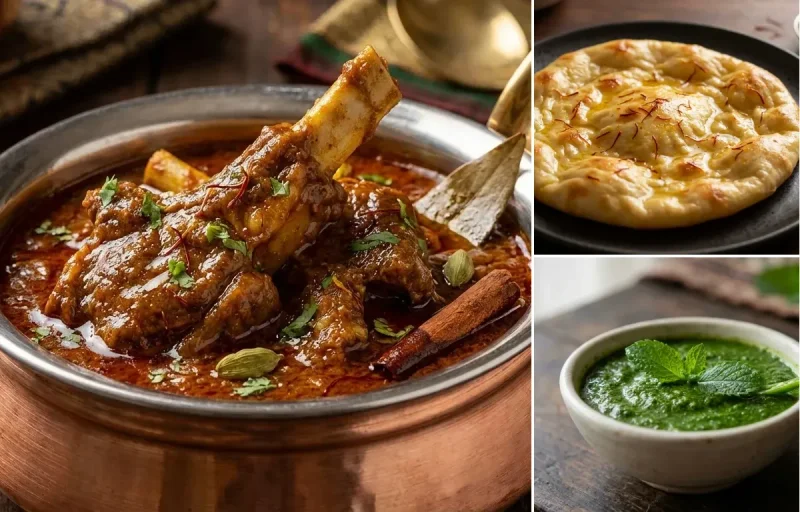
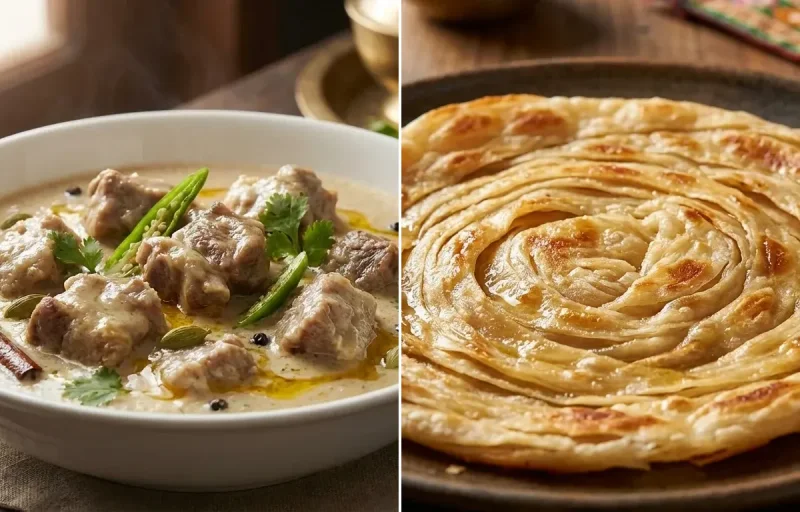
Experience the magic of ultra-thin, soft, and foldable flatbreads, reminiscent of a handkerchief. This Mughlai specialty is perfect for scooping up rich curries and kebabs, and surprisingly fun to make at home.
Crisp, tangy pickled pearl onions soaked in a sweet and sour vinegar brine. This classic Indian restaurant-style condiment adds a refreshing crunch to rich curries and tandoori dishes.
Prep15 min
Cook5 min
Ferment1440 min
Servings
About Chicken Malai Tikka, Roomali Roti and Sirke Wale Pyaaz
Melt-in-mouth Chicken Malai Tikka with delicate Rumali Roti – protein-packed and perfectly spiced.
This mughlai dish is perfect for dinner. With 995.01 calories and 47.78999999999999g of protein per serving, it's a nutritious choice for your meal plan.
Other Cuisines to Explore
Discover authentic meals from cuisines around the world.
0.25 tsp Nutmeg Powder (Freshly grated if possible)
1 tbsp Cornflour (Helps bind the marinade)
2 tbsp Vegetable Oil (For the marinade)
2 tbsp Butter (Melted, for basting)
1 tsp Chaat Masala (For garnish)
Instructions
1
First Marination
In a large bowl, combine the chicken cubes, ginger-garlic paste, lemon juice, and 0.5 tsp of salt.
Mix thoroughly to ensure each piece is well-coated.
Cover and let it marinate for at least 30 minutes at room temperature.
2
Prepare the Malai Marinade
Drain the soaked cashews and grind them into a very smooth paste using a little water if needed.
In a separate large bowl, whisk the hung curd until it's creamy and has no lumps.
Add the fresh cream, grated cheese, cashew paste, green chili paste, white pepper powder, garam masala, cardamom powder, and nutmeg powder.
Stir in the remaining 1 tsp of salt, cornflour, and vegetable oil. Whisk everything together to form a thick, luscious marinade.
3
Second Marination
Add the chicken from the first marinade to the creamy malai marinade.
Gently mix until all the chicken pieces are completely enveloped in the white marinade.
Cover the bowl tightly and refrigerate for a minimum of 4 hours, or preferably overnight for the most tender and flavorful results.
4
Cook the Tikka
Preheat your oven to 200°C (400°F). If using wooden skewers, soak them in water for 30 minutes to prevent burning.
Thread the marinated chicken pieces onto the skewers, leaving a small gap between each piece for even cooking.
Arrange the skewers on a wire rack placed over a foil-lined baking tray.
Bake for 10-12 minutes. Carefully remove the tray from the oven.
Flip the skewers and generously baste the chicken with melted butter.
Return to the oven and bake for another 8-10 minutes, or until the chicken is cooked through and has light golden-brown char marks. The internal temperature should reach 74°C (165°F).
5
Garnish and Serve
Once cooked, let the tikkas rest on the skewers for 5 minutes.
Sprinkle generously with chaat masala just before serving.
Serve hot with a side of mint-coriander chutney, onion rings, and lemon wedges.
330cal
8gprotein
48gcarbs
12gfat
Ingredients
1.5 cup All-Purpose Flour
0.5 cup Atta
0.75 tsp Salt
1 tbsp Vegetable Oil (for the dough)
0.5 cup Warm Milk
0.25 cup Warm Water (adjust as needed)
2 tbsp Ghee (for brushing, optional)
Instructions
1
Prepare the Dough
In a large mixing bowl, whisk together 1.5 cups of all-purpose flour, 0.5 cup of atta, and salt.
Add the vegetable oil and rub it into the flour with your fingertips until the mixture resembles fine breadcrumbs.
Gradually pour in the warm milk and warm water, mixing continuously to form a very soft, pliable, and slightly sticky dough. You may not need all the water.
2
Knead and Rest the Dough
Transfer the dough to a lightly oiled surface and knead for 10-12 minutes until it becomes extremely smooth, soft, and elastic. It should spring back when gently pressed.
Place the dough in a greased bowl, cover with a damp cloth or plastic wrap, and let it rest for at least 60 to 90 minutes. This step is crucial for relaxing the gluten, which makes stretching possible.
3
Prepare the Cooking Surface
Invert a large kadai (Indian wok) or a convex tawa over your stove burner.
Heat the inverted kadai on a medium-high flame for 5-7 minutes until it's very hot. To test if it's ready, sprinkle a few drops of water on the surface; they should sizzle and evaporate almost instantly.
4
Divide and Shape the Dough
After resting, gently knead the dough for another minute.
Divide the dough into 8 equal-sized balls. Keep the dough balls covered with a damp cloth to prevent them from drying out.
5
Stretch the Roti
Take one dough ball and dust it generously with all-purpose flour. Roll it out with a rolling pin into a thin circle, about 6-7 inches in diameter.
Gently lift the rolled dough and drape it over the knuckles of both hands. Carefully rotate the dough, allowing gravity to stretch it further until it becomes paper-thin and translucent. Be gentle to avoid tearing.
6
Cook the Roti
Quickly and carefully, drape the stretched roti over the hot inverted kadai.
Cook for about 30-45 seconds, or until you see small bubbles forming on the surface.
Using a pair of tongs, flip the roti and cook the other side for another 20-30 seconds. The roti should be cooked through but remain soft and pale, without any dark brown spots.
7
Fold and Serve
Remove the roti from the kadai and place it on a clean cloth or plate.
Immediately fold it in half, and then in half again to resemble a handkerchief.
Brush with a little ghee if desired. Place the folded roti in a casserole dish or wrap it in a kitchen towel to keep it warm and soft while you cook the rest.
Peel the pearl onions. To make peeling easier, blanch them in hot water for 2 minutes, then immediately transfer to a bowl of ice-cold water.
Trim the root and stem ends of each onion, keeping them whole.
Make a small, shallow cross-shaped incision on the top of each onion. This helps the brine penetrate deeper for better flavor.
2
Make the Pickling Brine
In a non-reactive saucepan (like stainless steel or enamel), combine the water, white vinegar, sugar, and salt.
Add the julienned ginger, slit green chilies, and black peppercorns.
Bring the mixture to a rolling boil over medium-high heat, stirring occasionally until the sugar and salt dissolve completely. This should take about 3-5 minutes.
3
Assemble the Pickle
Place the peeled pearl onions and the thin slice of beetroot into a clean, sterilized 500ml (16 oz) glass jar.
Carefully pour the hot pickling brine over the onions, ensuring they are fully submerged. Gently tap the jar on the counter to release any air bubbles.
4
Cool, Store, and Serve
Allow the jar to cool to room temperature on the counter, which may take 1-2 hours.
Once completely cool, seal the jar with an airtight lid and place it in the refrigerator.
For the best flavor and crunch, let the onions pickle for at least 24 hours before serving. The flavor will continue to develop and intensify over the next few days.