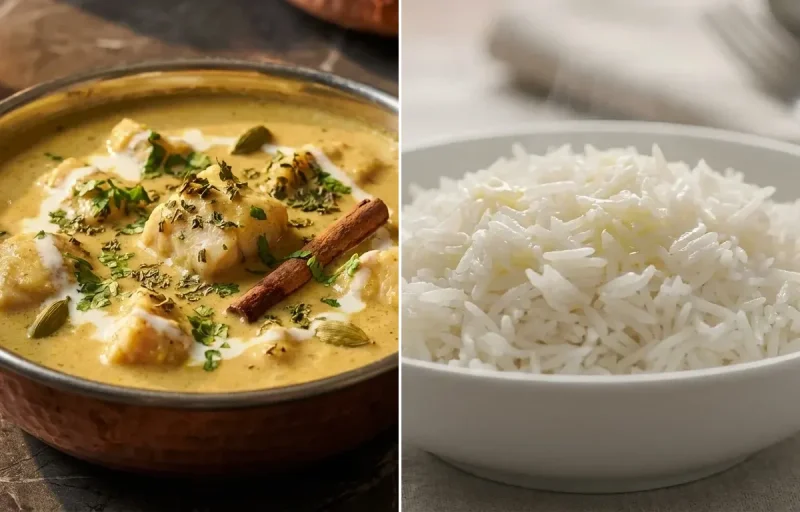
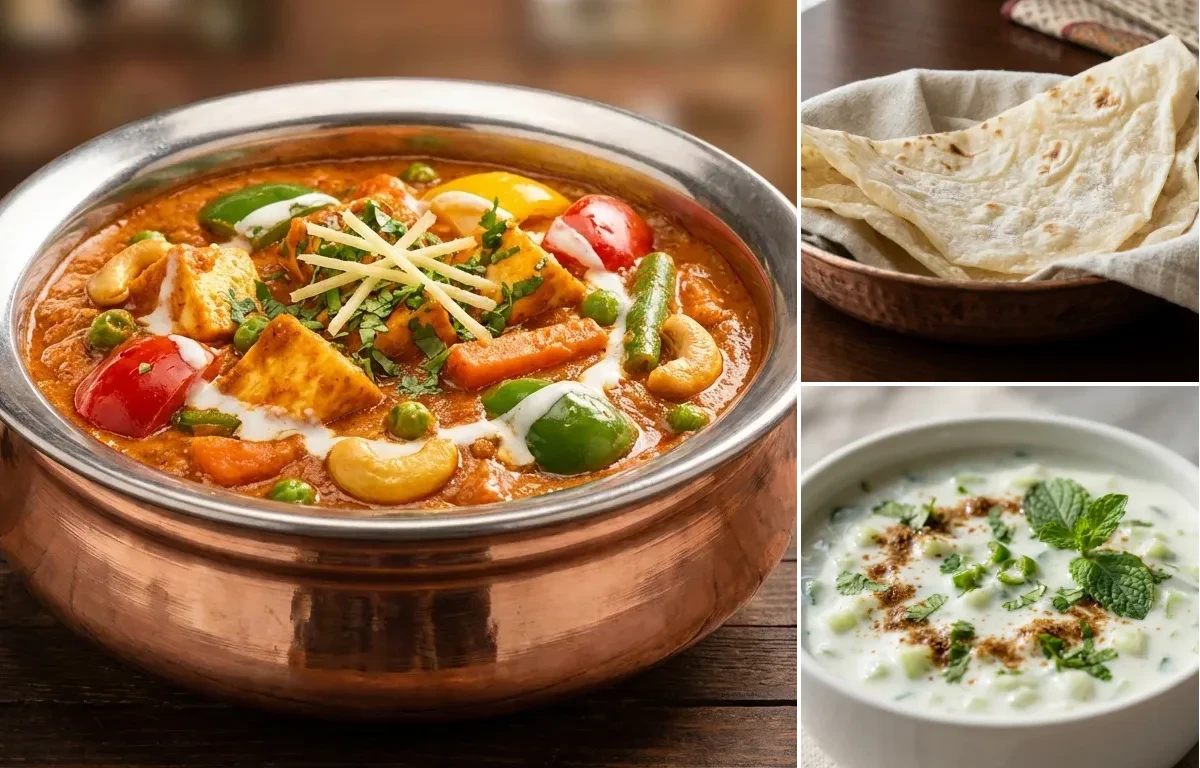
A rich and creamy take on the classic vegetable jalfrezi. This Mughlai version features a medley of crisp vegetables and soft paneer simmered in a luscious, aromatic tomato-cashew gravy. Perfect with naan or jeera rice.
Prep20 min
Cook30 min
Soak15 min
Servings4
Serving size: 1 serving
444cal
16gprotein
28gcarbs
Ingredients
1 cup Carrot (Diced into 1/2-inch pieces)
1 cup French Beans (Trimmed and cut into 1-inch pieces)
0.5 cup Green Peas (Fresh or frozen)
1 medium Green Bell Pepper (Deseeded and cut into 1-inch cubes)
200 g Paneer (Cut into 1-inch cubes)
2 medium Onion (Thinly sliced)
1 cup Tomato Puree (From about 3 medium tomatoes)
0.25 cup Cashews (Soaked in hot water for 20 minutes)
Experience the magic of ultra-thin, soft, and foldable flatbreads, reminiscent of a handkerchief. This Mughlai specialty is perfect for scooping up rich curries and kebabs, and surprisingly fun to make at home.
A refreshing and cooling yogurt dip made with grated cucumber, fresh herbs, and mild spices. This classic Indian side dish is the perfect accompaniment to spicy curries, biryanis, and pulaos, ready in just 10 minutes.
Prep10 min
Cook0 min
Servings4
Serving size: 1 serving
About Mughlai Vegetable Jalfrezi, Roomali Roti and Cucumber Raita
Vibrant Veg Jalfrezi with light Rumali Roti and cool raita. A fiber-rich, aromatic meal that feels like a treat!
This mughlai dish is perfect for dinner. With 863.8699999999999 calories and 28.779999999999998g of protein per serving, it's a nutritious choice for your meal plan.
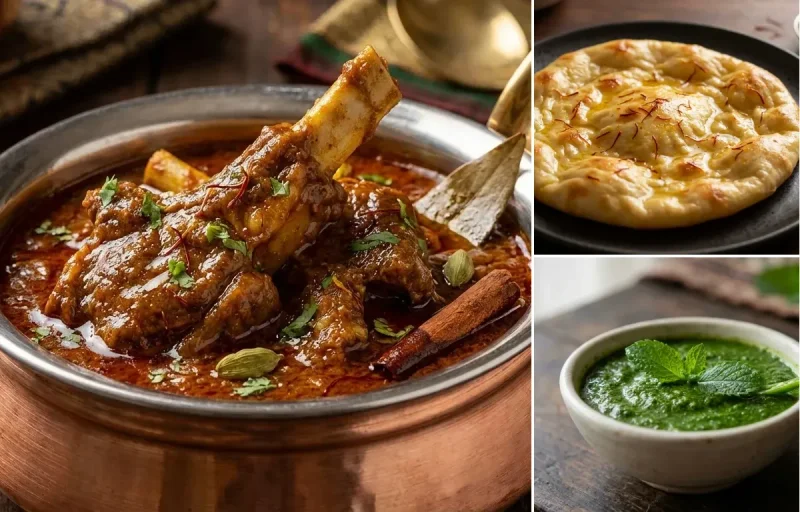
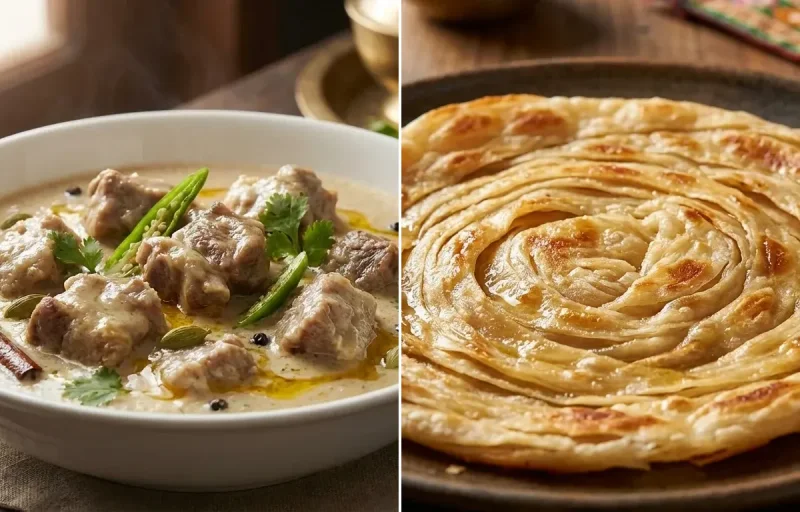
Other Cuisines to Explore
Discover authentic meals from cuisines around the world.
1 tsp Kashmiri Red Chili Powder (For color and mild heat)
1.5 tsp Coriander Powder
1 tsp Cumin Powder
0.75 tsp Garam Masala
1 tsp Kasuri Methi (Dried fenugreek leaves)
1.25 tsp Salt (Or to taste)
0.5 tsp Sugar (Helps balance flavors)
1 cup Water (As needed for gravy consistency)
2 tbsp Coriander Leaves (Freshly chopped, for garnish)
Instructions
1
Prepare Vegetables, Paneer, and Cashew Paste
Drain the soaked cashews and blend with 3-4 tablespoons of water to a very smooth paste. Set aside.
In a pot of boiling water, blanch the diced carrots, french beans, and green peas for 3-4 minutes until crisp-tender. Immediately drain and rinse with cold water to stop the cooking process. Set aside.
Heat 1 teaspoon of ghee in a non-stick pan over medium heat. Add the paneer cubes and pan-fry for 2-3 minutes until light golden on all sides. Remove and set aside.
2
Sauté Aromatics
In the same pan or a kadai, heat the remaining ghee over medium heat.
Add the cumin seeds, bay leaf, and cinnamon stick. Sauté for 30 seconds until the seeds splutter and the spices are fragrant.
Add the sliced onions and sauté for 8-10 minutes, stirring occasionally, until they are soft and golden brown.
Add the ginger-garlic paste and slit green chilies. Sauté for another minute until the raw aroma disappears.
3
Build the Mughlai Gravy
Add the tomato puree and cook for 6-8 minutes, stirring frequently, until it thickens and you see ghee separating from the mixture at the edges.
Add the spice powders: turmeric, Kashmiri red chili powder, coriander powder, and cumin powder. Mix well and cook for 1 minute, stirring continuously.
Reduce the heat to low. Add the whisked curd and stir vigorously for 2 minutes to prevent it from splitting. The gravy will start to thicken.
4
Combine and Simmer
Stir in the smooth cashew paste and cook for another 2-3 minutes until the gravy is thick and creamy.
Add the blanched vegetables, cubed bell peppers, and fried paneer. Gently toss to coat everything in the gravy.
Pour in 1 cup of water, add salt and sugar. Stir well.
Bring the curry to a gentle simmer. Cover the pan and cook on low heat for 5-7 minutes, allowing the vegetables to absorb the flavors.
5
Finish and Garnish
Uncover the pan. Stir in the fresh cream and garam masala.
Crush the kasuri methi between your palms to release its aroma and sprinkle it over the curry. Mix gently.
Simmer for just one more minute, then turn off the heat.
Garnish with freshly chopped coriander leaves and serve hot with naan, roti, or jeera rice.
330cal
8gprotein
48gcarbs
12gfat
Ingredients
1.5 cup All-Purpose Flour
0.5 cup Atta
0.75 tsp Salt
1 tbsp Vegetable Oil (for the dough)
0.5 cup Warm Milk
0.25 cup Warm Water (adjust as needed)
2 tbsp Ghee (for brushing, optional)
Instructions
1
Prepare the Dough
In a large mixing bowl, whisk together 1.5 cups of all-purpose flour, 0.5 cup of atta, and salt.
Add the vegetable oil and rub it into the flour with your fingertips until the mixture resembles fine breadcrumbs.
Gradually pour in the warm milk and warm water, mixing continuously to form a very soft, pliable, and slightly sticky dough. You may not need all the water.
2
Knead and Rest the Dough
Transfer the dough to a lightly oiled surface and knead for 10-12 minutes until it becomes extremely smooth, soft, and elastic. It should spring back when gently pressed.
Place the dough in a greased bowl, cover with a damp cloth or plastic wrap, and let it rest for at least 60 to 90 minutes. This step is crucial for relaxing the gluten, which makes stretching possible.
3
Prepare the Cooking Surface
Invert a large kadai (Indian wok) or a convex tawa over your stove burner.
Heat the inverted kadai on a medium-high flame for 5-7 minutes until it's very hot. To test if it's ready, sprinkle a few drops of water on the surface; they should sizzle and evaporate almost instantly.
4
Divide and Shape the Dough
After resting, gently knead the dough for another minute.
Divide the dough into 8 equal-sized balls. Keep the dough balls covered with a damp cloth to prevent them from drying out.
5
Stretch the Roti
Take one dough ball and dust it generously with all-purpose flour. Roll it out with a rolling pin into a thin circle, about 6-7 inches in diameter.
Gently lift the rolled dough and drape it over the knuckles of both hands. Carefully rotate the dough, allowing gravity to stretch it further until it becomes paper-thin and translucent. Be gentle to avoid tearing.
6
Cook the Roti
Quickly and carefully, drape the stretched roti over the hot inverted kadai.
Cook for about 30-45 seconds, or until you see small bubbles forming on the surface.
Using a pair of tongs, flip the roti and cook the other side for another 20-30 seconds. The roti should be cooked through but remain soft and pale, without any dark brown spots.
7
Fold and Serve
Remove the roti from the kadai and place it on a clean cloth or plate.
Immediately fold it in half, and then in half again to resemble a handkerchief.
Brush with a little ghee if desired. Place the folded roti in a casserole dish or wrap it in a kitchen towel to keep it warm and soft while you cook the rest.
2 cup Curd (Thick, plain, and chilled. Greek yogurt or hung curd works well.)
1 medium Cucumber (Peeled and grated. English or Persian cucumbers are preferred.)
1 tsp Roasted Cumin Powder (Freshly ground for best aroma.)
2 tbsp Coriander Leaves (Finely chopped.)
1 tbsp Mint Leaves (Finely chopped.)
0.5 tsp Salt (Adjust to taste.)
0.25 tsp Black Salt (Also known as Kala Namak.)
1 pcs Green Chilli (Finely chopped, deseed for less heat.)
0.25 tsp Sugar (Optional, to balance the tang of the yogurt.)
Instructions
1
Prepare the Cucumber (4 minutes)
Wash, peel, and grate the medium cucumber using a box grater.
Place the grated cucumber in a fine-mesh sieve or a muslin cloth. Press down firmly or squeeze to remove as much water as possible. This is the most crucial step to prevent a watery raita.
Set the squeezed cucumber aside.
2
Prepare the Yogurt Base (2 minutes)
In a medium-sized mixing bowl, add the thick curd (yogurt).
Whisk the curd for about a minute until it is completely smooth and creamy, with no lumps.
Add the roasted cumin powder, salt, black salt, and optional sugar to the whisked yogurt. Mix well to combine the spices evenly.
3
Combine and Chill (4 minutes + chilling time)
Add the squeezed grated cucumber, finely chopped green chilli, coriander leaves, and mint leaves to the spiced yogurt base.
Gently fold all the ingredients together until everything is well incorporated.
Taste and adjust the seasoning if necessary. You may need more salt or a pinch more sugar depending on the sourness of your yogurt.