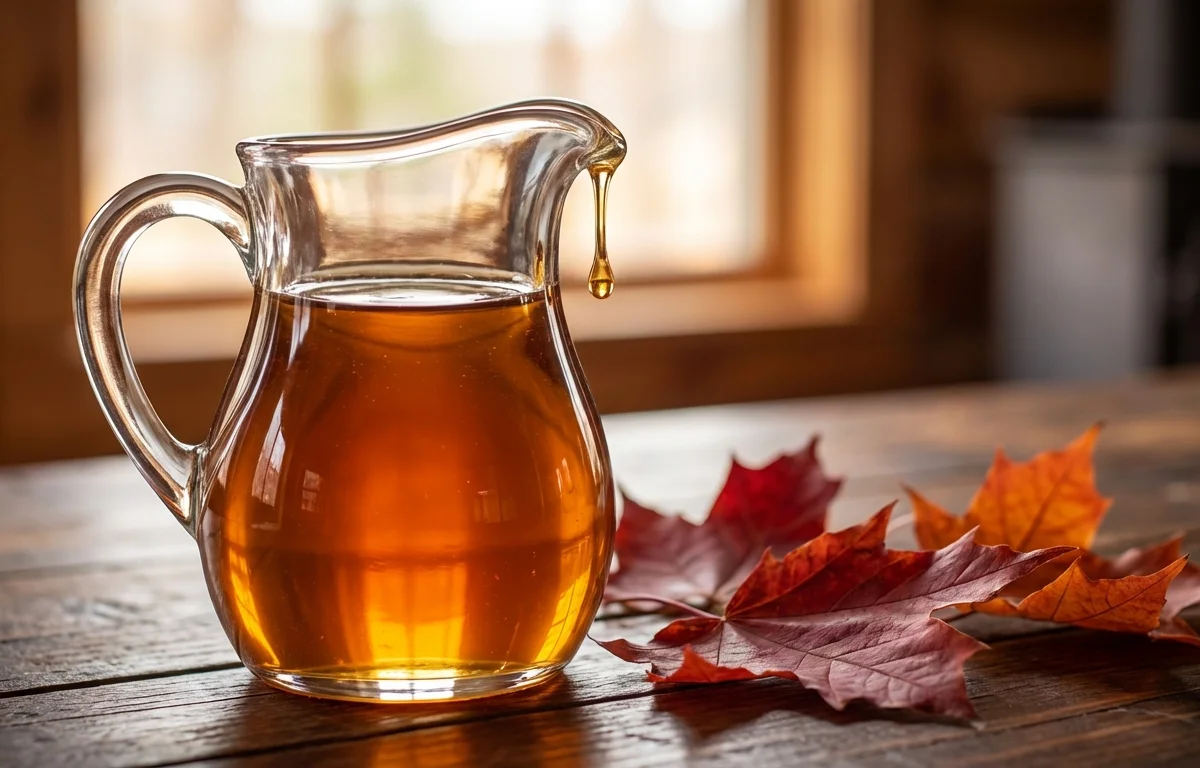
Maple Syrup
Rich, amber-hued syrup made from the boiled-down sap of sugar maple trees. With its warm, caramelized sweetness and subtle woodsy notes, this all-natural liquid gold transforms pancakes, waffles, and oatmeal into something truly special.
For 16 servings
- prep · ~2 min
Filter the maple sap.
1.Pour the fresh maple sap through a cheesecloth-lined strainer into a large pot.2.Discard any debris or sediment caught in the cloth. - boil · ~20 min
Bring the sap to a rolling boil.
Place the pot over high heat and bring the sap to a vigorous, rolling boil. Do not cover the pot — steam must escape freely for the sap to concentrate.
TIPOutdoor boiling is best. The steam is sticky and can coat kitchen walls. - simmer · ~220 min
Reduce the sap to a concentrate.
Maintain a steady boil, adding more sap gradually as the level drops. Skim any foam that rises to the surface. Boil until the sap darkens to a golden-amber color and visibly thickens, about 3 to 4 hours for 8 liters.
TIPNever leave boiling sap unattended — it can boil over in seconds as it thickens. - simmer · ~15 min
Finish to exact syrup temperature.
When the liquid has reduced to roughly 2 cups, watch it closely. Attach the candy thermometer to the pot. Continue boiling until the temperature reaches 7°F (4°C) above the boiling point of water at your elevation — typically 219°F (104°C) at sea level.
TIPThe difference between perfect syrup and burnt sugar is about 30 seconds. Do not walk away. - prep · ~2 min
Filter the finished syrup.
Remove the pot from heat immediately. Pour the hot syrup through a fresh layer of damp cheesecloth into a clean container to remove any sugar sand or impurities.
TIPFilter while hot — the syrup flows much faster through the cloth. - assemble · ~3 min
Bottle and seal the maple syrup.
Pour the filtered syrup into sterilized glass bottles while still hot (at least 180°F / 82°C). Seal tightly, then lay the bottles on their sides to sterilize the cap. Let cool completely before storing.
TIPProperly bottled hot syrup will keep unopened for up to a year in a cool, dark pantry.
What to keep in mind.
6 tips from the recipe — small details that make a real difference to the final dish.
- 1Boil the sap outdoors if possible to avoid sticky steam coating your kitchen walls.
- 2Never leave boiling sap unattended — it can boil over in seconds as it thickens.
- 3Skim off the foam that rises during boiling for a clearer, cleaner-tasting final syrup.
- 4Use a candy thermometer and know your local boiling point of water — accurate temperature is critical.
- 5Filter the finished syrup while hot because it flows much faster through the cloth.
- 6Bottle at 180°F (82°C) minimum and lay bottles on their sides to sterilize the caps for long storage.
Adapt it for your goals.
Filtered light syrup
Pass the finished syrup through an extra-fine filter or felt cone to remove even more sugar sand, producing a crystal-clear, very light amber syrup perfect for drizzling over ice cream or delicate pastries.
smoked maple syrupSmoked maple syrup
Add a handful of clean hardwood chips (like hickory or applewood) to the boiling sap in the final 30 minutes, then strain them out — this infuses a subtle smoky undertone that pairs beautifully with bacon or barbecue glazes.
Why this is on our healthy list.
Natural Mineral Source
Maple syrup contains small amounts of essential minerals like zinc, manganese, and calcium, contributed directly from the tree sap as it is harvested.
Lower Glycemic Impact
Compared to refined white sugar, pure maple syrup has a slightly lower glycemic index, meaning it can cause a slower rise in blood sugar.
Contains Antioxidants
The dark amber color comes from natural phenolic compounds that act as antioxidants, helping to neutralize free radicals in the body.
Frequently asked questions
Typically 3 to 4 hours, depending on your heat level and pot diameter. The volume reduces by about 40:1, so expect roughly 200 ml of syrup.