Drawn Butter
Silky, golden clarified butter with a pure, rich flavor. By gently melting and separating the milk solids, you get a clear, nutty-tasting liquid that's perfect for dipping lobster, crab, artichokes, or drizzling over seafood and vegetables.
For 4 servings
- prep
Cut the butter into even pieces.
Cut the unsalted butter into even-sized cubes. This helps it melt uniformly and prevents the milk solids from burning before all the butter has melted.
- simmer · ~5 min
Melt the butter gently.
Place the butter in a small saucepan over low heat. Let it melt completely without stirring. As it melts, it will separate into three layers: a white foam on top, clear golden liquid in the middle, and milk solids settling at the bottom.
TIPKeep the heat low — rushing this with high heat will brown the milk solids and give a toasted flavor instead of a clean, pure butter taste. - simmer · ~3 min
Skim the foam from the top.
Once fully melted, use a spoon to carefully skim off the white foam floating on the surface. Continue to gently simmer for another 2-3 minutes without stirring, until the liquid underneath looks clear and golden.
- other
Strain the clear butter.
Remove the saucepan from heat. Place a fine-mesh strainer lined with cheesecloth or a clean paper towel over a heatproof bowl. Slowly pour the golden liquid through the strainer, leaving behind the milky white solids at the bottom of the pan.
TIPPour slowly and steadily — the milk solids are very fine and will cloud the finished butter if they slip through. - serve
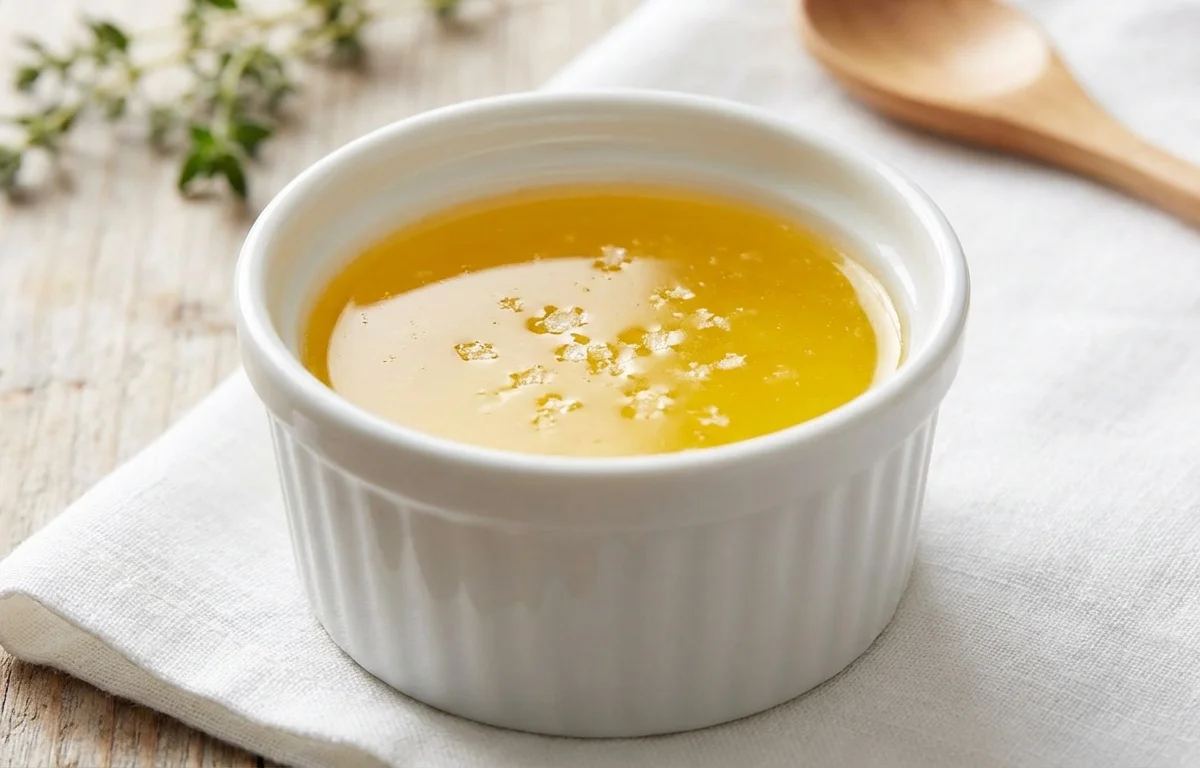
Serve warm in individual dipping bowls.
Pour the strained drawn butter into small individual ramekins or a shared dipping bowl. Serve immediately while warm and liquid, paired with steamed lobster, crab legs, or artichokes.
TIPTo keep drawn butter liquid for a long seafood feast, place the ramekin over a barely-warm water bath or tea light warmer.
What to keep in mind.
7 tips from the recipe — small details that make a real difference to the final dish.
- 1Use unsalted butter so you control the final salt level for dipping.
- 2Cut butter into uniform cubes for even melting and consistent clarity.
- 3Never stir the butter while melting; layers separate naturally.
- 4Keep heat on low to prevent the milk solids from browning and changing the flavor.
- 5Strain through cheesecloth or a fine-mesh strainer for the clearest result.
- 6Drawn butter can be refrigerated for up to a month and gently re-melted.
- 7Serve warm—if it solidifies, reheat in a water bath to preserve clarity.
Adapt it for your goals.
Brown Butter Drawn Butter
Let the butter cook a little longer until the milk solids turn golden brown before straining. This adds a nutty, caramelized flavor that pairs beautifully with roasted vegetables or grilled fish.
Herb Infused Drawn ButterHerb-Infused Drawn Butter
Add a sprig of fresh thyme, a bay leaf, or a few black peppercorns to the butter as it melts. Strain them out with the milk solids for a subtle aromatic lift.
Citrus Drawn ButterCitrus Drawn Butter
Stir in a teaspoon of fresh lemon juice or orange zest after straining. The acidity cuts the richness and brightens seafood dishes like crab or shrimp.
Why this is on our healthy list.
Lactose-Reduced
By removing the milk solids, drawn butter contains significantly less lactose and casein than whole butter, making it easier to digest for those with mild dairy sensitivities.
Rich in Vitamin A
Butter is a natural source of fat-soluble vitamin A, which supports vision and immune function when consumed as part of a balanced diet.
Frequently asked questions
You can, but the final drawn butter will carry the salt content of the original butter, which may become too salty if you are serving it as a dip for already-seasoned seafood.