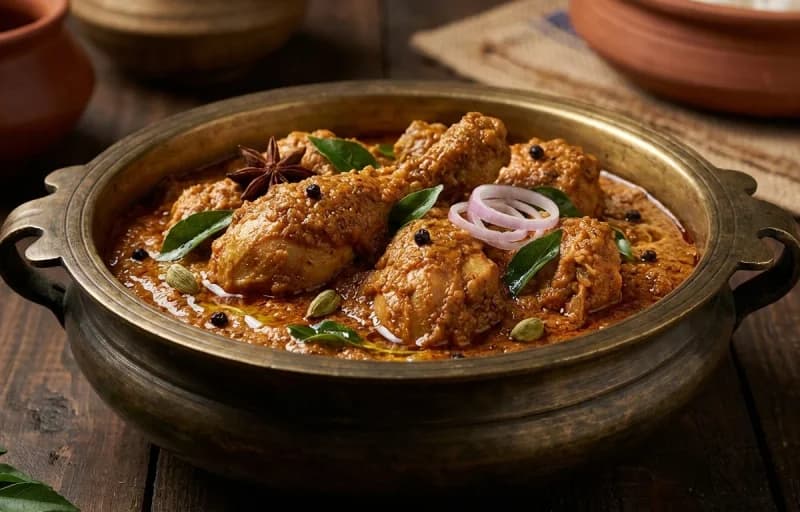
A quintessential Kerala breakfast, these steamed cylinders of rice flour and coconut are wonderfully soft and light. This traditional dish pairs beautifully with kadala curry, banana, or a sprinkle of sugar. The key to perfect puttu lies in achieving the right 'wet sand' moisture level in the flour, resulting in a fluffy, non-sticky texture.
Prep15 min
Cook20 min
Servings4
Serving size: 1 serving
331cal
5gprotein
60gcarbs
8g
Ingredients
2 cup Puttu Podi (Use store-bought roasted rice flour specifically for puttu for best results.)
1 cup Grated Coconut (Freshly grated is best, but thawed frozen coconut works well too.)
0.75 cup Warm Water (Amount is approximate; add slowly until the right texture is achieved.)
0.5 tsp Salt (Adjust to taste.)
Instructions
1
Prepare the Puttu Mixture (10-15 minutes)
In a large mixing bowl, combine the puttu podi and salt. Mix thoroughly with your fingertips.
Begin sprinkling the warm water, a little at a time, over the flour. Use your fingertips to rub the water into the flour in a circular motion to ensure even moistening.
Continue this process until the flour achieves a texture resembling coarse, damp breadcrumbs or wet sand. This is the most critical step for soft puttu.
To check for the correct consistency, take a small amount of the mixture in your fist and press firmly. It should hold its shape. When you gently break it with a finger, it should crumble easily.
A wholesome and comforting green gram curry from Kerala, made with a creamy coconut paste and an aromatic tempering of coconut oil and spices. This traditional dish pairs beautifully with rice, puttu, or chapati for a simple, nutritious meal.
A thin, crispy lentil wafer, an essential and beloved accompaniment in South Indian meals. This versatile snack can be deep-fried for a classic crunch, roasted over an open flame for a smoky flavor, or microwaved for a quick, oil-free option. Ready in just minutes!
Homestyle Puttu with Cherupayar Curry – a fiber-rich, gut-friendly meal that's truly soul-satisfying!
This kerala dish is perfect for breakfast or lunch. With 828.97 calories and 22.58g of protein per serving, it's a nutritious choice for your meal plan.
fat
For a perfectly uniform, lump-free texture, you can pulse the mixture a few times in a mixie/blender or press it through a coarse sieve.
Cover the prepared mixture and let it rest for at least 10 minutes. This allows the rice flour to fully absorb the moisture.
2
Layer the Puttu Maker (5 minutes)
Take the cylindrical puttu maker (puttu kutti) and place the small perforated disc at the bottom.
Start with a base layer of 2-3 tablespoons of grated coconut.
Gently spoon the prepared rice flour mixture on top of the coconut until the cylinder is about half full. Do not press or pack the flour down; it must remain loose.
Add another thin layer of 1-2 tablespoons of grated coconut.
Fill the rest of the cylinder with the flour mixture, leaving about an inch of space at the top. Finish with a final layer of coconut.
3
Steam the Puttu (8-10 minutes per batch)
Fill the base pot (puttu kudam) with 2-3 cups of water and bring it to a vigorous boil.
Carefully place the filled cylinder onto the nozzle of the base pot and close the lid.
Steam on medium-high heat. The puttu is perfectly cooked when a steady stream of steam escapes from the holes on the top lid, which typically takes 8-10 minutes. You will also notice a fragrant aroma of cooked rice and coconut.
Turn off the heat. Using a kitchen towel for safety, carefully remove the hot cylinder from the pot.
4
Serve Hot (5 minutes)
Allow the cylinder to rest for a minute to prevent breakage.
Using the provided rod or the back of a long spoon, gently push the cooked puttu from the bottom out onto a serving plate.
Repeat the layering and steaming process with the remaining mixture.
Serve immediately while hot with kadala curry (black chickpea curry), ripe bananas, pappadam, or a sprinkle of sugar and ghee.
Servings
4
Serving size: 1 serving
328cal
13gprotein
39gcarbs
15gfat
Ingredients
1 cup Green Gram (Rinsed well)
3 cup Water (For pressure cooking)
0.5 tsp Turmeric Powder
1 tsp Salt (Or to taste)
1 cup Grated Coconut (Fresh or frozen)
0.5 tsp Cumin Seeds
3 cloves Garlic
2 pcs Green Chili (Adjust to your spice preference)
2 tbsp Coconut Oil
1 tsp Mustard Seeds
2 pcs Dried Red Chili (Broken in half)
4 pcs Shallots (Thinly sliced)
1 sprig Curry Leaves (About 10-12 leaves)
Instructions
1
Cook the Green Gram
Wash the green gram thoroughly. For faster cooking, you can soak it in water for 30-60 minutes.
In a pressure cooker, combine the drained green gram, 3 cups of water, and 1/4 teaspoon of turmeric powder.
Secure the lid and pressure cook on medium heat for 4-5 whistles, or until the dal is soft but still holds its shape. This should take about 15 minutes.
Allow the pressure to release naturally before opening the cooker.
2
Prepare the Coconut Paste
While the dal is cooking, add the grated coconut, cumin seeds, garlic cloves, green chilies, and the remaining 1/4 teaspoon of turmeric powder to a blender jar.
Add about 1/4 cup of water and grind to a smooth, fine paste. Add a little more water, one tablespoon at a time, if needed to help with grinding.
3
Combine and Simmer
Once the pressure has released, open the cooker. Lightly mash some of the cooked dal with the back of a ladle for a creamier consistency.
Place the cooker back on the stove over low-medium heat. Stir in the ground coconut paste and salt.
8 pieces Urad Dal Pappadam (Plain or with peppercorns (kali mirch) are common choices.)
1 cup Vegetable Oil (For deep frying. Use a neutral oil with a high smoke point like sunflower or canola oil.)
Instructions
1
Choose your preferred cooking method. Pappadam can be deep-fried, roasted over a gas flame, or cooked in a microwave. Each method yields a slightly different texture and flavor.
2
Method 1: Deep Frying (Classic Method)
Pour vegetable oil into a kadai or a small, deep pan to a depth of about 1 inch. Heat over medium-high flame for 2-3 minutes.
To test the oil temperature, drop a tiny piece of pappadam into it. If it sizzles and expands immediately, the oil is ready.
Using tongs, gently slide one pappadam into the hot oil. Lightly press the center with the tongs to ensure even cooking. It will puff up in 3-5 seconds.
Quickly flip it over and cook for another 2-3 seconds. It should be a pale cream color, not brown.
Remove the pappadam with tongs, allowing excess oil to drip back into the pan. Place it on a plate lined with paper towels to absorb any remaining oil.
Repeat the process for all pappadams, frying one at a time.
3
Method 2: Roasting over Open Flame (Smoky Flavor)
Turn on a gas stove to a low-medium flame.
Using a pair of long metal tongs, hold one pappadam about 2-3 inches above the flame.
Continuously and quickly move the pappadam over the flame, flipping it every few seconds to cook it evenly and prevent burning.
The pappadam will start to bubble, change color, and become crisp in about 20-30 seconds.
Once it's cooked with a few characteristic charred spots, it's ready. Be vigilant as it can burn in an instant.
4
Method 3: Microwaving (Oil-Free Method)
Place one or two pappadams on a microwave-safe plate, ensuring they do not overlap.
For a more even cook, you can lightly brush both sides with a tiny amount of oil, but this is optional.
Microwave on high power for 30-45 seconds. The pappadam will cook and become crisp.
Keep a close watch as cooking times vary greatly between microwaves. If it's not fully cooked, microwave in 10-second intervals until done.
5
Serve the freshly prepared pappadams immediately. They are best enjoyed while warm and crispy alongside a main meal of rice and curry, or as a standalone snack.
Mix everything well and bring the curry to a gentle simmer. Cook for 4-5 minutes, stirring occasionally, until the raw aroma of the coconut paste disappears. Do not let it come to a rolling boil.
If the curry is too thick, add a little hot water to adjust to your desired consistency.
4
Prepare the Tempering (Tadka)
In a small pan (tadka pan), heat the coconut oil over medium heat.
Once the oil is hot, add the mustard seeds and allow them to splutter completely.
Add the dried red chilies, thinly sliced shallots, and curry leaves. Sauté for 3-4 minutes, stirring frequently, until the shallots turn golden brown and crisp.
5
Finish and Serve
Pour the hot tempering mixture over the simmering curry.
Stir gently to combine, then immediately cover the pot and turn off the heat.
Let the curry rest for at least 5 minutes to allow the flavors to meld together.