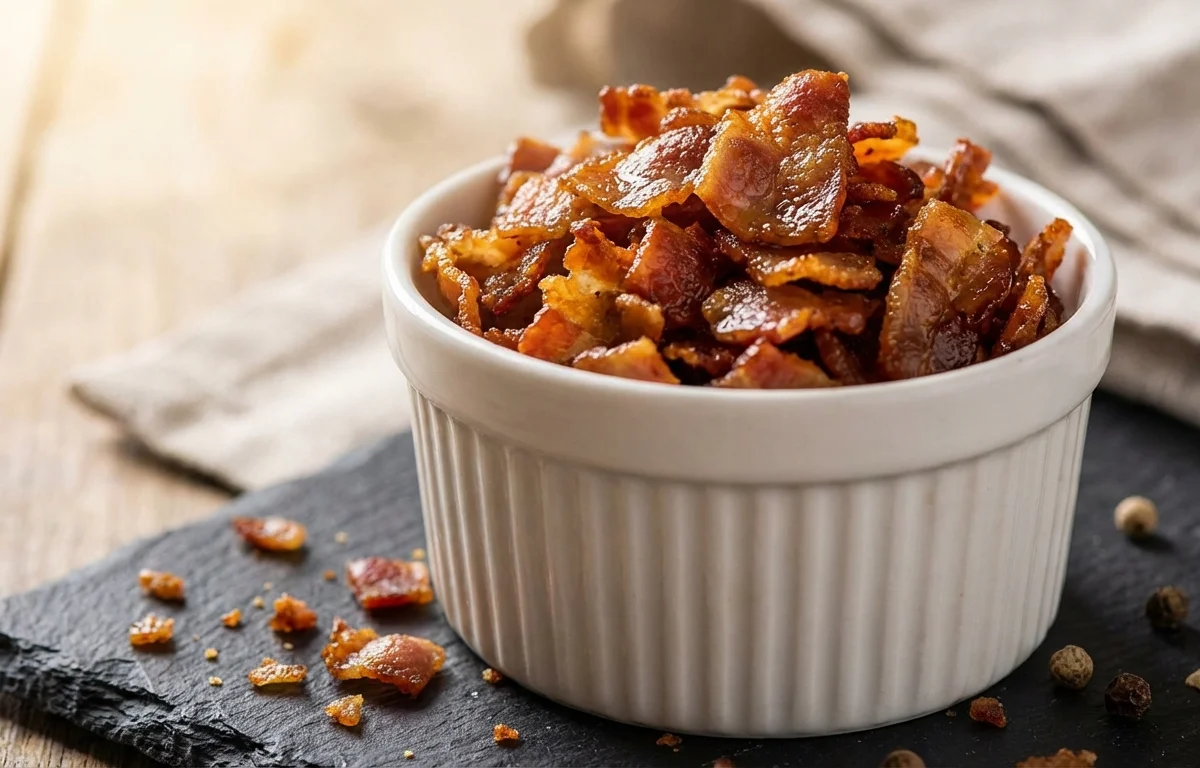
Bacon Bits
Crispy, salty, smoky little nuggets of pure bacon goodness. Skip the store-bought imitation bits and make real bacon bits at home in one pan. Perfect for topping salads, baked potatoes, mac and cheese, or scrambled eggs.
For 8 servings
- prep · ~2 min
Cut the bacon into small pieces.
1.Stack 4 bacon slices together on the cutting board.2.Use a sharp knife to slice crosswise into ¼-inch strips.3.Rotate and cut strips into small ¼-inch pieces for uniform bits.4.Repeat with remaining bacon slices. - fry · ~10 min
Render the bacon in a cold skillet.
1.Place all bacon pieces in a cold skillet — starting cold helps render fat slowly.2.Set heat to medium-low and stir occasionally with tongs.3.Cook for 8-10 minutes as bacon gradually crisps and releases its fat.4.Watch closely in the last 2 minutes to prevent burning.TIPStarting with a cold pan gives you crispier, more evenly cooked bacon bits. Don't rush it with high heat — the fat needs time to render. - other · ~1 min
Drain the bacon bits.
1.Line a plate with 2-3 layers of paper towels.2.Use tongs to transfer bacon bits onto the paper towels — leave the rendered fat in the pan.3.Spread bits in a single layer and blot gently with another paper towel to remove excess grease.TIPSave the bacon fat from the skillet — strain it into a jar and use it for cooking potatoes, eggs, or greens. - rest · ~5 min
Cool completely and store.
Let bacon bits cool on the paper towels for 5 minutes — they will continue to crisp up as they cool. Use immediately or store in an airtight container.
TIPBacon bits stay crispy at room temperature for a few hours. For longer storage, refrigerate and re-crisp in a dry skillet for 1 minute.
What to keep in mind.
7 tips from the recipe — small details that make a real difference to the final dish.
- 1Use regular-cut bacon, not thick-cut, so the bits cook evenly and get crispy without burning.
- 2Keep the bacon pieces uniform in size (about ¼ inch) for consistent cooking and crunch.
- 3Start with a cold skillet so the fat renders slowly and evenly, giving you crispier bits.
- 4Stir occasionally with tongs to ensure all sides brown evenly. Watch the last 2 minutes closely.
- 5Blot the cooked bits on paper towels to absorb excess grease, then cool completely for maximum crunch.
- 6Save the rendered bacon fat by straining it into a jar — it's perfect for roasting potatoes or frying eggs.
- 7For longer storage, refrigerate in an airtight container and re-crisp in a dry skillet for 1 minute.
Adapt it for your goals.
Peppered
Sprinkle ½ teaspoon freshly cracked black pepper over the bacon bits halfway through cooking for a spicy, aromatic kick that pairs beautifully with eggs or salads.
maple glazedMaple-glazed
Drizzle 1 teaspoon maple syrup over the bacon bits in the last minute of cooking and toss quickly — creates sweet-salty candy-like bits for topping pancakes or ice cream.
smoky chipotleSmoky chipotle
Add ½ teaspoon chipotle powder or a minced chipotle in adobo to the bacon before cooking for a smoky, spicy depth that works great on nachos or baked potatoes.
herb infusedHerb-infused
Toss in 1 teaspoon dried thyme or rosemary with the bacon while it cooks — the herbs infuse the fat and cling to the bits, giving them a savory, earthy note.
Why this is on our healthy list.
Rich in Protein
Bacon provides high-quality animal protein, with about 3 grams per slice, supporting muscle repair and satiety.
Source of B Vitamins
Bacon contains B vitamins like B1 (thiamin), B3 (niacin), and B12, which help convert food into energy and support nerve function.
Contains Selenium
This mineral acts as an antioxidant, protecting cells from damage, and is naturally present in pork-based bacon.
Frequently asked questions
Thick-cut takes longer to crisp and may not render evenly into small, crunchy bits. Stick with regular-cut for the best texture.