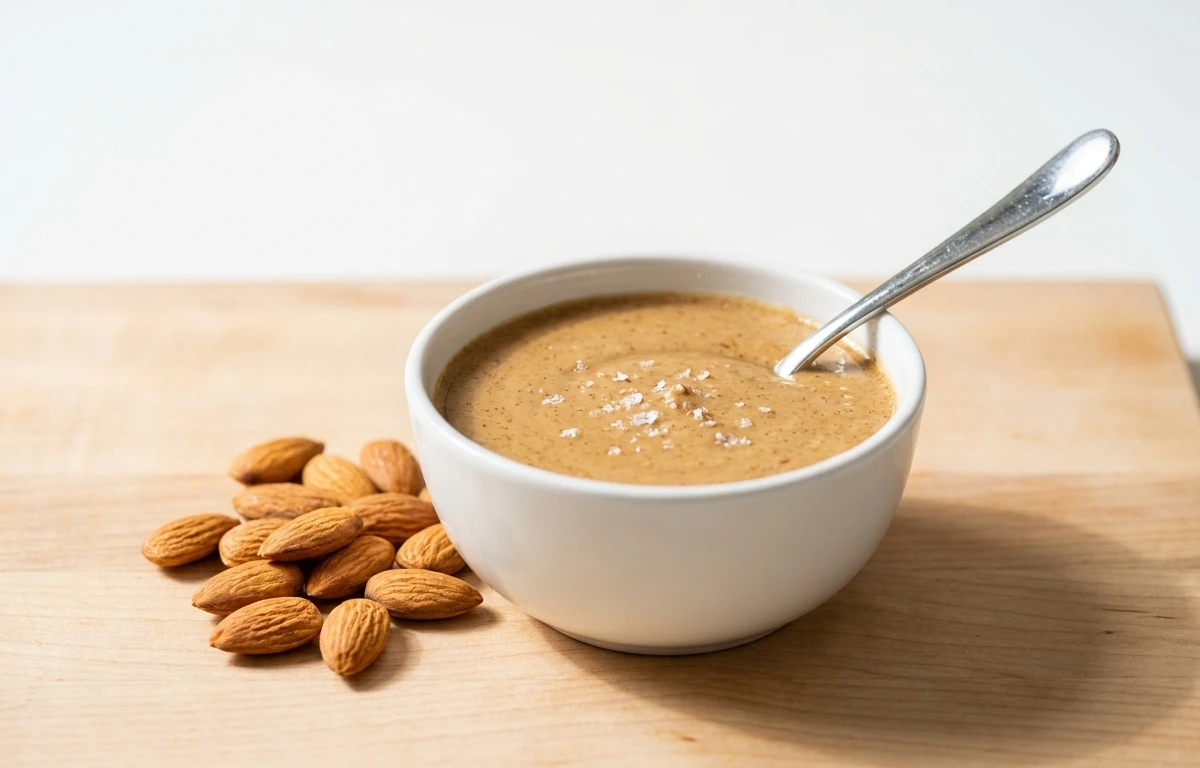
Almond Butter Dip
A luxuriously smooth and creamy dip made from roasted almonds blended with a touch of honey and a hint of vanilla. Perfect alongside crisp apple slices, graham crackers, or pretzels, this protein-packed snack comes together in under 10 minutes with just a handful of pantry staples.
For 4 servings
- prep · ~10 min
Preheat the oven and roast the almonds.
1.Preheat oven to 350°F (175°C).2.Spread the almonds in a single layer on a baking sheet.3.Roast for 8-10 minutes until fragrant and lightly golden, stirring once halfway through.TIPWatch the almonds closely — they can go from roasted to burnt quickly. - rest · ~5 min
Cool the almonds slightly.
Let the almonds cool on the baking sheet for 5 minutes. They should be warm but not hot.
- mix · ~7 min
Blend into smooth almond butter.
1.Transfer the warm almonds to a food processor.2.Process for 5-7 minutes, scraping down the sides as needed, until smooth and creamy.TIPBe patient. The almonds will go from crumbly to a smooth paste — keep blending. - mix · ~1 min
Add honey, vanilla, and salt.
1.Add the honey, vanilla extract, and a pinch of salt to the almond butter.2.Process for another 30 seconds until fully incorporated.3.Add water 1 tablespoon at a time and blend until the dip reaches a light, dippable consistency.TIPFor a thicker spread, skip the water. For a thinner dip, add an extra tablespoon. - serve
Transfer to a serving bowl and enjoy.
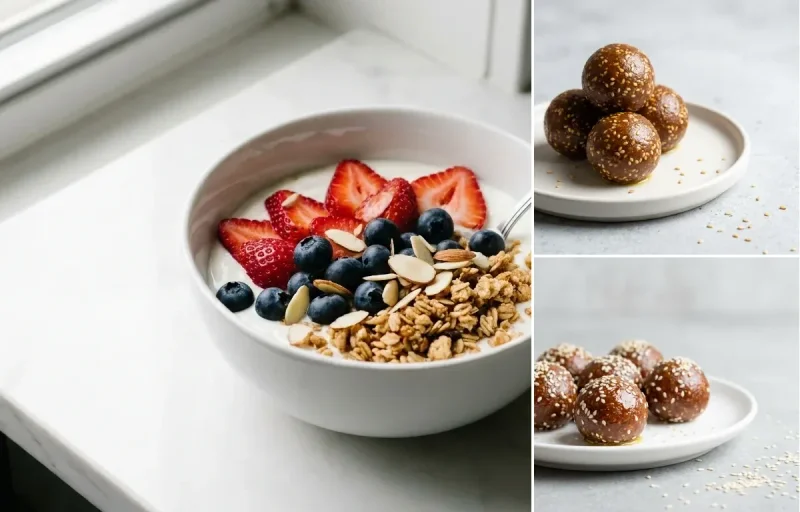
Scrape the almond butter dip into a small bowl. Serve with fresh apple slices, banana chunks, graham crackers, or pretzels for dipping.
What to keep in mind.
5 tips from the recipe — small details that make a real difference to the final dish.
- 1Roast the almonds until just fragrant and lightly golden to unlock their natural oils for a creamier dip.
- 2Scrape down the sides of the food processor frequently during blending to ensure an even, smooth texture.
- 3For a runnier dip, add warm water instead of cold — it incorporates more easily into the almond butter.
- 4Store leftover dip in an airtight jar in the fridge for up to 2 weeks; stir before serving if it separates.
- 5If your food processor gets hot, pause for a minute to avoid overheating the motor or the nuts.
Adapt it for your goals.
Sweet Cinnamon
Add 1/2 teaspoon of ground cinnamon along with the honey for a warm, spiced flavor that pairs beautifully with apple slices.
Maple PecanMaple Pecan
Swap the almonds for pecans and the honey for maple syrup for a rich, autumnal dip that's perfect with banana slices.
Chocolate HazelnutChocolate Hazelnut
Use hazelnuts instead of almonds and add 1 tablespoon of cocoa powder with the honey for a homemade, less-sweet Nutella-style dip.
VeganVegan
Replace the honey with an equal amount of agave nectar or maple syrup to make this dip entirely plant-based.
Low Oil / No Added OilLow-Oil / No-Added-Oil
This recipe already uses no added oil; skip the water for a thicker nut butter, or use it as an oil-free spread on toast.
Why this is on our healthy list.
Rich in Vitamin E
Almonds are a top source of vitamin E, an antioxidant that helps protect cells from oxidative damage.
Heart-Healthy Fats
The monounsaturated fats in almonds support healthy cholesterol levels and cardiovascular function.
Natural Sweetness, Low Added Sugar
Just one tablespoon of honey sweetens the entire batch, keeping added sugar minimal compared to store-bought dips.
Good Source of Magnesium
Almonds provide magnesium, which supports muscle function, nerve health, and energy production.
Frequently asked questions
The almonds may not have been roasted long enough to release their oils, or they weren't processed long enough — keep blending for 5-7 minutes and scrape the sides well.