Bell Pepper Strips
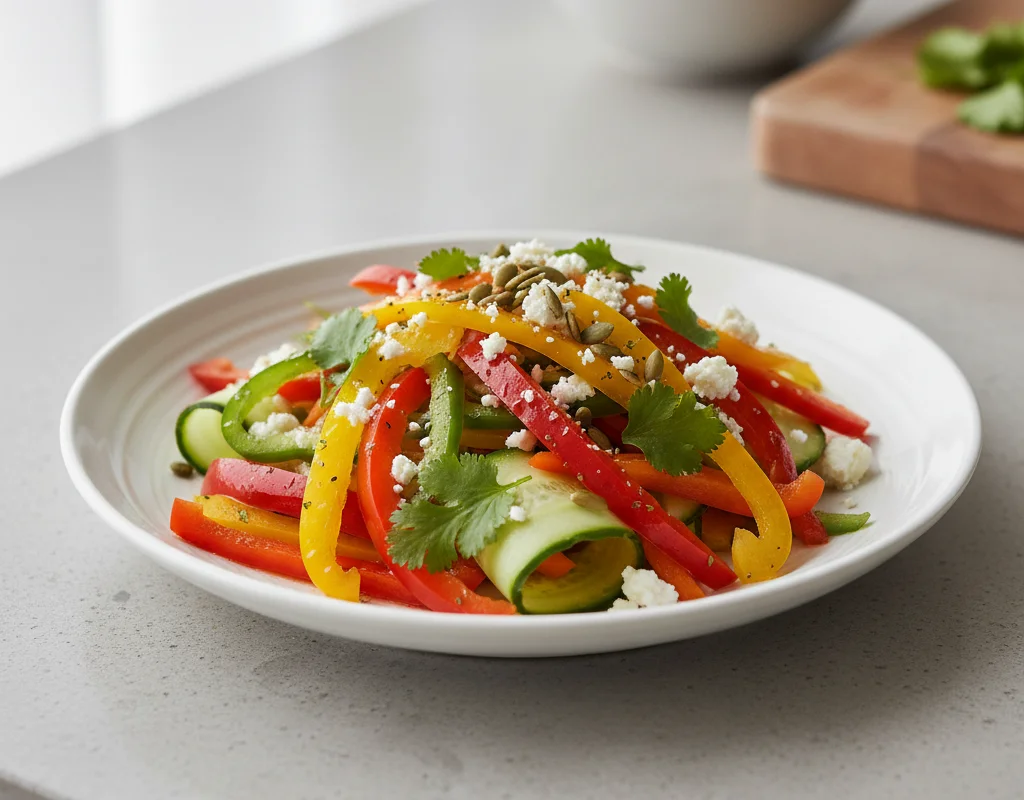
Bright, colorful strips of bell pepper sautéed with cumin and a touch of garlic until just tender with lightly charred edges. A quick, versatile side that adds a pop of sweetness and vibrant color to any plate, ready in under 15 minutes.
For 4 servings
- prep
Slice the bell peppers into thin strips.
Wash and pat dry 4 medium bell peppers. Slice off the top and bottom, remove the core and seeds, then cut into thin, even strips about 1 cm wide.
TIPUniform strips cook evenly — aim for consistent thickness so some don't burn while others stay raw. - prep
Slice the garlic and chop the parsley.
Thinly slice 2 garlic cloves and finely chop enough fresh parsley to yield about 1 tablespoon. Keep them separate.
- saute · ~1 min
Sizzle the cumin and garlic in hot oil.
1.Heat 1 tablespoon olive oil in a large skillet over medium-high heat until shimmering.2.Add 0.5 teaspoon cumin seeds and let them sizzle for 20 seconds until fragrant.3.Add the sliced garlic and stir for 30 seconds until just golden, not browned.TIPWatch the garlic closely — once it turns brown it turns bitter. Pull the pan off heat if it darkens too fast. - saute · ~7 min
Sauté the bell pepper strips until tender with charred edges.
1.Add all the bell pepper strips to the pan and spread them into a single layer.2.Let them cook undisturbed for 1 minute to develop a light char.3.Toss and continue sautéing for 5 to 7 minutes total, until crisp-tender with darkened edges.TIPDon't overcrowd the pan — if the peppers are steaming instead of searing, work in two batches to keep the heat high and the surface dry. - mix · ~1 min
Season and finish with lemon juice.
1.Sprinkle 1 pinch of salt and 1 pinch of freshly ground black pepper over the peppers.2.Drizzle 1 teaspoon fresh lemon juice and toss quickly to combine.TIPAdd the lemon juice off heat to keep its bright, fresh zing. - garnish
Garnish with parsley and serve immediately.
Transfer to a serving bowl, scatter the chopped parsley over the top, and serve hot as a side with grilled chicken, fish, rice, or warm flatbread.
What to keep in mind.
7 tips from the recipe — small details that make a real difference to the final dish.
- 1Slice all peppers to the same 1cm width so they cook evenly and finish at the same time.
- 2Pat the bell pepper strips dry with a towel before cooking to promote better charring.
- 3Toast the cumin seeds in oil until they pop and become fragrant — this unlocks their full aroma.
- 4Cook the peppers undisturbed for the first minute to get a deep, caramelized char on one side.
- 5If your pan is crowded, sauté peppers in two batches to avoid steaming them instead of searing.
- 6Stir in the lemon juice off the heat to preserve its bright acidity and prevent bitterness.
- 7Leftover peppers keep in the fridge for 3 days; reheat in a dry skillet to restore texture.
Adapt it for your goals.
Spicy
Add a finely chopped red chili or a pinch of red pepper flakes along with the garlic for a gentle heat that complements the sweet peppers.
herb swapHerb-swap
Replace parsley with fresh mint or dill for a different aromatic lift that pairs beautifully with grilled meats or fish.
extra crunchExtra-crunch
Toss in a handful of toasted pine nuts or slivered almonds at the end for a nutty crunch and added texture.
low oilLow-oil
Use a non-stick pan and reduce olive oil to 1 teaspoon, adding a splash of water or broth to prevent sticking while still getting a light char.
Why this is on our healthy list.
Rich in Vitamin C
Bell peppers, especially red ones, are loaded with vitamin C, which supports immune health and collagen production.
Good Source of Fiber
Enjoying a serving of these pepper strips provides dietary fiber that aids digestion and helps maintain steady energy levels.
Low in Calories
This side dish is naturally low in calories, making it an excellent choice for adding volume and flavor to meals without excess energy.
Heart-Healthy Fats
A modest amount of olive oil provides monounsaturated fats that are beneficial for cardiovascular health.
Frequently asked questions
Fresh peppers are best because frozen ones release excess water and will steam instead of charring, yielding a softer texture.