Greek Yogurt
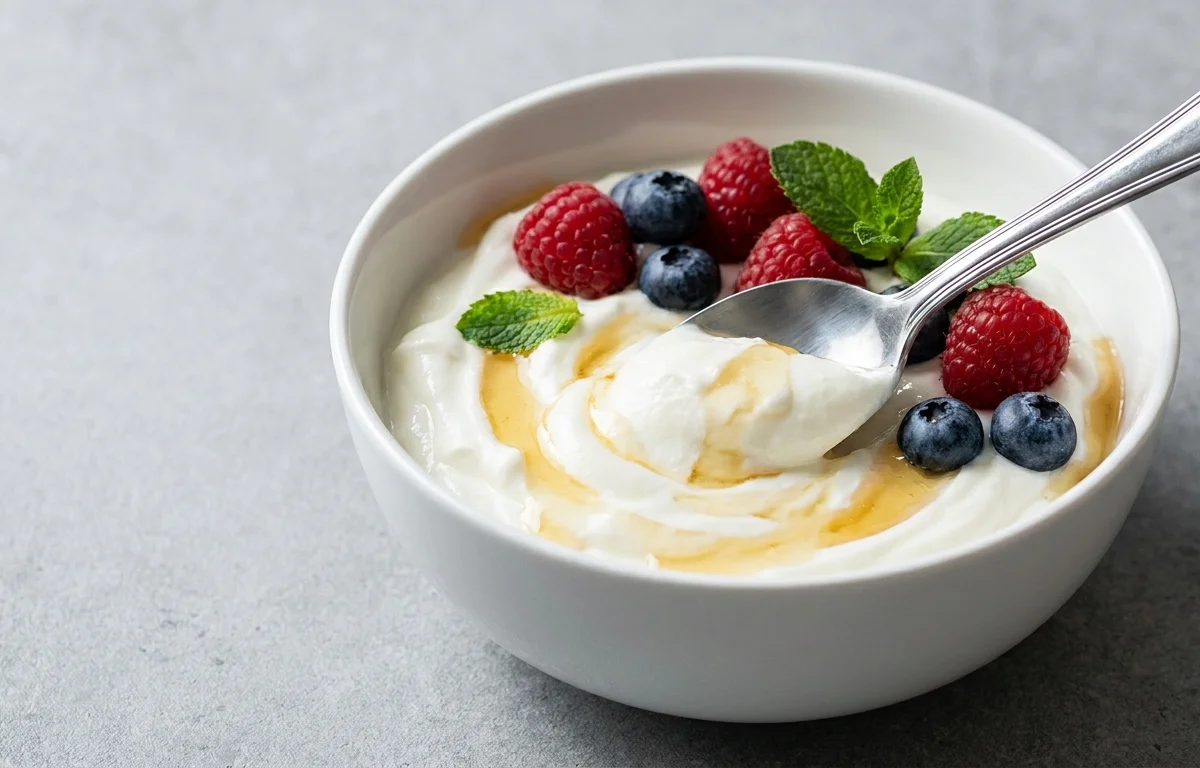
Creamy, tangy, and protein-packed homemade Greek yogurt made with just two simple ingredients. Straining it yourself gives you the perfect thick texture for breakfasts, smoothies, or dips.
For 2 servings
- boil · ~10 min
Heat the Milk
Pour 1 liter of nonfat milk into a heavy-bottomed saucepan. Heat over medium-high heat, stirring occasionally to prevent scorching, until it reaches 180-190°F (82-88°C) and just begins to simmer around the edges.
TIPUsing a heavy-bottomed pot helps prevent the milk from scorching on the bottom, which can impart an off-flavor to your yogurt. - rest
Cool the Milk
Remove the saucepan from the heat and let the milk cool down to 105-115°F (40-46°C). This process typically takes 30-60 minutes. You can accelerate cooling by carefully placing the pot in an ice bath.
TIPCooling to the correct temperature is critical; too hot will kill the starter cultures, while too cold will significantly slow fermentation. - mix · ~3 min
Temper and Mix Starter
In a small bowl, whisk 2 tablespoons of plain yogurt (your starter culture) with approximately 1/2 cup of the warm milk until completely smooth. Gradually whisk this tempered mixture back into the main pot of cooled milk until thoroughly combined.
- rest
Incubate the Yogurt
Carefully pour the inoculated milk into clean jars or a large container. Cover tightly and place in a warm, undisturbed spot (like an oven with the light on) for 6-10 hours, or until visibly thickened and tangy.
- rest
Chill and Strain
After incubation, chill the yogurt thoroughly in the refrigerator. Then, prepare to strain it to achieve the desired thick Greek yogurt consistency.
1.Refrigerate the thickened yogurt for at least 4 hours to ensure it is thoroughly chilled.2.Line a colander with several layers of cheesecloth or a large coffee filter, then set it over a deep bowl.3.Carefully pour the chilled yogurt into the lined colander and place it back in the refrigerator to strain for 2-4 hours. - serve · ~2 min
Serve or Store
Transfer the thick Greek yogurt from the cheesecloth to an airtight container. It can be stored in the refrigerator for up to 1-2 weeks. Serve plain, with fruit, granola, or use in various recipes.
What to keep in mind.
4 tips from the recipe — small details that make a real difference to the final dish.
- 1For a shortcut, you can use ultra-pasteurized milk and skip the initial heating step, just warming it to 110°F.
- 2Do not disturb, stir, or jiggle the yogurt while it is incubating, as this can prevent it from setting properly.
- 3Save the drained liquid (whey)! It's packed with protein and can be used in smoothies, soups, or for baking bread.
- 4For a tangier yogurt, incubate for the full 12 hours. For a milder flavor, check it after 8 hours.
Adapt it for your goals.
Healthy
For a richer yogurt with healthy fats, use 2% or whole milk instead of skim milk. The calorie count will be higher.
dairy freeDairy free
This process can be adapted for non-dairy milks like soy or coconut milk, but you must use a compatible dairy-free yogurt starter. The texture may vary.
quickQuick
Use an Instant Pot with a 'Yogurt' function to perfectly control the heating and incubation temperatures, making the process more foolproof.
Why this is on our healthy list.
High in Protein
The straining process concentrates the protein, making Greek yogurt excellent for muscle repair, satiety, and keeping you feeling full longer.
Rich in Probiotics
Contains beneficial live active cultures that support a healthy gut microbiome, improve digestion, and boost the immune system.
Excellent Source of Calcium
Provides a significant amount of calcium, which is essential for maintaining strong bones and teeth.
Frequently asked questions
Absolutely. It's an excellent source of protein, calcium, and gut-healthy probiotics. Making it at home allows you to control the ingredients, avoiding the added sugars and thickeners found in many store-bought versions.