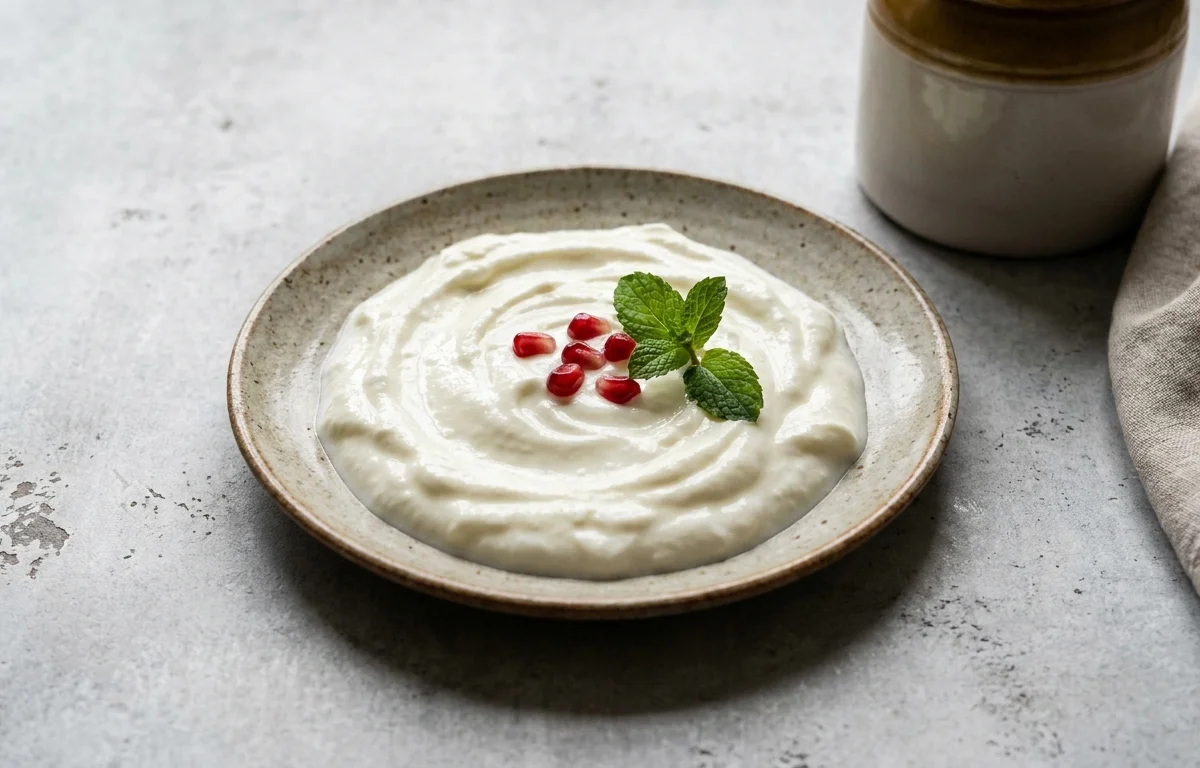
Plain Curd
Creamy, smooth homemade curd set fresh at home with a mild tanginess that deepens as it cools. Just two ingredients and a little patience yield this staple Indian accompaniment that cools the palate alongside any meal.
For 4 servings
- boil · ~10 min
Boil the milk.
1.Pour 1 liter full-fat milk into a heavy-bottomed pan.2.Heat on medium-high until it comes to a rolling boil, stirring occasionally to prevent scorching (8-10 min).3.Boil for 1 minute once it rises, then turn off the heat. - rest · ~30 min
Cool the milk to lukewarm.
1.Let the boiled milk cool at room temperature, stirring every 10 minutes to prevent a cream layer from forming on top.2.Test with a clean finger — it should feel comfortably warm, not hot. The milk should be about 40-45°C (warm enough to hold your finger in for 10 seconds without discomfort).TIPIf the milk is too hot it will kill the culture; if too cold it won't set. Aim for lukewarm — like bathwater. - mix · ~1 min
Add the starter culture and whisk.
1.Take 1 tablespoon of plain curd (room temperature) in a small bowl and whisk it smooth with 2 tablespoons of the lukewarm milk until no lumps remain.2.Pour this mixture into the remaining lukewarm milk and stir gently with a clean spoon in one direction to distribute evenly. - rest · ~360 min
Set the curd.
1.Pour the inoculated milk into a clean ceramic or glass bowl.2.Cover with a tight-fitting lid or cling film.3.Place in a warm spot — inside an oven with only the pilot light on, on top of the refrigerator, or wrapped in a thick kitchen towel.4.Let it set undisturbed for 5-6 hours, or overnight, until firm and wobbly.TIPA consistent warm temperature around 35-42°C gives the best set. In winter, pre-warm the oven at the lowest setting for 2 minutes, switch it off, then place the bowl inside. - rest · ~120 min
Chill and serve.
1.Once the curd has set firmly and a little whey appears on the top, refrigerate for at least 2 hours.2.Serve chilled in individual katoris alongside paratha, rice, or any meal.TIPRefrigerating stops fermentation and prevents the curd from becoming too sour.
What to keep in mind.
7 tips from the recipe — small details that make a real difference to the final dish.
- 1Use full-fat milk for the creamiest, richest curd texture.
- 2Cool the milk to exactly lukewarm (40-45°C) — test with a clean finger for 10 seconds of comfortable warmth.
- 3Whisk the starter culture with a little milk first to ensure even distribution and no lumps.
- 4Choose a warm, draft-free spot for setting — an oven with pilot light or atop the fridge works well.
- 5Resist moving or jiggling the bowl while the curd sets to avoid disturbing fermentation.
- 6Refrigerate promptly once set to halt fermentation and prevent sourness.
- 7Save a tablespoon of this curd as starter for your next batch.
Adapt it for your goals.
Creamier Curd
Replace 1/4 cup of the milk with fresh cream for an extra-lush texture and richer mouthfeel.
Lower Fat CurdLower-Fat Curd
Use toned or double-toned milk (2-3% fat) for a lighter curd with a cleaner, less creamy taste.
Set Ahead Instant Pot CurdSet-Ahead Instant Pot Curd
Use an Instant Pot's yogurt function for precise temperature control, perfect for consistent results in all climates.
Greek Style Strained CurdGreek-Style Strained Curd
After setting, line a strainer with muslin, pour in the curd, and drain for 2-4 hours in the fridge to get thick, spreadable yogurt.
Why this is on our healthy list.
Rich in Probiotics
The live cultures in homemade curd support gut health and digestion when consumed fresh.
Good Source of Calcium
Using full-fat milk provides a natural dose of calcium essential for strong bones and teeth.
Contains High-Quality Protein
Milk proteins like casein and whey contribute to muscle repair and satiety.
Lactose-Friendly
The fermentation process breaks down much of the lactose, making curd easier to digest for many with mild sensitivity.
Frequently asked questions
The milk was likely too hot (killed the culture) or too cold (inactive culture). Also check that your starter is fresh and active.