Puffed Rice Cereal
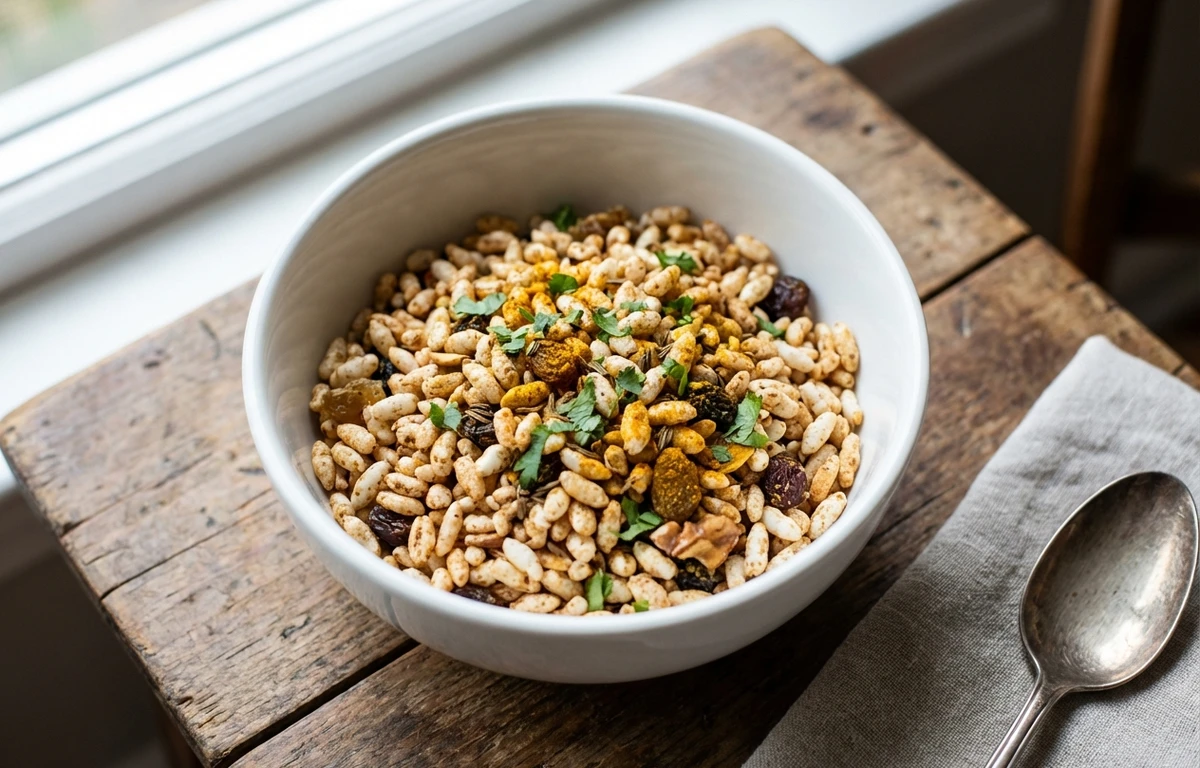
Crisp, airy, golden rice kernels that snap and crackle when milk hits the bowl. This homemade version transforms plain rice into a light breakfast cereal that is delightfully crunchy and ready in under 15 minutes.
For 4 servings
- prep · ~5 min
Dry the rice thoroughly.
Spread the rinsed rice on a clean kitchen towel and pat completely dry. Any moisture left on the grains will cause them to steam instead of puff.
TIPThe rice must be bone-dry. Leave it spread on the towel for an extra 10 minutes if needed. - fry · ~5 min
Toast the rice in a dry pan.
Place the dried rice in a large heavy-bottomed pot with the lid on. Heat over medium-high for 4-5 minutes, shaking the pot every 30 seconds, until the rice is very hot to the touch and slightly toasted.
TIPKeep the lid on between shakes so the rice heats evenly and retains the trapped heat needed for puffing. - fry · ~2 min
Puff the rice in hot oil.
Add the oil to the pot and stir quickly with a wooden spoon to coat every grain. Cover immediately with the lid. Shake the pot vigorously over the heat for 1-2 minutes — you will hear the grains popping and crackling against the lid as they puff.
TIPIf the popping slows down too much, crank the heat to high for 30 seconds to get it going again. - other · ~1 min
Finish with dry heat and season.
Remove the lid. Stir constantly over medium heat for another minute to crisp up the puffed grains. Turn off the heat, sprinkle in the salt, and toss well.
- rest · ~10 min
Cool the cereal completely on a baking sheet.
Spread the puffed rice in a single layer on a baking sheet. Let cool to room temperature so it becomes fully crisp. Serve with milk or store in an airtight container.
TIPDo not cover while still warm — trapped steam will make the cereal chewy.
What to keep in mind.
6 tips from the recipe — small details that make a real difference to the final dish.
- 1Rinse the rice well and let it dry thoroughly before puffing — moisture prevents proper puffing.
- 2Shake the pot every 30 seconds while toasting so the rice heats evenly and doesn't scorch.
- 3Cover the pot immediately after adding oil and shake vigorously to ensure even puffing.
- 4If you hear the popping slow down, turn the heat to high for 30 seconds to revive the puffing.
- 5Let the cereal cool completely on a baking sheet before storing — trapped steam makes it chewy.
- 6Store puffed rice in an airtight container at room temperature for up to one week.
Adapt it for your goals.
Savory-seasoned
Add ½ teaspoon of garlic powder, onion powder, or smoked paprika along with the salt for a savory breakfast or snack cereal.
sweet cinnamonSweet-cinnamon
Toss the cooled puffed rice with 1 teaspoon of cinnamon and 1 tablespoon of powdered sugar for a sweet, cinnamony breakfast bowl.
coconut puffedCoconut-puffed
Swap half the vegetable oil for coconut oil and add a pinch of shredded coconut before the final crisping step for a tropical twist.
Why this is on our healthy list.
Low in Fat
This homemade puffed rice uses just a teaspoon of oil to puff the grains, making it a very low-fat alternative to many store-bought cereals.
No Added Sugar
The base recipe contains zero sugar, allowing you to control sweetness by adding your own toppings or fruit.
Gluten-Free Grain Base
Rice is naturally gluten-free, so this cereal is suitable for those avoiding gluten as long as no cross-contamination occurs.
Frequently asked questions
Short-grain or medium-grain rice works best because its higher starch content helps it puff more uniformly; long-grain varieties may not puff as well.