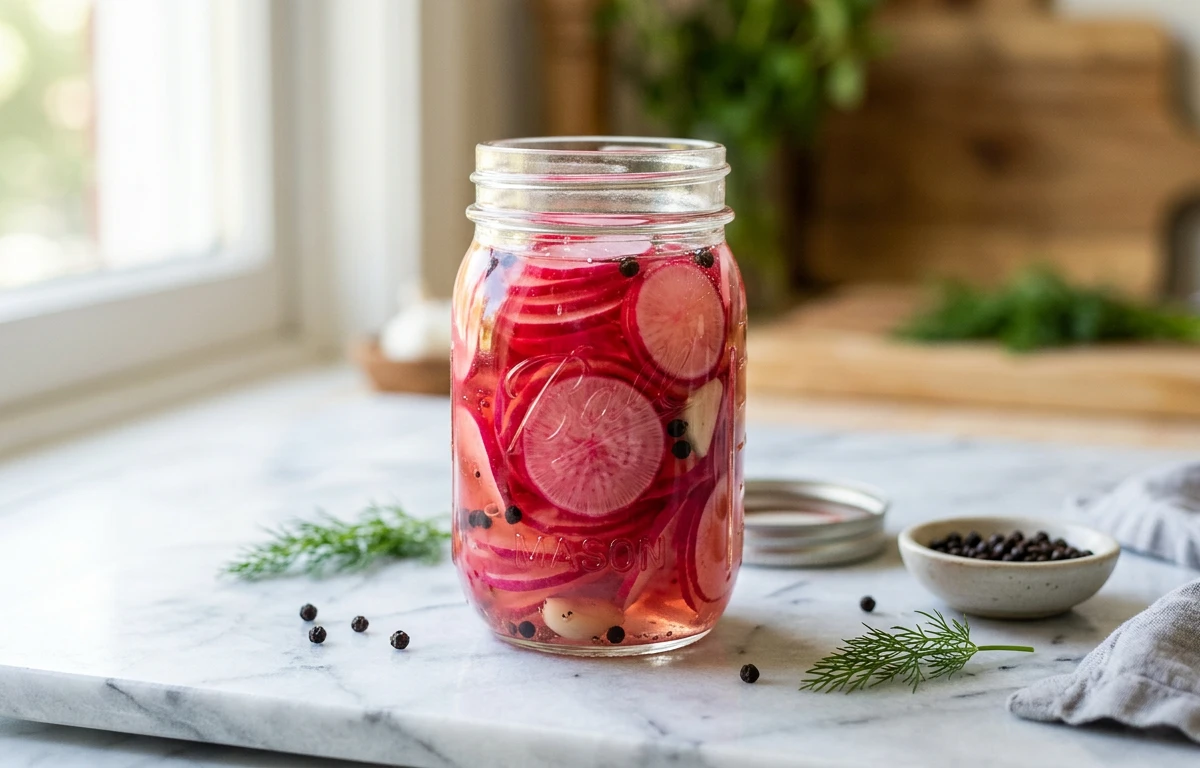
Quick-Pickled Radish Slices
Crunchy, tangy radish slices that come together in minutes with a simple vinegar brine. These quick refrigerator pickles add a bright, refreshing pop to tacos, sandwiches, salads, and grain bowls. No canning required — just slice, brine, and chill.
For 8 servings
- prep · ~5 min
Slice the radishes.
1.Wash and trim the radishes, removing the tops and root ends.2.Use a sharp knife or mandoline to slice radishes into thin, even rounds about 2 mm thick.3.Pack the radish slices snugly into a clean mason jar along with the smashed garlic cloves, peppercorns, and mustard seeds.TIPA mandoline gives the most even slices, which pickle uniformly. Watch your fingers and use the guard. - mix · ~3 min
Make the pickling brine.
1.In a small saucepan, combine the white vinegar, water, sugar, and salt.2.Bring to a boil over medium-high heat, stirring to dissolve the sugar and salt completely.3.Once the brine reaches a full boil and the solids are dissolved, remove from heat immediately. - assemble · ~1 min
Pour the brine over the radishes.
1.Carefully pour the hot brine over the radish slices in the jar until they are completely submerged.2.Let the jar cool to room temperature on the counter, about 20 minutes.3.Once cool, seal the jar with the lid and transfer to the refrigerator.TIPMake sure all radish slices are fully covered by the brine to prevent spoilage. Use a small weight or a crumpled piece of parchment if needed. - rest · ~120 min
Chill and let the flavors develop.
Refrigerate for at least 2 hours before serving. The pickles are good immediately but taste best after 24 hours when the brine has fully penetrated the radish slices. Keep refrigerated and consume within 2 weeks.
TIPThe radish color will bleed slightly into the brine, turning it a beautiful pink hue over time — that is perfectly natural. - serve
Serve as a bright, tangy condiment.
Use a clean fork to remove pickled radish slices from the jar. Serve alongside tacos, burgers, grain bowls, salads, or as a side with grilled meats and rich, fatty dishes.
What to keep in mind.
5 tips from the recipe — small details that make a real difference to the final dish.
- 1Use a mandoline for uniformly thin 2 mm slices that pickle evenly.
- 2Let the brine cool to room temperature before refrigerating to avoid thermal shock to the jar.
- 3Wait at least 24 hours before serving for the best flavor penetration.
- 4Always fully submerge radish slices under the brine to prevent spoilage.
- 5Store pickled radishes in the refrigerator and consume within 2 weeks for peak crunch.
Adapt it for your goals.
Spicy kick
Add 1/2 teaspoon of red pepper flakes or a sliced bird's eye chili to the jar with the spices for a heat that complements the radish's peppery bite.
herby twistHerby twist
Include a few sprigs of fresh dill or cilantro in the jar before pouring the brine for a fresh, herbaceous note that pairs well with tacos or grain bowls.
lower sugarLower sugar
Reduce sugar to 1 tablespoon for a tangier, less sweet pickle that lets the radish's natural sharpness shine.
rice vinegar swapRice vinegar swap
Use 1/2 cup of seasoned rice vinegar in place of white vinegar and omit the sugar for a milder, slightly nuanced brine that's great on sushi or banh mi.
Why this is on our healthy list.
Low-Calorie Crunch
Radishes are naturally low in calories but high in water and fiber, making them a guilt-free crunchy addition to meals.
Rich in Antioxidants
Red radishes contain anthocyanins and other plant compounds that help fight oxidative stress in the body.
Contains Mustard Seed Benefits
Mustard seeds are a good source of selenium and magnesium, supporting thyroid function and bone health.
Probiotic-Free Fermentation Alternative
This quick-pickle method preserves radishes without live cultures, making it safe for those avoiding fermented foods.
Frequently asked questions
Yes, you can reuse the brine to quick-pickle other vegetables like cucumber, red onion, or carrot slices for a second batch, though the flavor will be slightly weaker.