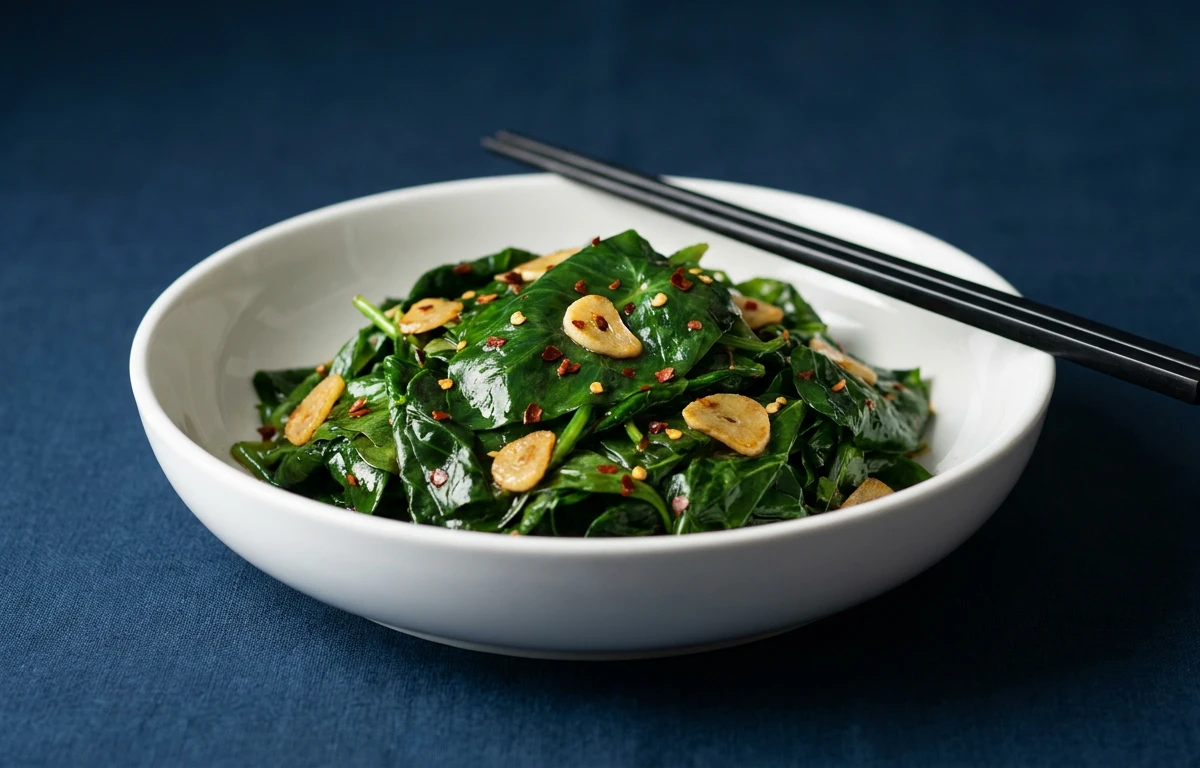
Simple Garlic Sautéed Leaves
A quick, nourishing side dish where tender leafy greens meet pungent garlic in hot oil. The leaves wilt gently, turning silky and fragrant, while a pinch of salt brings out their natural earthy sweetness. Ready in minutes, it pairs beautifully with dal-rice or any grilled protein.
For 4 servings
- prep · ~5 min
Wash and chop the greens.
Rinse the spinach and amaranth leaves thoroughly under running water to remove any grit. Drain well and roughly chop them. Set aside.
TIPEnsure the leaves are completely drained — excess water will steam the greens instead of sautéing them. - fry · ~1 min
Crackle the cumin and chili.
1.Heat oil in a wide pan or kadai over medium heat until shimmering.2.Add cumin seeds and broken dried red chili.3.Let them splutter and turn fragrant (20-30 seconds). - saute · ~2 min
Fry the sliced garlic.
1.Add the sliced garlic to the pan.2.Sauté until the edges turn light golden brown, stirring constantly (1-2 minutes). Be careful not to burn it.TIPBurnt garlic turns bitter very quickly. Keep the heat medium and stir continuously once the garlic starts changing color. - saute · ~4 min
Wilt the greens.
1.Add all the chopped greens to the pan in batches if necessary.2.Toss well to coat the leaves with the garlicky oil.3.Sauté on medium-high heat for 3-4 minutes until the leaves wilt completely and release moisture. - simmer · ~2 min
Season and cook until dry.
1.Sprinkle salt over the wilted greens and mix well.2.Continue to cook for another 1-2 minutes until any water released by the leaves evaporates.3.Turn off the heat. - serve
Serve hot with dal and rice.
What to keep in mind.
6 tips from the recipe — small details that make a real difference to the final dish.
- 1Wash and drain the leaves until just damp; excess water turns the sauté into a steam.
- 2Slice garlic cloves evenly so they all brown at the same rate and none burn.
- 3Use a wide pan or kadai so the greens hit the hot oil all at once, not in a pile.
- 4Sauté the greens in batches if your pan is crowded — they wilt faster and stay bright.
- 5Cook off the released water completely to avoid a watery, soggy final dish.
- 6This dish is best eaten fresh; leftovers can be refrigerated for 1 day but lose texture.
Adapt it for your goals.
Low-oil
Reduce oil to 1 tsp and use a non-stick pan; add a splash of water after the garlic browns to help wilt the leaves without extra fat.
protein boostProtein-boost
Toss in a handful of cooked chickpeas or crumbled paneer at the end for a more substantial side that works as a light lunch.
south indian twistSouth-indian twist
Replace cumin seeds with urad dal and mustard seeds, and add a few curry leaves for a classic South Indian poriyal flavour.
Why this is on our healthy list.
Rich in Iron & Folate
Spinach and amaranth leaves are excellent sources of non-heme iron and folate, supporting red blood cell production and energy levels.
High in Dietary Fiber
Both greens provide generous fiber, which aids digestion, promotes fullness, and helps maintain stable blood sugar levels.
Garlic for Immune Support
Fresh garlic contains allicin, a compound known for its antimicrobial and immune-boosting properties, especially when lightly sautéed.
Low Calorie, Nutrient Dense
With minimal oil and no heavy ingredients, this dish packs vitamins A, C, and K into a very low-calorie side.
Frequently asked questions
Yes, use 500g of either spinach or amaranth leaves alone — the cooking time stays the same as both wilt similarly.