Simple Homemade Paneer
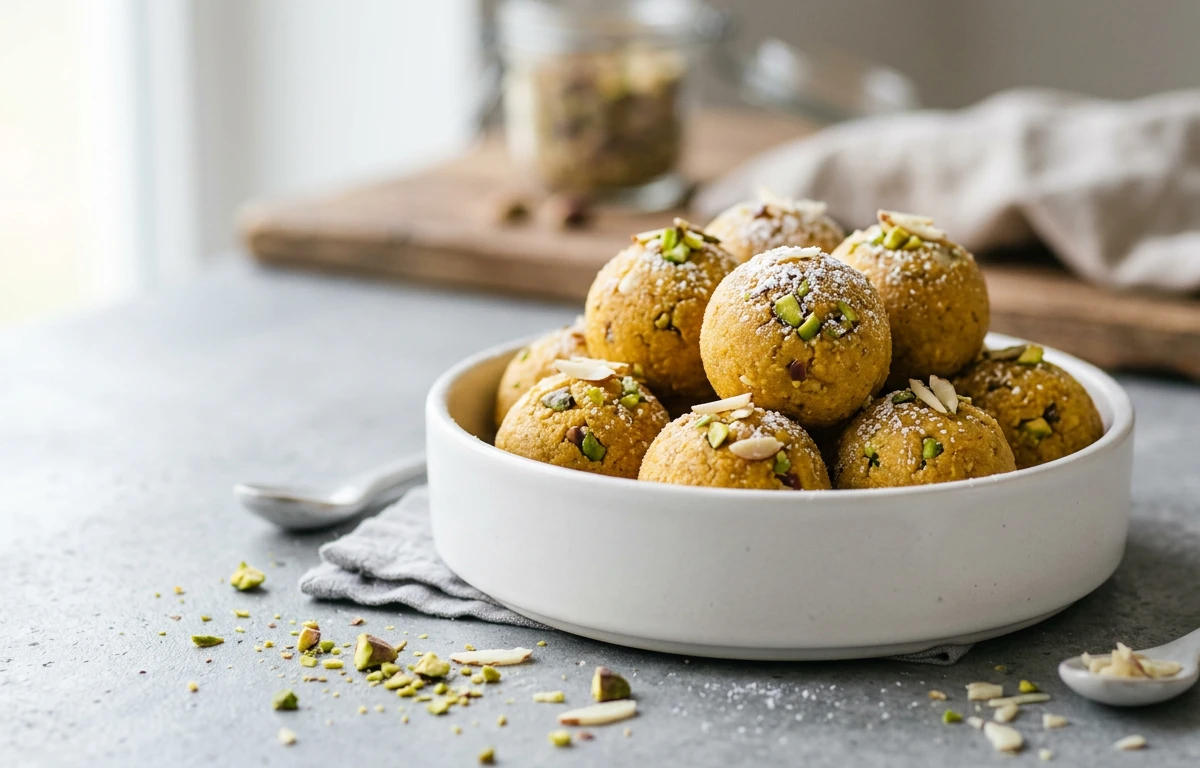
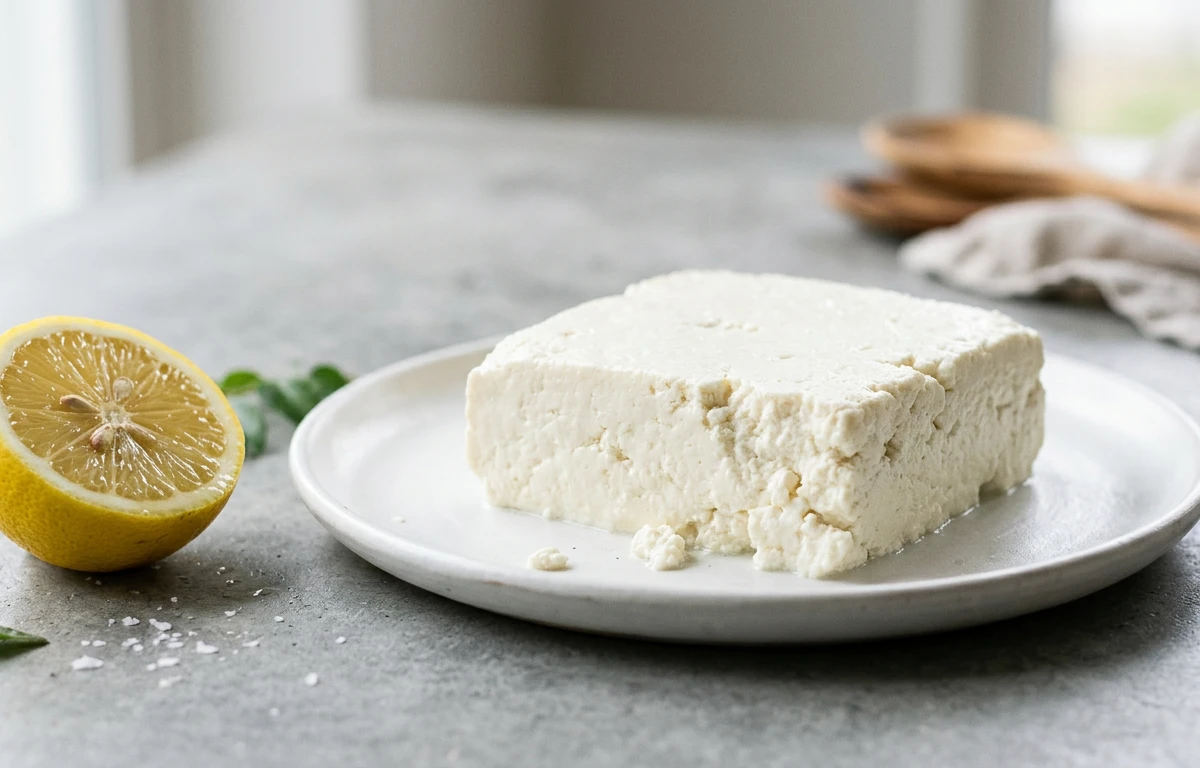
Soft, milky, and wonderfully fresh, this homemade paneer is worlds apart from store-bought blocks. With just two ingredients and no special equipment, you can have pillowy cubes of Indian cottage cheese ready in under an hour. Perfect for curries, tikkas, or crumbling into salads.
For 8 servings
- boil · ~10 min
Bring the milk to a boil.
1.Pour 2 liters of milk into a large, heavy-bottomed pot.2.Place over medium-high heat and bring to a boil, stirring occasionally to prevent scorching.3.Once it boils and froths up, turn the heat down to low.TIPStay close while the milk heats — it can boil over in seconds. - mix · ~1 min
Add lemon juice to curdle the milk.
1.Remove the pot from the heat.2.Slowly pour in the fresh lemon juice while gently stirring.3.Watch for the milk to split — greenish whey will separate from white curds within moments.TIPIf the milk doesn't split completely, add another teaspoon of lemon juice. - rest · ~2 min
Rest the curds for a moment.
Let the pot sit undisturbed for 2 minutes so the curds clump together completely.
- prep · ~2 min
Strain the curds.
1.Set a colander in the sink and line it with a damp muslin cloth.2.Carefully pour the curdled mixture through the cloth.3.Allow the whey to drain out completely. - prep · ~1 min
Rinse away the lemon flavor.
1.Run cold water gently over the collected curds in the muslin cloth.2.Squeeze the cloth lightly to rinse out any residual acidity.TIPRinsing ensures a clean, milky taste — don't skip this step. - prep · ~30 min
Press and set the paneer.
1.Gather the corners of the cloth and twist it tightly around the curds.2.Place the bundle in the colander and set a heavy pot or weight on top.3.Press for 20-30 minutes until the paneer is compact and solid.TIPA pot filled with water makes a great pressing weight. - prep · ~2 min
Cut the paneer block.
Unwrap the pressed paneer, place it on a board, and cut it into cubes or slabs.
- serve
Use immediately or store for later.
Use the paneer right away in curries and tikkas, or submerge it in a bowl of cool water and refrigerate for up to 3 days.
What to keep in mind.
6 tips from the recipe — small details that make a real difference to the final dish.
- 1Use full-fat milk for the creamiest texture; low-fat milk yields crumbly paneer.
- 2Stir the milk occasionally while boiling to prevent a scorched layer on the pot bottom.
- 3If the milk doesn't curdle after adding lemon juice, add 1 more teaspoon of juice and stir gently.
- 4Rinse the curds thoroughly under cold water to remove any sour lemon taste for a clean milky flavor.
- 5Press the paneer with a heavy weight (like a water-filled pot) for at least 20 minutes for a firm, sliceable block.
- 6Store leftover paneer submerged in cool water in the fridge; change the water daily to keep it fresh for up to 3 days.
Adapt it for your goals.
Vinegar-set paneer
Replace lemon juice with 2 tablespoons of white vinegar. This gives a neutral tang and is ideal if you prefer a less citrusy flavor.
low fat paneerLow-fat paneer
Use 2% or toned milk for a lighter paneer with fewer calories, though the texture will be slightly firmer and less creamy.
herb infused paneerHerb-infused paneer
Add a pinch of salt and finely chopped cilantro or crushed black peppercorns to the curds before pressing for a savory, aromatic block.
Why this is on our healthy list.
Rich in Milk Protein
Paneer is an excellent source of complete protein from milk, supporting muscle repair and satiety.
High in Calcium
Made from whole milk, this paneer provides a good amount of calcium for strong bones and teeth.
Contains Healthy Fats
The full-fat milk used delivers natural dairy fats that aid in absorption of fat-soluble vitamins.
Frequently asked questions
The milk may be too cool or not acidic enough. Heat it to a rolling boil and add a little more lemon juice if needed.