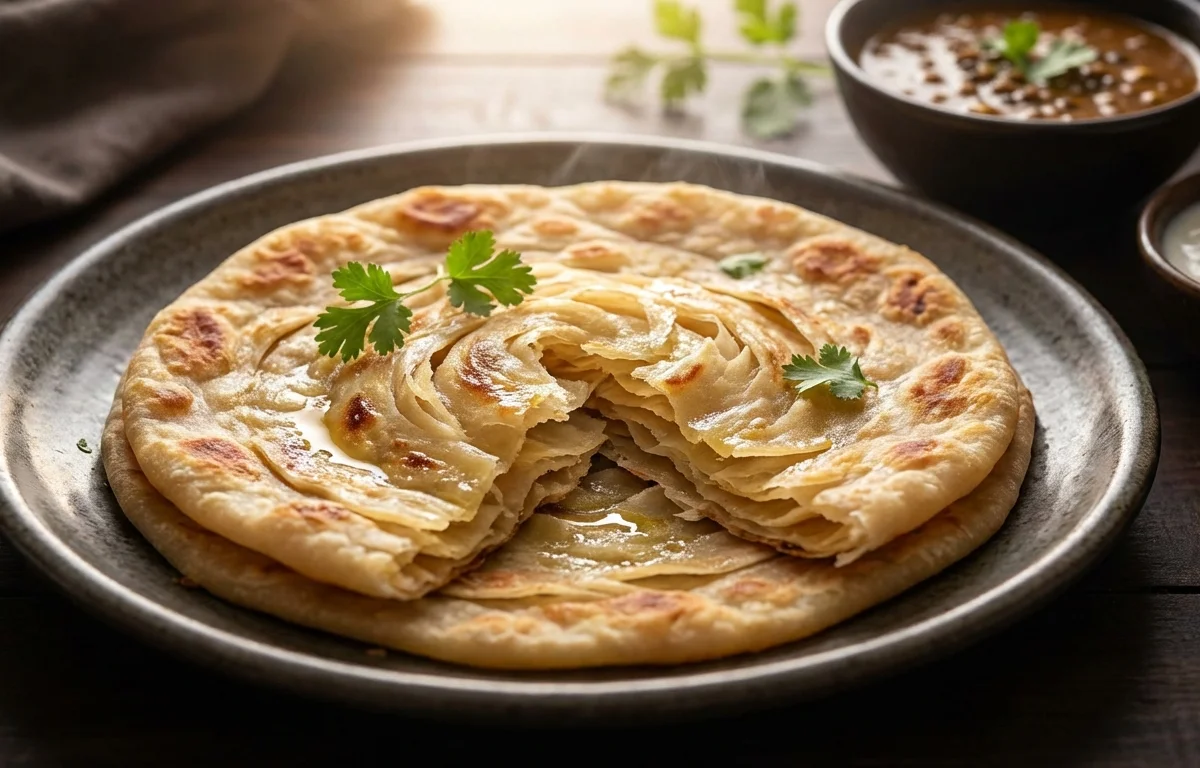
Ulte Tawa Paratha
A rustic street-style whole wheat paratha cooked on the back of an inverted tawa until it gets charred spots, flaky layers, and a crisp yet chewy bite. It pairs beautifully with rich curries, kebabs, or a simple bowl of yogurt.
For 4 servings
- knead · ~20 min
Knead the dough.
1.Add whole wheat flour and salt to a wide bowl and mix well.2.Pour in oil and rub it into the flour with your fingertips.3.Add water little by little and knead into a firm but smooth dough.4.Cover and rest the dough for 15 minutes.TIPA slightly firm dough holds its shape better when cooked on the inverted tawa. - prep · ~3 min
Divide and shape the dough balls.
Knead the rested dough briefly, then divide it into 4 equal balls. Keep them covered so they do not dry out while you roll each paratha.
- assemble · ~7 min
Roll and layer the parathas.
1.Dust one dough ball with flour and roll it into a thin circle.2.Spread a little ghee over the surface.3.Fold the circle into pleats, then coil it into a spiral.4.Flatten gently and roll again into a medium-thick round paratha.TIPLight layering with ghee and pleating helps create the flaky texture. - fry · ~5 min
Cook the paratha on the inverted tawa.
1.Heat an inverted tawa well over medium-high heat until evenly hot.2.Place one rolled paratha on the back of the tawa and cook until small bubbles appear.3.Flip and cook the other side, pressing gently with a cloth or spatula for even contact.4.Apply a little ghee on both sides and cook until brown spots and light char marks appear.TIPKeep the heat steady; if the tawa is too hot, the outside burns before the layers cook through. - fry · ~15 min
Cook the remaining parathas.
Repeat the rolling and cooking process with the remaining dough balls, using the rest of the ghee as needed. Stack the cooked parathas in a cloth-lined container to keep them soft.
- serve
Serve hot.
What to keep in mind.
7 tips from the recipe — small details that make a real difference to the final dish.
- 1Rest the dough at least 15 minutes so the atta relaxes and rolls without shrinking back.
- 2Keep the dough slightly firm; a soft dough can sag and tear when placed on the inverted tawa.
- 3Roll the first circle thin before pleating, but keep the final paratha medium-thick so the layers stay distinct.
- 4Use just a light smear of ghee while layering; too much can make the pleats slip and leak during rolling.
- 5Heat the inverted tawa evenly before cooking, or the paratha will blister in patches instead of browning uniformly.
- 6Press gently after flipping so the curved tawa makes full contact and cooks the inner layers through.
- 7Stack finished parathas in a cloth-lined container to trap warmth without making the surface soggy.
Adapt it for your goals.
Low-ghee
Use oil for layering and brush only a little ghee at the end if you want the smoky texture with a lighter finish.
ajwainAjwain
Add a pinch of ajwain to the dough for a more aromatic paratha that pairs especially well with rich curries.
stuffedStuffed
Use the same inverted-tawa method with a lightly spiced potato or paneer filling for a heartier street-style paratha.
veganVegan
Replace ghee with neutral oil for layering and cooking to keep the flakiness while making it fully dairy-free.
Why this is on our healthy list.
Whole Grain Base
Made with whole wheat flour, this paratha offers the bran and germ that refined flour flatbreads do not provide.
More Satisfying Texture
The whole wheat dough and layered structure make it filling and well suited to a balanced meal with yogurt or dal.
Simple Ingredient List
This recipe uses a short list of pantry ingredients without processed fillings or heavy additives.
Frequently asked questions
Usually the dough is too soft, the first roll was too thick, or there was not enough pleating and coiling before the final roll.