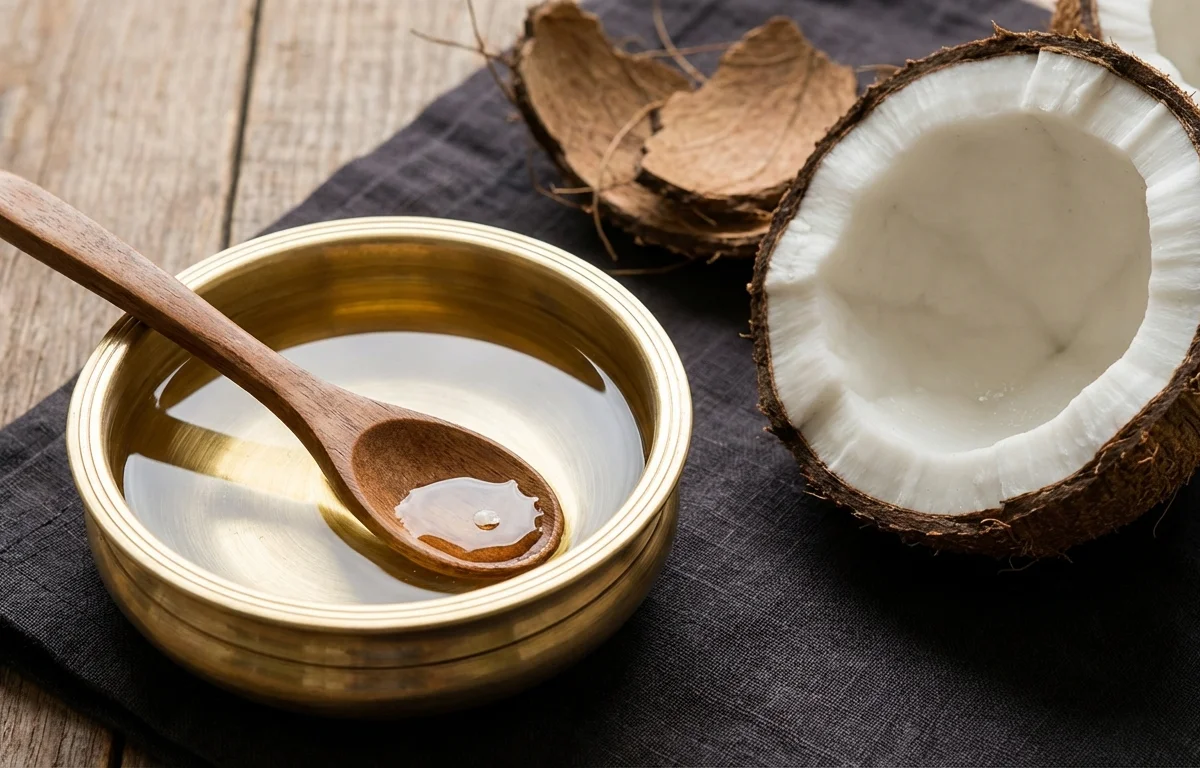
Virgin Coconut Oil
Fresh coconut is grated, blended, and gently heated to separate clear, fragrant oil from the coconut milk solids. This traditional homemade method gives you pure oil with a naturally sweet coconut aroma.
For 8 servings
- prep · ~15 min
Prepare the coconut.
1.Break the coconuts and remove the white flesh.2.Peel off any brown skin if you want a cleaner colored oil.3.Grate the coconut finely for easier milk extraction. - mix · ~10 min
Blend and extract the coconut milk.
1.Add the grated coconut and water to a blender.2.Blend until the mixture looks thick and milky.3.Pour it into a muslin cloth and squeeze out the coconut milk into a bowl.4.Press firmly to extract as much milk as possible.TIPWarm water helps release more milk, but do not use very hot water. - boil · ~30 min
Heat the coconut milk gently.
Pour the coconut milk into a heavy pan and cook over low to medium heat, stirring often. After some time, the milk will thicken, then curdle, and the oil will begin to separate from the solids.
TIPKeep the heat moderate so the solids brown slowly without burning. - simmer · ~15 min
Cook until the oil fully separates.
Continue cooking until the coconut solids turn light golden brown and clear oil pools around them. Switch off the heat as soon as the oil smells fragrant and the solids are evenly browned.
TIPDo not overcook after separation, or the oil can develop a burnt taste. - rest · ~10 min
Cool the oil slightly.
Let the pan sit for 10 minutes so the solids settle and the oil is easier to strain safely.
- assemble
Strain and bottle the oil.
Strain the warm oil through a clean muslin cloth into a dry, clean glass jar. Discard the solids or save them for another use after cooling.
- serve
Store in a cool, dry place.
What to keep in mind.
8 tips from the recipe — small details that make a real difference to the final dish.
- 1Use mature coconuts with thick flesh; tender coconut meat gives poor oil yield.
- 2Warm the grated coconut slightly before blending to help release richer coconut milk.
- 3Squeeze the muslin in batches and press firmly, since better milk extraction means better oil separation later.
- 4Choose a wide, heavy pan so the coconut milk reduces evenly and is easier to stir without scorching.
- 5Once the milk starts curdling, stir more frequently and scrape the bottom to prevent the solids from catching.
- 6Stop cooking when the solids are light golden, not dark brown, or the oil will taste toasted and bitter.
- 7Bottle only after the oil is fully strained and moisture-free; any water left behind shortens shelf life.
- 8Save the browned coconut solids to mix into chutney, sprinkle over poriyal, or add to sweets.
Adapt it for your goals.
Small-batch
Halve the coconuts and water if you want an easier first attempt with less stirring and lower risk of scorching.
extra whiteExtra-white
Peel off all the brown coconut skin before grating for a paler oil with a cleaner look and slightly milder flavor.
double extractionDouble-extraction
After the first squeeze, reblend the coconut residue with a little more warm water and extract again for better yield.
slow cookedSlow-cooked
Cook entirely on low heat for a gentler aroma and more control if you are worried about burning the milk solids.
Why this is on our healthy list.
Naturally Plant-Based Fat
This homemade oil is made only from coconut and water, with no added preservatives or refined additives.
Minimal Ingredient Preparation
Because it uses fresh coconut and simple extraction, it lets you control purity and avoid unnecessary processing ingredients.
Aromatic Cooking Medium
Its natural coconut fragrance can add flavor on its own, which may reduce the need for extra flavoring fats in some dishes.
Frequently asked questions
Usually the heat is too low, the milk is too diluted, or it has not cooked long enough for the water to evaporate and the fat to separate.