Whole Wheat Pita Bread
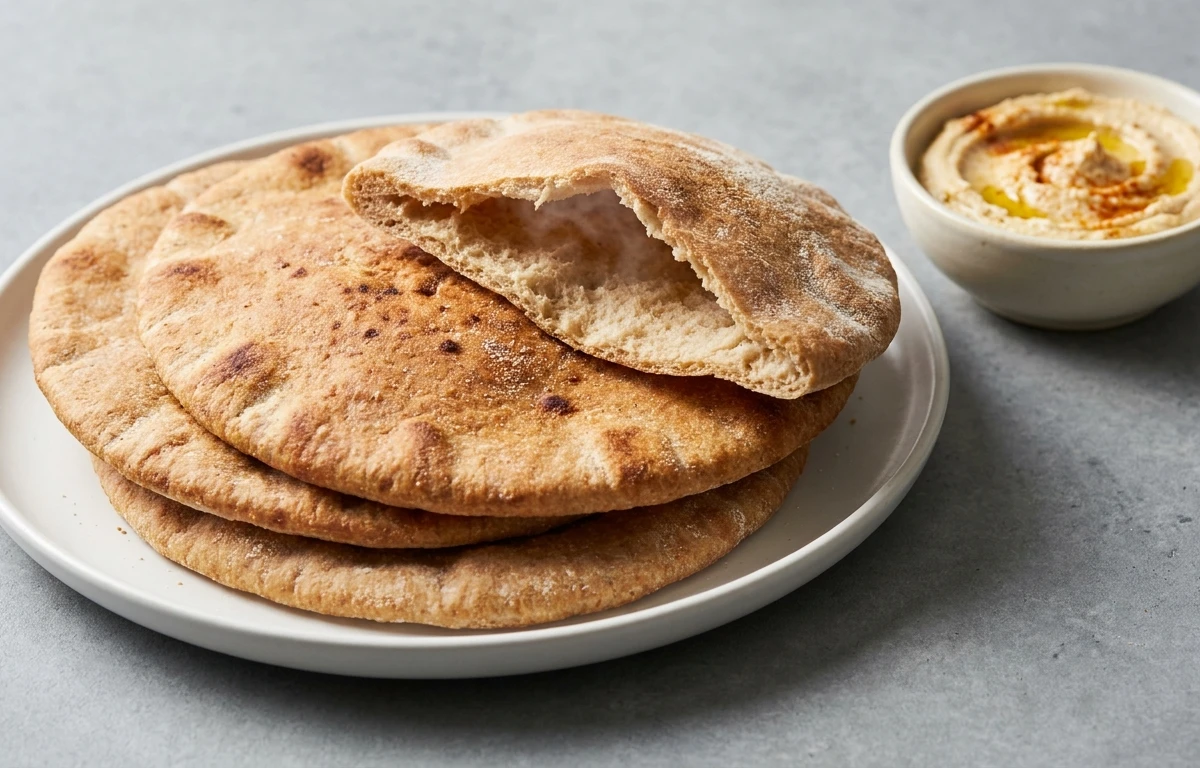
Soft, warm whole wheat pita bread with that signature pocket perfect for stuffing. Made with simple pantry ingredients, these pitas puff up beautifully in a hot oven or skillet, creating the ideal vessel for falafel, grilled vegetables, or your favorite sandwich fillings.
For 4 servings
- prep · ~8 min
Activate the yeast.
1.Pour warm water into a small bowl. Sprinkle yeast and honey over the water.2.Stir gently and let sit for 5 to 8 minutes until frothy and bubbly.TIPWater should feel warm to the wrist, not hot. If it's too hot it will kill the yeast. - mix · ~1 min
Mix the dry ingredients.
In a large mixing bowl, whisk together the whole wheat flour, all-purpose flour, and salt until well combined.
- knead · ~10 min
Knead the dough until smooth.
1.Make a well in the center of the flour mixture. Pour in the activated yeast mixture and olive oil.2.Stir with a wooden spoon until a shaggy dough forms.3.Turn the dough onto a lightly floured surface and knead for 8 to 10 minutes until smooth and elastic, adding a dusting of flour only if too sticky.TIPThe dough should feel soft and slightly tacky but not stick to your hands. Over-flouring makes tough pitas. - rest · ~90 min
Let the dough rise until doubled.
1.Place the dough ball in a lightly oiled bowl, turning to coat all sides.2.Cover with a damp kitchen towel and let rise in a warm spot for 1 to 1.5 hours, until doubled in size.TIPIf your kitchen is cold, place the bowl inside a turned-off oven with the light on — it creates a gentle proofing box. - prep · ~15 min
Preheat the oven and baking sheet.
1.Place a baking sheet or pizza stone on the middle oven rack.2.Preheat the oven to 475°F (245°C). Let the sheet heat fully for at least 15 minutes.TIPThe screaming-hot surface is what creates the steam burst that puffs the pita into a pocket. - prep · ~10 min
Divide and shape the dough balls.
1.Punch down the risen dough and turn it onto a lightly floured surface.2.Divide into 8 equal portions. Roll each portion into a smooth ball.3.Cover the balls with a kitchen towel and let rest for 10 minutes to relax the gluten. - prep · ~5 min
Roll the pitas into thin rounds.
1.On a lightly floured surface, roll each dough ball into a circle about 6 inches wide and 1/4 inch thick.2.Keep rolled pitas covered with a towel while you work so they don't dry out.TIPRoll evenly and don't make them too thick, or they won't puff properly. Aim for uniform thickness across the whole round. - bake · ~5 min
Bake the pitas until puffed and lightly browned.
1.Carefully lay 2 to 3 dough rounds onto the preheated baking sheet without overcrowding.2.Bake for 3 to 4 minutes, until they puff up fully and just start to show pale golden spots.3.Flip with tongs and bake 1 minute more. Remove immediately.TIPWatch through the oven window — the puff happens fast. Don't open the oven door until you see them balloon up. - rest · ~10 min
Steam the baked pitas to keep them soft.
As each batch comes out of the oven, stack the hot pitas and wrap them snugly in a clean kitchen towel. The steam trapped inside softens the crust.
- serve
Serve warm or store for later.
Slice pitas in half to reveal the pocket, or leave whole. Serve immediately, or once cooled completely store in a zip-top bag at room temperature for up to 2 days. Reheat briefly in a dry skillet to revive the softness.
What to keep in mind.
7 tips from the recipe — small details that make a real difference to the final dish.
- 1Use a kitchen scale to portion dough balls for perfectly uniform pitas that puff evenly.
- 2If your pitas don't puff, the oven wasn't hot enough — wait until the baking sheet is fully preheated for at least 15 minutes.
- 3Roll each pita round to an even 1/4-inch thickness; thicker spots prevent proper pocket formation.
- 4Stack warm pitas in a towel immediately after baking to trap steam and keep them pliable.
- 5Store fully cooled pitas in a sealed bag at room temperature for up to 2 days, or freeze for up to 3 months.
- 6Reheat leftover pitas in a dry cast-iron skillet for 30 seconds per side to restore softness without toughness.
- 7For extra tenderness, substitute 1/4 cup of the whole wheat flour with spelt or white whole wheat flour.
Adapt it for your goals.
Herb & Garlic Pita
Add 1 teaspoon dried oregano and 1/2 teaspoon garlic powder to the dry ingredients for a savory, aromatic pita perfect with hummus or grilled meats.
Spiced Cumin PitaSpiced Cumin Pita
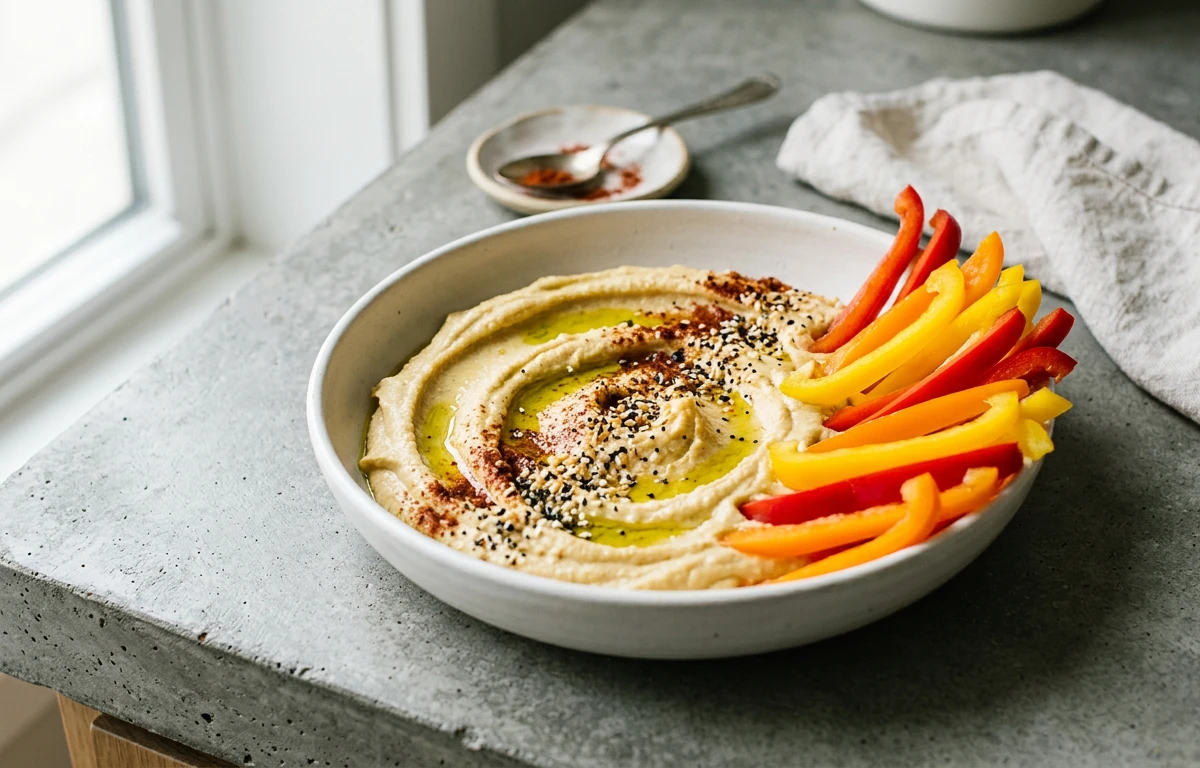
Mix 1 teaspoon ground cumin and 1/2 teaspoon black pepper into the flour for a warm, earthy flavor that pairs beautifully with middle eastern dips and salads.
100% Whole Wheat Pita100% Whole Wheat Pita
Replace the all-purpose flour with an equal amount of whole wheat flour and increase water by 1-2 tablespoons for a denser, more nutritious pita with a nuttier taste.
Whole Spelt PitaWhole Spelt Pita
Use 2 1/2 cups whole spelt flour instead of the wheat blend for a rustic, slightly tangy pita that works well for those with mild wheat sensitivities (not gluten-free).
Gluten Free PitaGluten-Free Pita
Substitute the flours with a 1:1 gluten-free all-purpose flour blend and add 1 teaspoon xanthan gum for structure — expect a denser pocket, but still delicious for stuffing.
Why this is on our healthy list.
Rich in Dietary Fiber
Whole wheat flour retains the bran and germ, providing more fiber than refined white flour, which supports healthy digestion and sustained energy.
Good Source of Complex Carbohydrates
The combination of whole wheat and all-purpose flours offers slow-release energy, making these pitas a satisfying base for balanced meals.
Low in Added Sugars
With just one teaspoon of honey for the entire batch, this recipe minimizes added sugar while still feeding the yeast properly.
Heart-Healthy Olive Oil
The olive oil provides monounsaturated fats that support cardiovascular health, with no butter or shortening used in the dough.
Frequently asked questions
The most common reasons are insufficient oven heat, dough rolled too thick or unevenly, or opening the oven door too early. Ensure your baking sheet preheats for a full 15 minutes at 475°F, roll to an even 1/4-inch thickness, and don't peek until at least 3 minutes have passed.