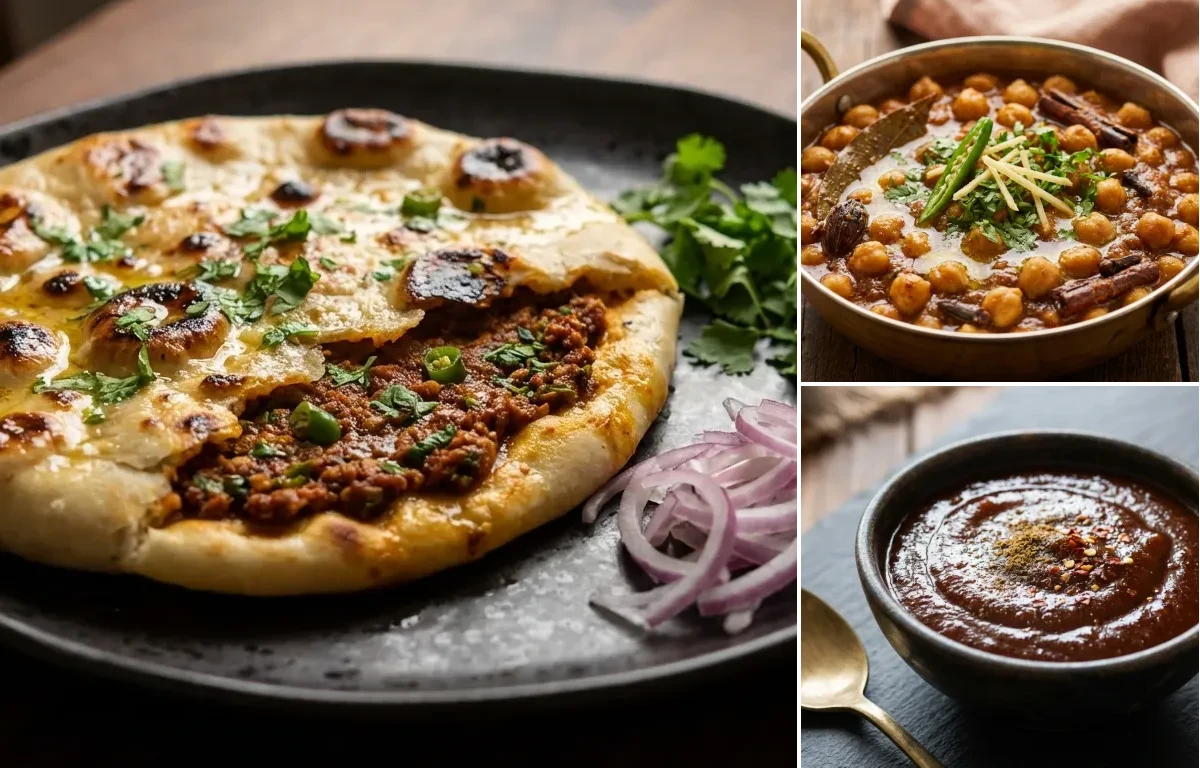
A delicious Punjabi flatbread stuffed with a spicy and savory minced chicken filling. Cooked on a griddle until golden and fluffy, this kulcha is a hearty and satisfying meal, perfect with a side of raita or chutney.
Prep30 min
Cook35 min
Servings4
Serving size: 1 serving
554cal
20gprotein
57gcarbs
28g
Ingredients
2 cup All-Purpose Flour (Approximately 250g)
0.5 cup Plain Yogurt (At room temperature)
1 tsp Sugar
1 tsp Baking Powder
0.5 tsp Baking Soda
1.75 tsp Salt (1 tsp for dough, 0.75 tsp for filling)
4 tbsp Vegetable Oil (2 tbsp for dough, 2 tbsp for filling)
A classic North Indian curry featuring tender chickpeas simmered in a spicy, tangy tomato and onion gravy. This hearty and flavorful dish, also known as Chana Masala, is a staple in Punjabi households and pairs perfectly with bhature, puri, or rice.
A classic Indian condiment balancing sweet, sour, and tangy notes perfectly. Made from tamarind pulp, jaggery, and spices, this chutney is the soul of chaat and the perfect dip for samosas and pakoras.
Prep15 min
Cook25 min
Soak30 min
Servings
About Chicken Keema Kulcha, Punjabi Chole Masala and Tamarind Chutney
Crispy Amritsari kulcha with protein-packed keema, fiber-rich chole, and tangy chutney. A truly satisfying meal!
This punjabi dish is perfect for lunch. With 1065.96 calories and 36.720000000000006g of protein per serving, it's a nutritious choice for your meal plan.
Other Cuisines to Explore
Discover authentic meals from cuisines around the world.
In a large mixing bowl, combine the all-purpose flour, sugar, baking powder, baking soda, and 1 tsp of salt. Whisk to combine.
Add the plain yogurt and 2 tbsp of vegetable oil. Mix with your fingertips until the mixture resembles coarse breadcrumbs.
Gradually add warm water and knead for 8-10 minutes to form a soft, smooth, and pliable dough. The dough should be slightly sticky but manageable.
Cover the dough with a damp cloth or plastic wrap and let it rest in a warm place for at least 90 minutes, or until it has risen slightly.
2
Cook the Chicken Keema Filling
Heat 2 tbsp of vegetable oil in a pan over medium heat. Add the finely chopped onions and sauté for 3-4 minutes until they become soft and translucent.
Add the ginger-garlic paste and chopped green chilies. Sauté for another minute until the raw aroma disappears.
Stir in the chopped tomatoes and cook for 4-5 minutes until they turn soft and mushy.
Add the turmeric powder, red chili powder, coriander powder, and 0.75 tsp of salt. Mix well and cook the spices for 1 minute.
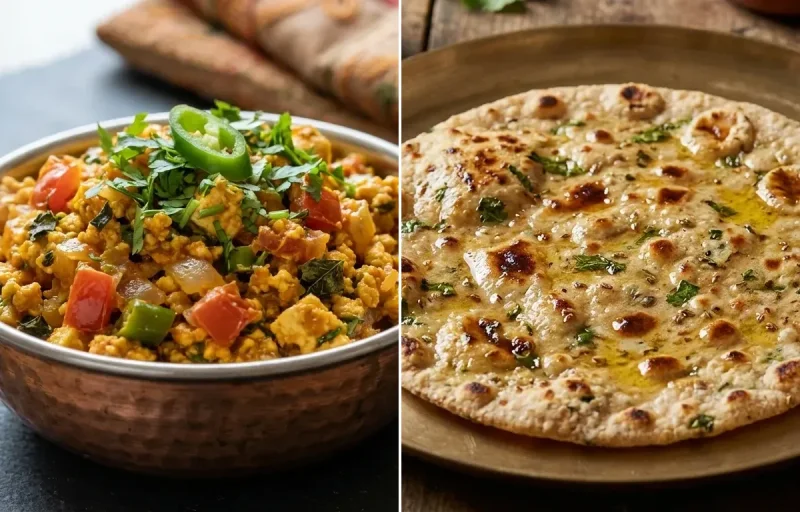
Add the minced chicken to the pan. Use a spatula to break up any lumps. Cook for 10-12 minutes, stirring frequently, until the chicken is fully cooked and all the moisture has evaporated. The filling must be completely dry.
Turn off the heat. Stir in the garam masala and freshly chopped coriander leaves. Transfer the filling to a plate and allow it to cool down completely.
3
Stuff and Roll the Kulchas
Once the dough has rested, gently knead it for one minute.
Divide the dough into 4 equal portions and roll them into smooth balls.
Take one dough ball and flatten it with your palms into a 3-inch disc. Create a small depression in the center.
Place 2-3 tablespoons of the cooled chicken keema filling in the center.
Carefully bring the edges of the dough together, pleating as you go, and seal the filling inside. Pinch the top firmly to close the ball.
Lightly dust the stuffed ball with flour and gently roll it into a 6-7 inch circle, about 1/4 inch thick. Apply even pressure to avoid the filling from tearing the dough.
4
Cook the Kulchas
Heat a tawa or a heavy-bottomed skillet over medium heat.
Carefully place the rolled kulcha onto the hot tawa. Cook for about 1-2 minutes, or until small bubbles start to appear on the surface.
Flip the kulcha. Brush about 1/2 tsp of ghee on the cooked side.
Cook the second side for another 1-2 minutes. Flip again, brush ghee on the other side, and press down gently with a spatula.
Continue to flip and cook for a total of 4-5 minutes, until both sides are golden brown and the kulcha is cooked through and fluffy.
Repeat the process for the remaining dough balls.
5
Serve
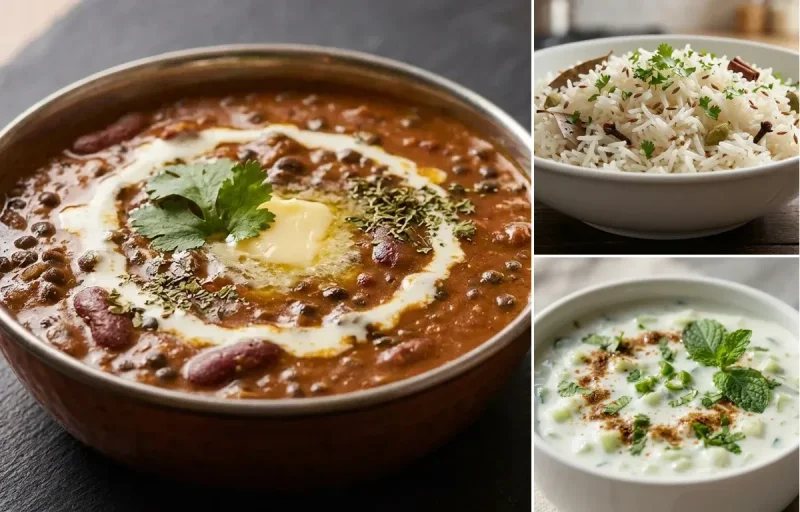
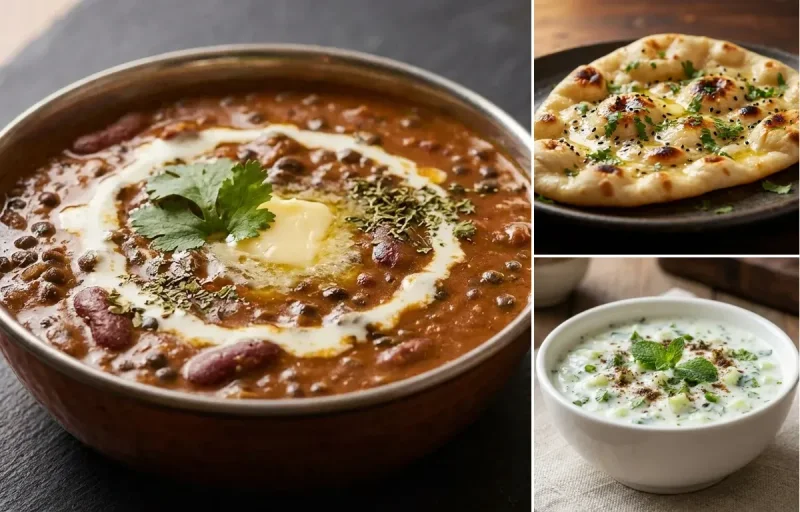
Serve the Chicken Keema Kulchas immediately while they are hot and soft. They pair wonderfully with mint raita, plain yogurt, or a tangy pickle.
Servings4
Serving size: 1 serving
419cal
17gprotein
58gcarbs
15gfat
Ingredients
1.5 cup Dried Chickpeas (Also known as Kabuli Chana)
0.25 tsp Baking Soda (Optional, for soaking to soften chickpeas)
4 cup Water (For pressure cooking)
2 pcs Black Tea Bags (For authentic dark color)
1 pcs Bay Leaf
1 pcs Black Cardamom
1 inch Cinnamon Stick
4 pcs Cloves
1.5 tsp Salt (Divided use)
3 tbsp Ghee (Can substitute with oil)
2 pcs Onion (Medium, finely chopped)
1.5 tbsp Ginger-Garlic Paste
2 pcs Green Chili (Slit lengthwise)
3 pcs Tomatoes (Medium, pureed)
0.5 tsp Turmeric Powder
1 tsp Kashmiri Red Chili Powder (For color and mild heat)
1.5 tsp Coriander Powder
2 tbsp Chana Masala Powder (Use a good quality brand)
1 tsp Amchur Powder (Dry mango powder for tanginess)
3 tbsp Coriander Leaves (Fresh, chopped for garnish)
1 inch Ginger (Julienned for garnish)
Instructions
1
Soak and Cook the Chickpeas
Rinse the dried chickpeas and soak them in ample water for at least 8 hours or overnight. Add 1/4 tsp of baking soda to the soaking water to help soften them.
Drain the soaking water. Transfer the chickpeas to a pressure cooker. Add 4 cups of fresh water, 2 tea bags, bay leaf, black cardamom, cinnamon stick, cloves, and 1 tsp of salt.
Secure the lid and pressure cook on high heat for 6-8 whistles (about 20-25 minutes). After the whistles, reduce the heat to low and simmer for 10 minutes.
Allow the pressure to release naturally. Open the cooker and check if the chickpeas are soft and mash easily. Discard the tea bags and whole spices. IMPORTANT: Reserve the nutrient-rich cooking water.
2
Prepare the Masala Base
Heat 3 tbsp of ghee in a heavy-bottomed pan or kadai over medium heat.
Add the finely chopped onions and sauté until they turn a deep golden brown, which should take about 8-10 minutes. This step is crucial for the authentic Punjabi flavor.
Add the ginger-garlic paste and slit green chilies. Sauté for another 1-2 minutes until the raw aroma disappears.
Pour in the tomato puree. Cook this mixture, stirring occasionally, until it thickens and you see oil separating from the sides of the masala. This 'bhunao' process takes about 10-12 minutes and builds a deep flavor base.
Reduce the heat to low. Add all the spice powders: turmeric, Kashmiri red chili powder, coriander powder, chana masala powder, amchur powder, and the remaining 0.5 tsp of salt. Stir continuously for 1 minute until fragrant.
Add the cooked chickpeas along with all their reserved cooking water to the masala. Stir everything together gently.
Using the back of a ladle, mash about 1/4 of the chickpeas against the side of the pan. This will naturally thicken the gravy.
Bring the curry to a boil, then reduce the heat to low. Cover the pan and let it simmer for 15-20 minutes, allowing the chickpeas to absorb the flavors of the masala. If the gravy becomes too thick, add a little hot water to adjust the consistency.
4
Garnish and Serve
Turn off the heat. Stir in the final 1 tbsp of ghee for a rich aroma and glossy finish.
Garnish generously with fresh chopped coriander leaves and ginger juliennes.
Let the curry rest for 10 minutes before serving. Serve hot with fluffy bhature, puri, naan, or steamed basmati rice.
4
Add Spices and Simmer
Once the mixture is boiling, reduce the heat to low.
Stir in the roasted cumin powder, dry ginger powder, red chili powder, black salt, regular salt, garam masala, and optional hing.
Mix well and let the chutney simmer for 20-25 minutes. Stir occasionally to prevent it from sticking.
The chutney is ready when it has thickened and coats the back of a spoon.
5
Cool and Store
Turn off the heat and allow the chutney to cool completely to room temperature. It will thicken significantly as it cools.
Once cooled, transfer the chutney to a clean, dry, and airtight glass jar.