Pav
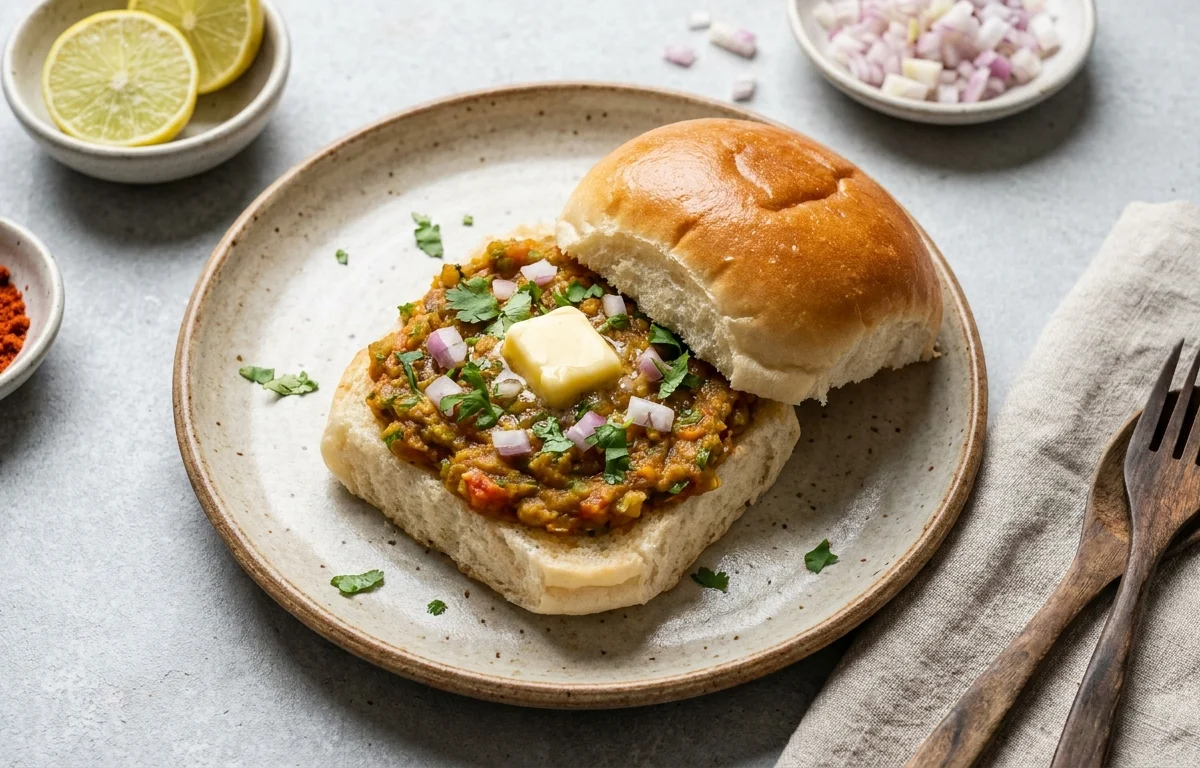
Soft, pillowy white dinner rolls with a delicate golden-brown crust, famously paired with pav bhaji, vada pav, and misal. These Mumbai-style pav buns have a tender crumb and subtle sweetness that comes from a richly enriched dough. Baking them close together creates that characteristic pull-apart softness that defines the perfect pav.
For 4 servings
- prep · ~7 min
Activate the yeast.
In a small bowl, combine warm milk and sugar. Sprinkle instant yeast over the top and let it sit undisturbed for 5 to 7 minutes until the mixture turns frothy and bubbly.
TIPMilk should feel warm to the touch, not hot — hot milk kills the yeast. - mix · ~2 min
Make the dough.
In a large mixing bowl, combine the all-purpose flour and salt. Make a well in the centre. Pour in the frothy yeast mixture and add the softened butter. Mix with your hand or a wooden spoon until the flour comes together into a shaggy mass.
- knead · ~10 min
Knead the dough until smooth and elastic.
Transfer the dough to a lightly floured work surface. Knead for 8 to 10 minutes, using rhythmic push-and-fold motions. The dough should become smooth, soft, and spring back slowly when poked. Avoid adding too much extra flour — a slightly tacky dough yields softer pav.
TIPResist the urge to add too much flour. A slightly tacky dough creates softer buns. - rest · ~60 min
Let the dough rise until doubled in size.
Place the kneaded dough ball in a lightly greased mixing bowl. Cover with a damp kitchen towel or cling film. Leave it in a warm, draft-free spot for about 45 minutes to 1 hour, or until the dough has doubled in volume.
TIPIf your kitchen is cold, place the bowl inside a switched-off oven with just the pilot light on. - prep · ~5 min
Punch down and shape the pav.
Gently punch down the risen dough to release air bubbles. Divide the dough into 8 equal portions using a dough scraper or knife. Roll each portion between your palm and the work surface into a tight, smooth ball. Arrange the balls in a greased baking tray, placing them close together so they touch slightly while proving.
TIPPlacing the dough balls close together is the secret to pull-apart soft pav. - rest · ~30 min
Proof the pav a second time.
Cover the tray loosely with the damp kitchen towel and let the shaped dough balls proof for another 25 to 30 minutes. They should puff up noticeably and nestle against each other.
- bake · ~20 min
Brush with milk and bake until golden.
Preheat the oven to 190°C (375°F). Gently brush the tops of the proofed pav with the reserved milk. Bake in the preheated oven for 18 to 20 minutes, or until the tops turn a deep golden brown and the buns sound hollow when tapped on the bottom.
TIPFor an extra glossy, dark golden top, brush with a mix of milk and a small pinch of turmeric — the classic Indian bakery trick. - rest · ~5 min
Cool slightly before serving.
Remove the tray from the oven. Brush the hot pav with a little extra butter for a soft, shiny crust. Let them cool in the tray for 5 minutes, then pull apart the soft pav buns and serve warm.
What to keep in mind.
6 tips from the recipe — small details that make a real difference to the final dish.
- 1For best results, weigh your flour instead of using cup measures to ensure consistent hydration.
- 2Avoid adding too much extra flour during kneading; a slightly tacky dough yields softer buns.
- 3Place the shaped dough balls close together in the tray so they touch while proofing — this creates pull-apart softness.
- 4Proof in a warm, draft-free spot; if your kitchen is cold, use the oven with just the light on.
- 5Brush with a milk-turmeric mixture before baking for an authentic glossy golden-brown crust.
- 6Once baked, brush hot pav with melted butter to keep the crust soft and shiny.
Adapt it for your goals.
Whole-wheat pav
Substitute half the all-purpose flour with whole-wheat flour for a nuttier flavor and extra fiber. Add an extra tablespoon of milk as whole-wheat absorbs more liquid.
garlic butter pavGarlic butter pav
After baking, brush with melted butter mixed with minced garlic and chopped cilantro for a savory twist that pairs wonderfully with soups or curries.
vegan pavVegan pav
Replace milk with warm oat or soy milk, and use vegan butter or coconut oil. The buns will be slightly less rich but still soft and delicious.
herb and cheese pavHerb and cheese pav
Add 1/2 cup of grated cheddar or parmesan and 1 teaspoon of dried oregano to the dry ingredients. This creates a savory, cheesy pav perfect for sliders.
Why this is on our healthy list.
Good Source of Energy
All-purpose flour provides carbohydrates, offering a quick source of energy for busy mornings or post-workout refueling.
Calcium from Milk
The milk used in the dough and for brushing contributes calcium, supporting bone and dental health.
Contains Healthy Fats
Butter adds a small amount of saturated fat and fat-soluble vitamins, aiding in nutrient absorption and providing satiety.
Frequently asked questions
This usually happens if the dough was over-floured or under-kneaded. Keep the dough slightly tacky and knead until smooth and elastic, about 8-10 minutes.