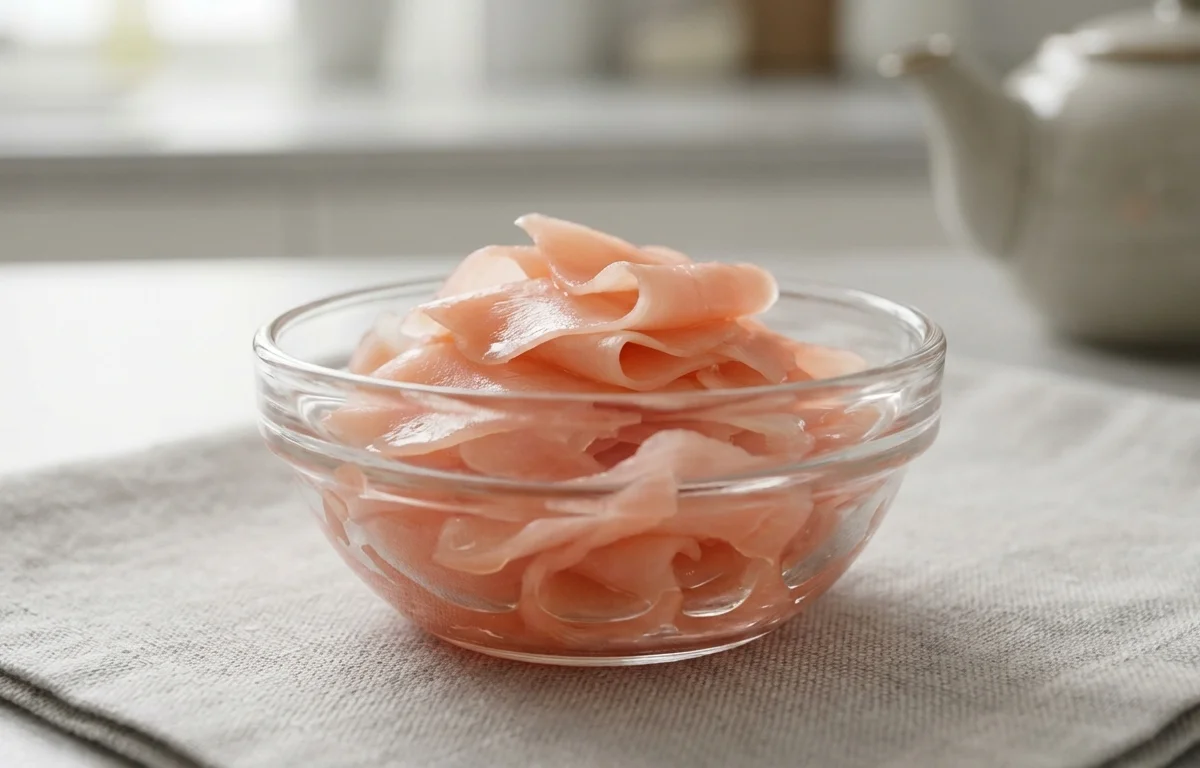
Pickled Ginger
Thinly sliced young ginger pickled in a sweet and tangy rice vinegar brine. This pale pink, palate-cleansing condiment is a sushi bar staple that takes minutes to prep and just a few hours to transform into a zesty, refreshing accompaniment.
For 16 servings
- prep · ~5 min
Prepare the ginger.
1.Scrape the thin skin off the young ginger using the edge of a spoon.2.Slice the ginger as thinly as possible using a mandoline or sharp knife, cutting across the grain for tender slices.3.Toss the sliced ginger with a pinch of salt and let it sit for 5 minutes to draw out excess moisture. - boil · ~2 min
Quickly blanch the ginger slices.
1.Bring a small pot of water to a rolling boil.2.Add the salted ginger slices and blanch for 30 seconds to soften them slightly.3.Drain immediately and spread the ginger on a clean kitchen towel to dry while you make the brine.TIPOver-blanching makes the ginger limp; 30 seconds is all you need for a tender-crisp texture. - prep · ~5 min
Make the pickling brine.
1.In a small saucepan, combine the rice vinegar and sugar.2.Heat over medium-low, stirring gently, just until the sugar fully dissolves. Do not let it boil vigorously.3.Remove from heat and let the brine cool to room temperature.TIPHeating just enough to dissolve the sugar preserves the delicate vinegar aroma. - assemble · ~240 min
Pack the jar and pickle.
1.Pack the blanched, dried ginger slices tightly into the sterilized mason jar.2.Pour the cooled brine over the ginger, making sure all slices are completely submerged.3.Seal the jar and let it sit at room temperature for 4 hours, then transfer to the refrigerator.TIPThe ginger will develop a delicate pink hue within a day as it pickles. Using young ginger with pink tips helps intensify the natural color.
What to keep in mind.
6 tips from the recipe — small details that make a real difference to the final dish.
- 1Slice the ginger across the grain for tender, non-stringy pickles.
- 2Blanch for exactly 30 seconds to keep a tender-crisp texture, not limp slices.
- 3Dry ginger well after blanching to avoid diluting the pickling brine.
- 4Use young ginger with pink tips for a natural rosy color without additives.
- 5Let the pickled ginger rest at least 4 hours before eating for best flavor.
- 6Store in the refrigerator; it keeps for up to a month and tastes better after a few days.
Adapt it for your goals.
Sugar-free
Replace sugar with an equal amount of erythritol or allulose for a keto-friendly, low-carb pickled ginger with no aftertaste.
spicySpicy
Add a small dried red chili or a sliver of fresh Thai chili to the jar for a spicy kick that complements sushi rolls.
herb infusedHerb-infused
Add a few shiso leaves (perilla) or a sprig of fresh dill to the brine for an aromatic twist on classic pickled ginger.
Why this is on our healthy list.
Digestive Aid
Ginger is traditionally used to stimulate digestion and reduce nausea, making this a refreshing palate cleanser after meals.
Low-Calorie Condiment
Naturally low in calories and fat, this sweet-tangy pickle adds flavor without significant energy intake.
Contains Antioxidants
Young ginger provides bioactive compounds like gingerol, which have antioxidant properties that help protect cells.
Frequently asked questions
The pink color comes naturally from young ginger's pink tips and the acid from rice vinegar; if using older ginger, it will stay pale.