non-vegetariangluten-free
udupi
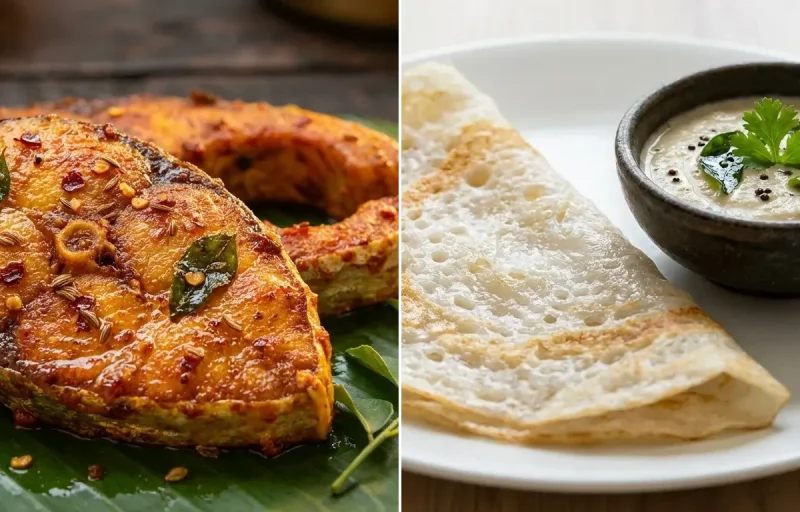
Anjal Masala Fry with Neer Dosa
Crispy, perfectly spiced Anjal Masala Fry with light Neer Dosa - a protein-packed, quick dinner.
30 min
577 cal
40gProtein
79gCarbs
11gFat
2Recipes
Loading...

Gut-friendly Kadale Kaalu Saaru with protein-packed omelette & crispy happala. Homestyle deliciousness!

A traditional Karnataka curry made with black chickpeas, coconut, and a blend of aromatic spices. This tangy and slightly sweet saaru is the perfect comfort food, best enjoyed with steamed rice or ragi mudde.
Serving size: 1 serving

Perfectly fluffy, long-grained basmati rice with a delicate aroma. This simple, foolproof recipe gives you separate, non-sticky grains every time, making it the perfect base for any curry or dal.

A fluffy, savory omelette packed with the vibrant flavors of India. Finely chopped onions, tomatoes, and green chilies are whisked with eggs and aromatic spices for a quick, satisfying, and protein-rich breakfast.
Serving size: 1 serving

Crispy, sun-dried lentil wafers made from urad dal flour and spiced with black pepper and hing. A classic Indian accompaniment that's perfect for roasting or frying to enjoy with any meal. This recipe guides you through the traditional process of making these iconic crackers from scratch.
Serving size: 1 serving
Gut-friendly Kadale Kaalu Saaru with protein-packed omelette & crispy happala. Homestyle deliciousness!
This udupi dish is perfect for lunch. With 917.26 calories and 36.309999999999995g of protein per serving, it's a muscle-gain option for your meal plan.
Discover authentic meals from cuisines around the world.
Find meals that fit your dietary preferences.
Find meals optimized for your goal.
Soak and Cook Chickpeas
Prepare the Masala Paste
Prepare the Saaru Base
Combine and Simmer
Garnish and Serve
Serving size: 1 serving
Rinse and Soak the Rice (35 minutes)
Cook the Rice (15 minutes)
Rest and Fluff (10 minutes)
Prepare the Egg Mixture
Add Vegetables
Cook the First Omelette
Prepare the Flour Mixture
Form the Stiff Dough
Pound the Dough
Rest the Dough
Shape into Logs and Pellets
Roll the Papads
Dry the Papads
Store and Cook
Fold and Finish
Serve and Repeat
Crispy, perfectly spiced Anjal Masala Fry with light Neer Dosa - a protein-packed, quick dinner.
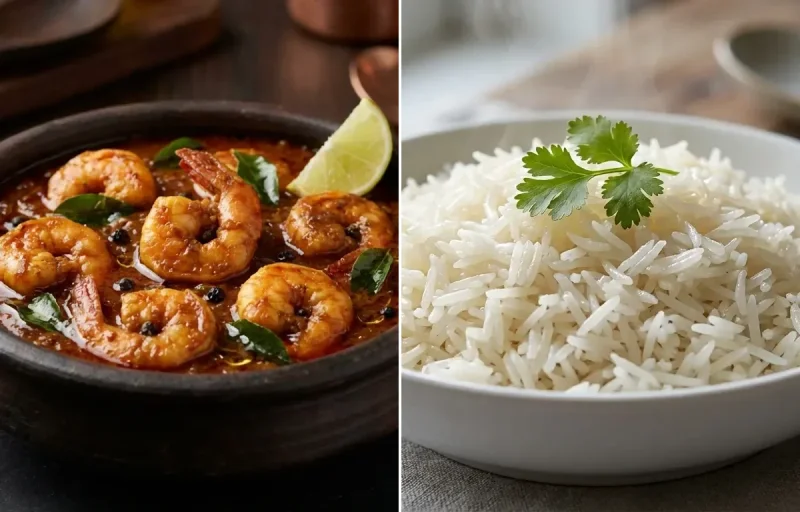
Tangy, aromatic Prawn Pulimunchi with fluffy rice - a protein-packed, soul-satisfying meal!
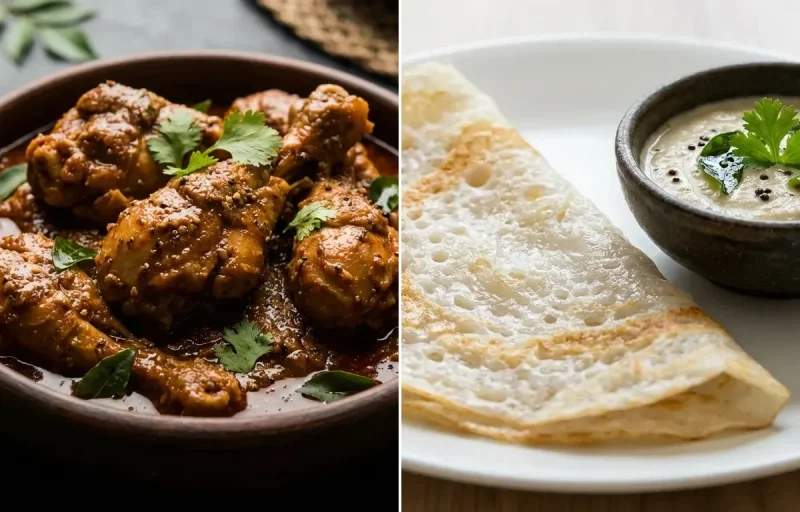
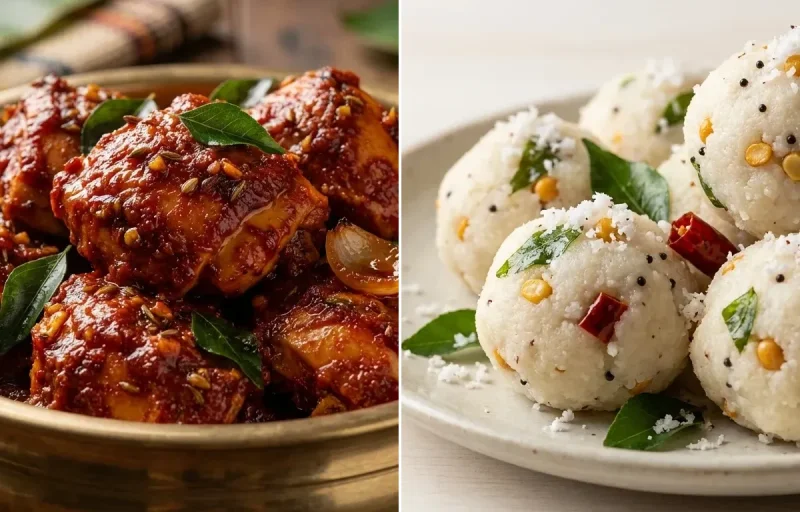
Tangy, aromatic Chicken Pulimunchi with light Neer Dosa - a protein-packed, quick-to-make dinner.
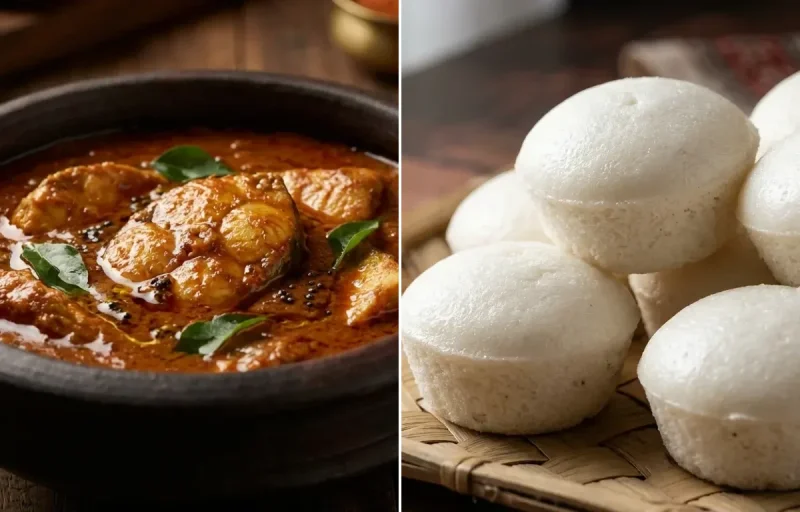
Tangy, aromatic Fish Pulimunchi with fluffy sannas - a protein-packed, soul-satisfying experience!
Aromatic Chicken Ghee Roast with soft Pundi - a perfectly spiced, homestyle comfort food delight.
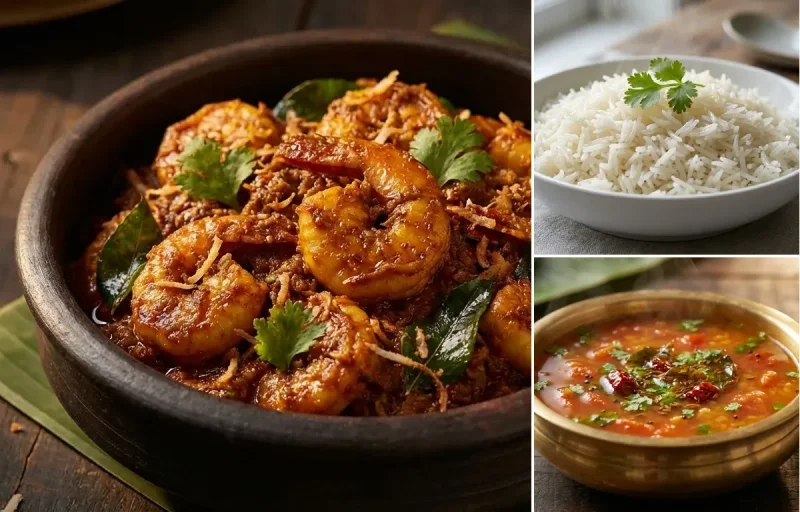
Perfectly spiced Prawn Sukka with tangy rasam & rice - a protein-packed, gut-friendly comfort meal!