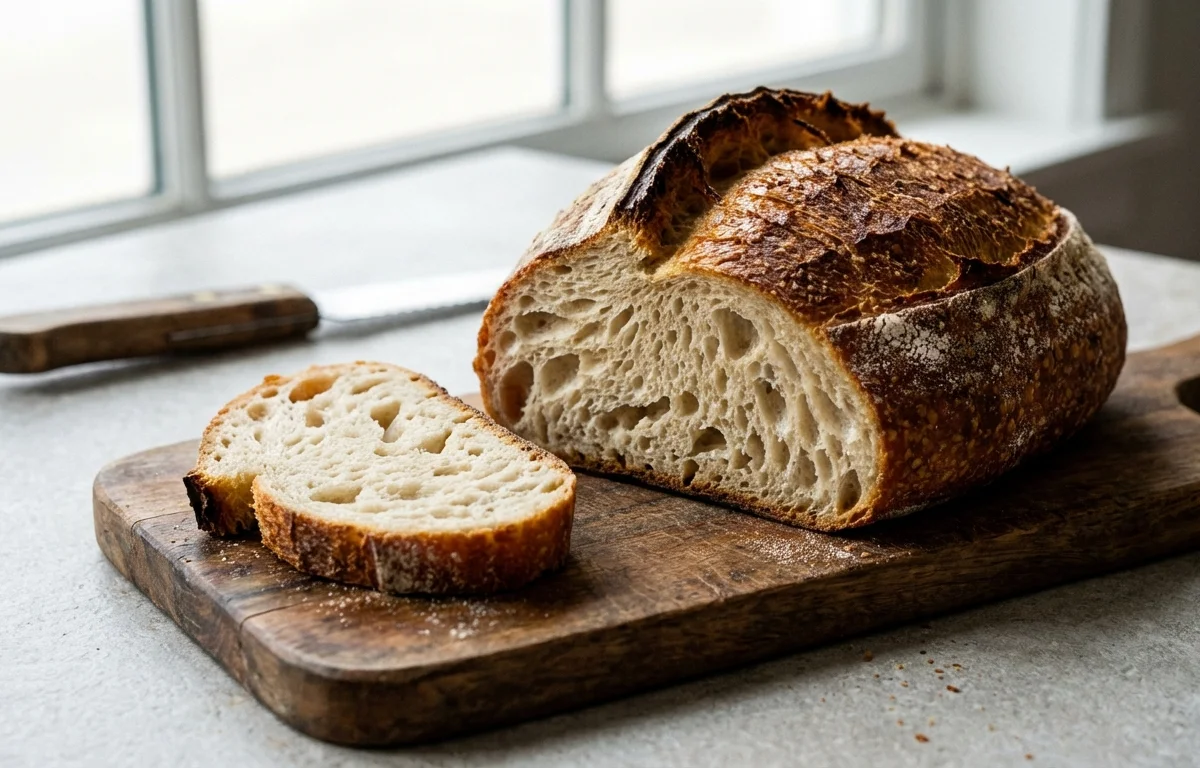
Sourdough Bread
A rustic, crusty artisan loaf with a beautifully open, chewy crumb and that signature tangy depth only wild yeast can deliver. This no-knead method uses an overnight rise to develop flavor and structure, yielding bakery-quality bread with a crackling crust and soft, airy interior.
For 8 servings
- mix · ~30 min
Autolyse the flour and water.
In a large bowl, mix bread flour and lukewarm water until no dry flour remains. Cover and let rest for 30 minutes. This allows the flour to fully hydrate and starts gluten development.
TIPUsing a kitchen scale instead of cups gives consistent results every time. - mix · ~4 min
Add starter and salt to the dough.
1.Sprinkle salt evenly over the rested dough.2.Add the active sourdough starter on top.3.Wet your hand and use a pinching motion to incorporate everything until the dough feels uniform.TIPThe pinching method helps distribute the starter evenly without overworking the dough. - rest · ~240 min
Bulk ferment with stretch and folds.
Cover the bowl and let the dough rise at room temperature (70-75°F) for about 4 hours. During the first 2 hours, perform a set of stretch and folds every 30 minutes: wet your hand, grab the dough from one side, stretch it up, and fold it over the top. Rotate the bowl and repeat 4 times per set. The dough is ready when it has doubled, feels puffy, and has visible bubbles on the surface.
TIPDon't rush bulk fermentation — a well-fermented dough is the secret to an airy, open crumb. - prep · ~20 min
Shape the dough.
Turn the dough out onto a lightly floured surface. Using a bench scraper or your hands, gently shape it into a tight round boule by pulling the dough towards you while rotating, building tension on the surface. Let it rest seam-side down for 20 minutes uncovered.
TIPA tighter surface tension now helps the loaf hold its shape and rise upward in the oven. - rest · ~960 min
Cold proof overnight.
1.Dust a banneton or towel-lined bowl generously with flour.2.Place the shaped dough seam-side up into the banneton.3.Cover loosely with plastic wrap or a damp towel.4.Refrigerate for 12 to 16 hours. The long cold proof develops deeper flavor.TIPA cold overnight proof is what gives sourdough its classic tang and makes scoring easier. - bake · ~30 min
Preheat the oven and bake covered.
1.Place a Dutch oven with its lid inside the cold oven. Preheat to 500°F (260°C) for at least 30 minutes.2.Turn the cold dough out onto a sheet of parchment paper. Score the top quickly with a sharp blade or lame.3.Carefully lower the dough into the screaming hot Dutch oven using the parchment as a sling. Cover with the lid immediately.4.Reduce oven temperature to 450°F (230°C) and bake covered for 25 minutes.TIPThe sealed Dutch oven traps steam from the dough, creating that blistered, crackly crust. - bake · ~25 min
Bake uncovered to finish.
Remove the lid and continue baking for another 20 to 25 minutes, until the crust is a deep mahogany brown and the loaf sounds hollow when tapped on the bottom.
TIPA deeply browned crust equals deep flavor — don't be afraid of a dark loaf. - rest · ~120 min
Cool completely before slicing.
Transfer the bread to a wire rack and let it cool for at least 2 hours before slicing. The interior continues to set as it cools; cutting too early makes the crumb gummy.
TIPSlicing hot bread releases steam that should stay inside, leaving the loaf dry. Patience pays off.
What to keep in mind.
6 tips from the recipe — small details that make a real difference to the final dish.
- 1Use a kitchen scale for precise measurements; it ensures consistent hydration every time.
- 2Your starter should be bubbly and pass the float test before you begin mixing the dough.
- 3Wet your hands and bench scraper when handling the dough to prevent sticking and tearing.
- 4Let the dough double during bulk fermentation; a small sample in a straight-sided jar helps track rise.
- 5Score the cold dough with a swift, confident cut at a 45-degree angle to control where it expands.
- 6Cool the loaf for a full 2 hours on a wire rack; cutting early makes the crumb gummy and dense.
Adapt it for your goals.
Whole Wheat Sourdough
Replace up to 200g of bread flour with whole wheat flour for a nuttier flavor and denser, more nutritious crumb. Increase water by 25ml to account for extra absorption.
Seeded SourdoughSeeded Sourdough
Add 50g of mixed seeds (sesame, sunflower, flax) during the stretch-and-fold phase for texture and earthy richness. Toast seeds first for deeper flavor.
Lower Hydration SourdoughLower-Hydration Sourdough
Reduce water to 300ml for a stiffer dough that's easier to shape and yields a tighter, more sandwich-friendly crumb. Good for beginners or humid climates.
Why this is on our healthy list.
Natural Fermentation
The long fermentation breaks down phytic acid, making minerals like iron and zinc more absorbable by your body.
Lower Glycemic Impact
The acidity from wild yeast slows down the rate at which carbohydrates are digested, leading to a gentler blood sugar response compared to commercial bread.
Probiotic Potential
The live bacteria in sourdough starter can introduce beneficial microbes to your gut, though most are killed during baking.
No Added Preservatives
This homemade loaf contains only flour, water, starter, and salt — free from the dough conditioners and preservatives found in store-bought bread.
Frequently asked questions
Under-proofing is the most common cause — the dough hadn't built enough gas before baking. Extend the bulk fermentation until it's visibly puffy and has doubled.