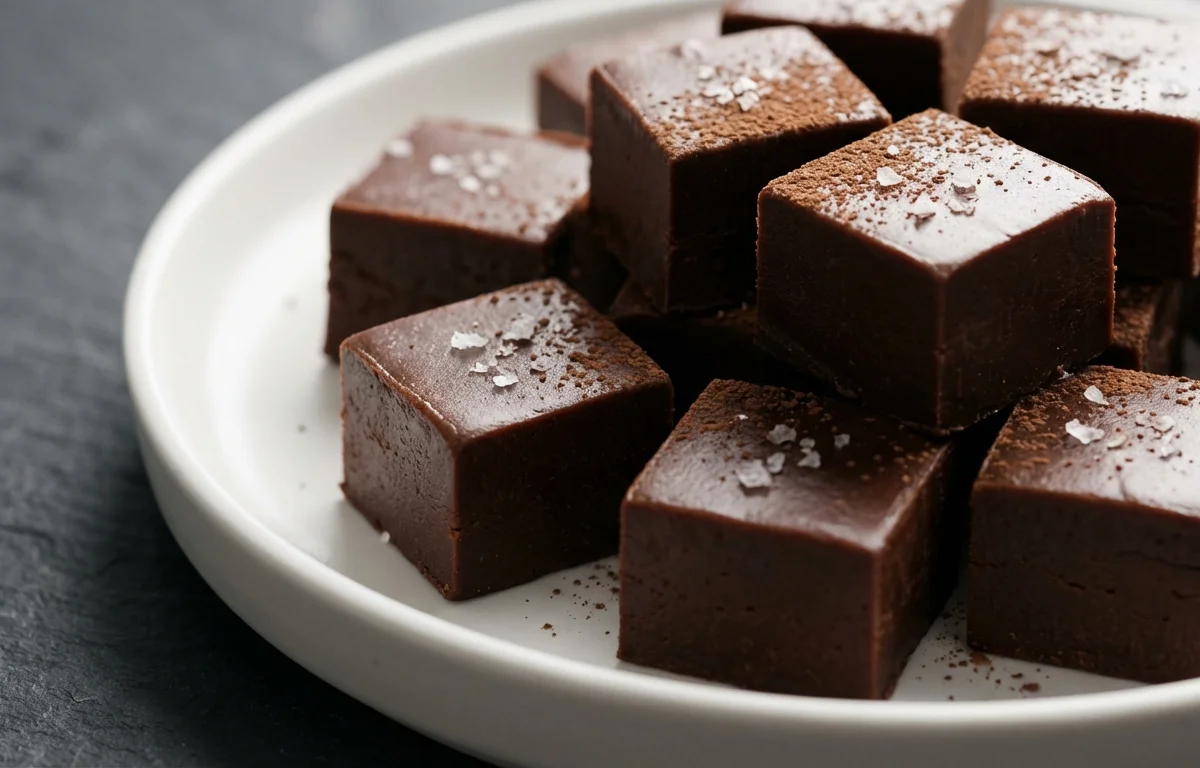
Chocolate Fudge
Rich, creamy squares of chocolate that melt on your tongue with an impossibly smooth texture. This classic American confection comes together on the stovetop with just a handful of pantry staples — cocoa, sugar, milk, and butter — and sets up in the fridge into dense, fudgy perfection. No candy thermometer required, just a little patience and a watchful eye.
For 16 servings
- prep
Line the pan with parchment paper.
Lightly butter an 8-inch square baking dish, then press a sheet of parchment paper into the pan so it hangs over two opposite sides. These overhangs will act as handles to lift out the set fudge.
- mix · ~2 min
Combine sugar, cocoa, milk, and salt in the saucepan.
In a heavy-bottomed medium saucepan, whisk together the sugar, cocoa powder, milk, and salt until smooth and no dry lumps remain. The mixture will look like dark, wet sand at first but will loosen as you stir.
- boil · ~5 min
Bring the chocolate mixture to a boil.
Set the saucepan over medium heat and stir constantly with a wooden spoon. Bring the mixture to a full rolling boil — bubbles should cover the entire surface and not stop when you stir. This usually takes about 4-5 minutes.
TIPDon't walk away — the mixture can scorch if left unattended. Stir the bottom and corners of the pan to prevent sticking. - simmer · ~7 min
Cook to soft-ball stage without stirring.
Once the mixture reaches a full rolling boil, stop stirring. Let it boil undisturbed until it reaches soft-ball stage, about 6-8 minutes. If you have a candy thermometer, look for 234-238°F. To test without a thermometer, drop a small amount into a cup of cold water — it should form a soft, pliable ball that flattens when pressed between your fingers.
TIPStopping the stir is crucial — stirring during boiling can cause sugar crystals to form and make the fudge grainy instead of smooth. - rest · ~18 min
Let the mixture cool undisturbed.
Remove the saucepan from the heat. Add the cubed butter and vanilla extract on top, but do not stir. Let everything sit untouched until the bottom of the pan feels lukewarm to the touch, about 15-20 minutes. The mixture should cool to roughly 110-120°F.
TIPCooling before beating is what makes the fudge creamy. If you beat while it's still hot, the fudge will be grainy; if it cools too much, it will set up before you can pour it. - mix · ~4 min
Beat the fudge until it thickens and loses its gloss.
Switch to a wooden spoon and beat the mixture vigorously. In 3-5 minutes, you'll see the glossy sheen disappear and the fudge will thicken noticeably and lighten slightly in color. Stop beating as soon as it loses its shine and becomes matte — overbeating will make it crumbly.
TIPWatch for the visual cue: the surface goes from shiny wet to matte velvet. That's your signal to stop and pour immediately. - assemble · ~1 min
Pour into the prepared pan and smooth the top.
Quickly scrape the thickened fudge into the parchment-lined pan. Use the back of the spoon or a spatula to press it into the corners and smooth the top into an even layer. Work fast — the fudge continues to set as it cools.
- rest · ~120 min
Chill the fudge until completely set.
Place the pan in the refrigerator and let the fudge set for at least 2 hours, or until firm throughout. Lift the fudge out of the pan using the parchment overhangs and transfer to a cutting board.
- prep · ~2 min
Cut into squares and serve.
Using a sharp knife, cut the fudge into 16 small squares. For clean edges, wipe the knife with a warm, damp cloth between cuts. Serve at room temperature.
TIPFudge is intensely rich — small squares are all you need. Store leftovers in an airtight container at room temperature for up to 1 week.
What to keep in mind.
6 tips from the recipe — small details that make a real difference to the final dish.
- 1Use a heavy-bottomed saucepan to distribute heat evenly and prevent scorching.
- 2Stop stirring once the mixture reaches a full rolling boil to avoid sugar crystallization.
- 3Cool the mixture to 110-120°F before beating for a creamy, not grainy, texture.
- 4Beat only until the fudge loses its gloss; overbeating makes it crumbly.
- 5Wipe the knife with a warm, damp cloth between cuts for clean, neat squares.
- 6Store leftover fudge in an airtight container at room temperature for up to one week.
Adapt it for your goals.
Nutty fudge
Fold in 1 cup of chopped walnuts or pecans after beating, just before pouring into the pan, for crunchy texture and nutty contrast.
peppermint fudgePeppermint fudge
Add 1/2 teaspoon peppermint extract along with the vanilla, and top with crushed candy canes for a festive, cooling twist.
sea salt fudgeSea salt fudge
Sprinkle flaky sea salt over the top just after smoothing the fudge in the pan for a sweet-and-salty finish.
Why this is on our healthy list.
Source of Antioxidants
Cocoa powder provides flavonoids, which are plant compounds that may support heart health and reduce inflammation.
Small Portion Satisfaction
Rich and dense, one small square delivers a satisfying chocolate fix without needing a large serving.
Energy Boost
Sugar and butter provide quick energy, making this a simple treat for a midday pick-me-up.
Frequently asked questions
Grainy fudge usually means sugar crystallized—likely from stirring during the boil or not cooling to the right temperature before beating.