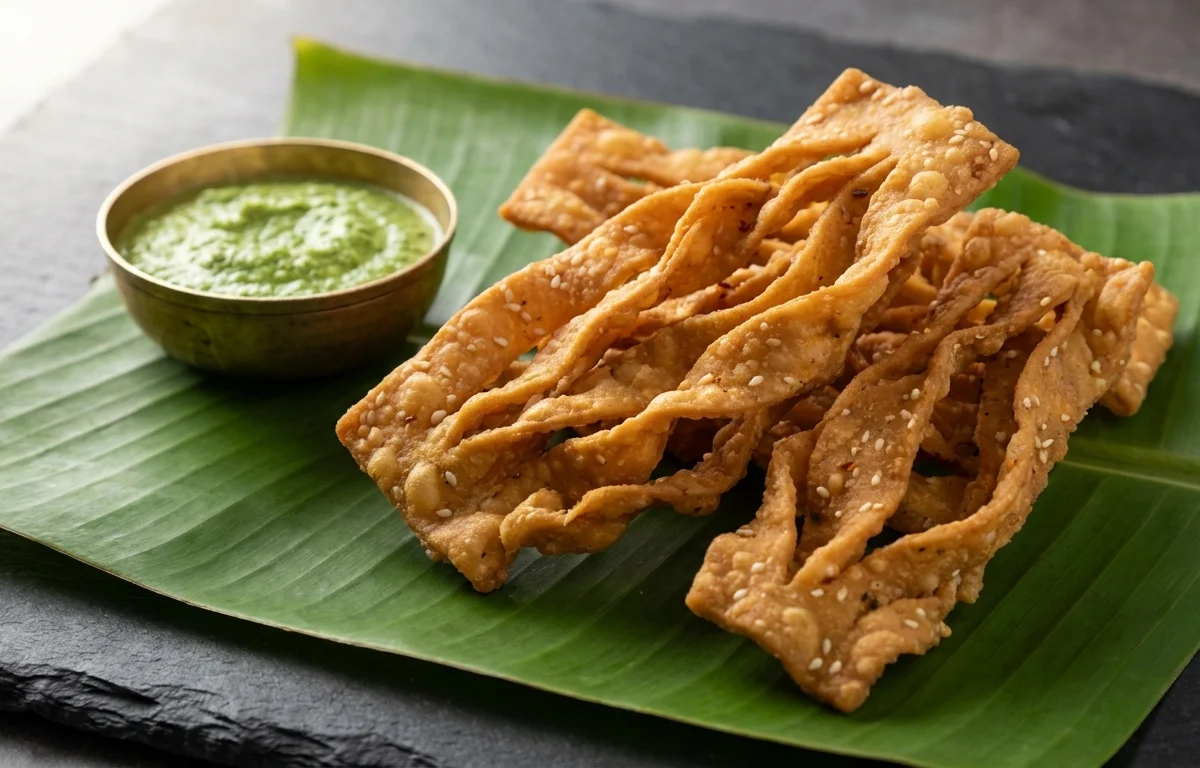
Ribbon Pakoda
Crunchy South Indian ribbon-shaped murukku made with rice flour, gram flour, and a light spice mix. This festive snack fries up crisp and airy, making it perfect with tea or as part of a savory snack platter.
For 8 servings
- prep
Get the dough press ready.
Fit a murukku press with the ribbon pakoda plate and keep it ready for shaping the dough.
- mix
Mix the dry ingredients.
1.Add rice flour and besan to a wide bowl.2.Add red chili powder, asafoetida, sesame seeds, and salt.3.Mix well so the spices are evenly distributed. - mix · ~5 min
Make a soft dough.
1.Add softened butter to the flour mixture and rub it in with your fingertips.2.Pour in water a little at a time and mix to form a smooth, soft dough.3.Keep the dough soft enough to press easily but not sticky.TIPIf the dough feels dry, the ribbons may break while pressing. Add 1 to 2 teaspoons more water if needed. - fry · ~4 min
Heat the oil.
Heat oil for deep frying in a kadai over medium heat until moderately hot. A tiny pinch of dough should rise steadily without browning too fast.
TIPUse medium heat throughout. Very hot oil browns the outside before the inside turns crisp. - assemble
Fill the press and shape the ribbons.
Fill the murukku press with a portion of dough. Press short ribbons directly over the hot oil, cutting them into manageable lengths.
- fry · ~6 min
Fry the ribbon pakoda until crisp.
1.Fry a batch on medium heat without overcrowding the kadai.2.Turn gently once the bubbles start reducing and the ribbons hold their shape.3.Cook until crisp and light golden on both sides.4.Lift out and drain well before frying the next batch.TIPWait for the bubbling to reduce before removing them. That is the best sign the pakoda has turned crisp. - rest · ~15 min
Cool the ribbon pakoda completely.
Let the fried ribbon pakoda cool fully so it stays crisp.
- serve
Serve or store the ribbon pakoda.
Serve as a tea-time snack or store in an airtight container after cooling completely.
What to keep in mind.
7 tips from the recipe — small details that make a real difference to the final dish.
- 1Rub the softened butter evenly into the flours before adding water; this helps create a lighter, crisper ribbon pakoda.
- 2Keep the dough covered with a damp cloth while frying batches so the surface does not dry out and crack in the press.
- 3If the ribbons snap while pressing, knead in 1 to 2 teaspoons of water to loosen the dough slightly.
- 4Press short ribbons directly over the oil rather than long strands; they fry more evenly and are easier to turn.
- 5Do not crowd the kadai, or the oil temperature will drop and the pakoda can turn hard instead of crisp.
- 6Remove each batch only when the bubbling has mostly subsided, which signals the moisture has cooked off.
- 7Cool completely before storing, then keep in a dry airtight tin to preserve the crunch for several days.
Adapt it for your goals.
Spicier
Increase the red chili powder slightly for a hotter tea-time snack with a deeper red color.
veganVegan
Replace the butter with hot oil to make the dough suitable for a dairy-free version while still keeping it crisp.
garlicGarlic
Add a little crushed garlic or garlic paste to the dough for a more robust, savory flavor.
milderMilder
Reduce the chili powder for a gentler version that is better for children or mixed snack platters.
Why this is on our healthy list.
Chickpea Flour Protein
Besan adds plant protein and makes the snack more satisfying than one made only with refined starch.
Sesame Seed Goodness
Sesame seeds contribute healthy fats and natural nuttiness along with minerals from whole seeds.
Gluten-Free Ingredients
Made with rice flour and besan, this snack contains no wheat ingredients in the base recipe.
Frequently asked questions
The dough is usually too dry. Knead in a little more water, a teaspoon at a time, until it presses out smoothly without cracks.