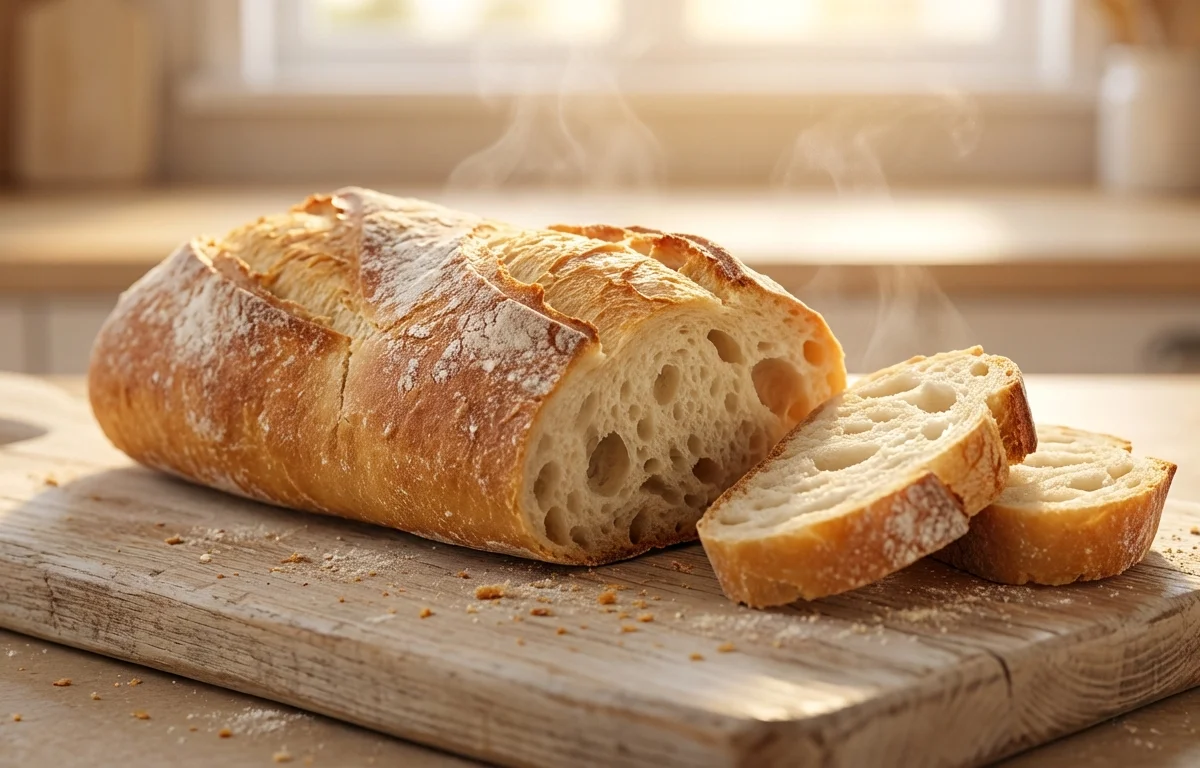
French Bread
A classic crusty French bread with a golden, crackly exterior and a soft, airy crumb. Made with just four simple ingredients, this bakery-style loaf fills your kitchen with an irresistible aroma. Perfect for sandwiches, bruschetta, or simply tearing apart at the dinner table.
For 12 servings
- prep · ~5 min
Activate the yeast.
1.Pour lukewarm water (105-110°F) into a large mixing bowl.2.Sprinkle active dry yeast over the water and let it sit for 5 minutes until foamy. - mix · ~5 min
Form the dough.
1.Add 2 cups of flour and all the salt to the yeast mixture.2.Stir with a wooden spoon until a shaggy dough forms.3.Gradually add the remaining 2 cups of flour, mixing until incorporated. - knead · ~10 min
Knead the dough.
Turn the dough onto a lightly floured surface and knead for 8-10 minutes until smooth and elastic. The dough should spring back when poked.
TIPIf the dough feels sticky, add flour a tablespoon at a time. If it's too dry, wet your hands lightly. - rest · ~60 min
Let the dough rise.
Place the dough in a lightly oiled bowl, cover with a damp kitchen towel, and let it rise in a warm spot for 1 hour, or until doubled in size.
TIPAn oven with just the light on creates the perfect temperature for rising. - prep · ~2 min
Shape the loaf.
1.Punch down the risen dough to release air bubbles.2.Shape into a long baguette-style loaf about 14 inches long.3.Place on a parchment-lined baking sheet, seam side down. - rest · ~30 min
Proof the shaped dough.
Cover loosely with the kitchen towel and let rise for 30 minutes until noticeably puffy.
- prep · ~1 min
Preheat the oven and score.
1.Preheat the oven to 450°F (230°C).2.Using a sharp knife, make 3-4 diagonal slashes about 1/4 inch deep across the top of the loaf.TIPScore quickly and confidently. Shallow, hesitant cuts will seal up during baking. - bake · ~25 min
Bake with steam.
1.Place the baking sheet on the middle rack of the preheated oven.2.Bake for 25 minutes until the crust is deep golden brown and the loaf sounds hollow when tapped on the bottom.3.For a crispier crust, toss a few ice cubes onto the bottom of the oven right after placing the bread in.TIPThe steam from ice cubes creates a crackly, bakery-style crust. - rest · ~20 min
Cool before slicing.
Transfer the loaf to a wire rack and cool for at least 20 minutes before slicing. Cutting too early will make the crumb gummy.
TIPCool completely for the best texture — the interior is still cooking when it comes out of the oven.
What to keep in mind.
7 tips from the recipe — small details that make a real difference to the final dish.
- 1For the best rise, ensure your water is between 105-110°F — too hot kills yeast, too cold slows it down.
- 2Knead until the dough passes the windowpane test: stretch a small piece thin enough to see light through without tearing.
- 3Use a baker's lame or a very sharp knife for scoring; dull blades drag and deflate the dough.
- 4To create a crispy crust, place a shallow pan of hot water on the lower oven rack instead of ice cubes.
- 5Let the bread cool completely on a wire rack — cutting while warm compresses the crumb and turns it gummy.
- 6Store leftover French bread in a paper bag at room temperature for up to 2 days; never refrigerate as it speeds staling.
- 7For extra chew, replace 1 cup of all-purpose flour with bread flour.
Adapt it for your goals.
Whole Wheat French Bread
Replace 2 cups of all-purpose flour with whole wheat flour and increase water by 2-3 tablespoons. Adds a nutty flavor and more fiber.
Herb & GarlicHerb & Garlic
Knead in 2 minced garlic cloves and 1 tablespoon of dried rosemary or thyme. Perfect for garlic bread or dipping in olive oil.
Cheese CrustedCheese-Crusted
After scoring, sprinkle the loaf with 1/4 cup of shredded Gruyère or Parmesan. The cheese melts into a savory, crispy crust.
SeededSeeded
Brush the shaped loaf with an egg wash and roll it in sesame seeds, poppy seeds, or rolled oats before proofing.
Why this is on our healthy list.
Low in Fat
This bread contains no added fats or oils, making it a lean, heart-friendly choice compared to enriched breads.
Good Source of Carbohydrates
Provides sustained energy from complex carbs, ideal for active lifestyles or pre-workout fuel.
No Added Sugar
Unlike many commercial breads, this recipe contains zero added sugars — just the natural sweetness of wheat.
Customizable Sodium
You control the salt level; reduce to 1/4 teaspoon for a low-sodium version without sacrificing the rise.
Frequently asked questions
Your water may have been too hot (over 110°F) killing the yeast, or too cold (under 105°F) preventing activation. Check with a thermometer.