Teriyaki Sauce
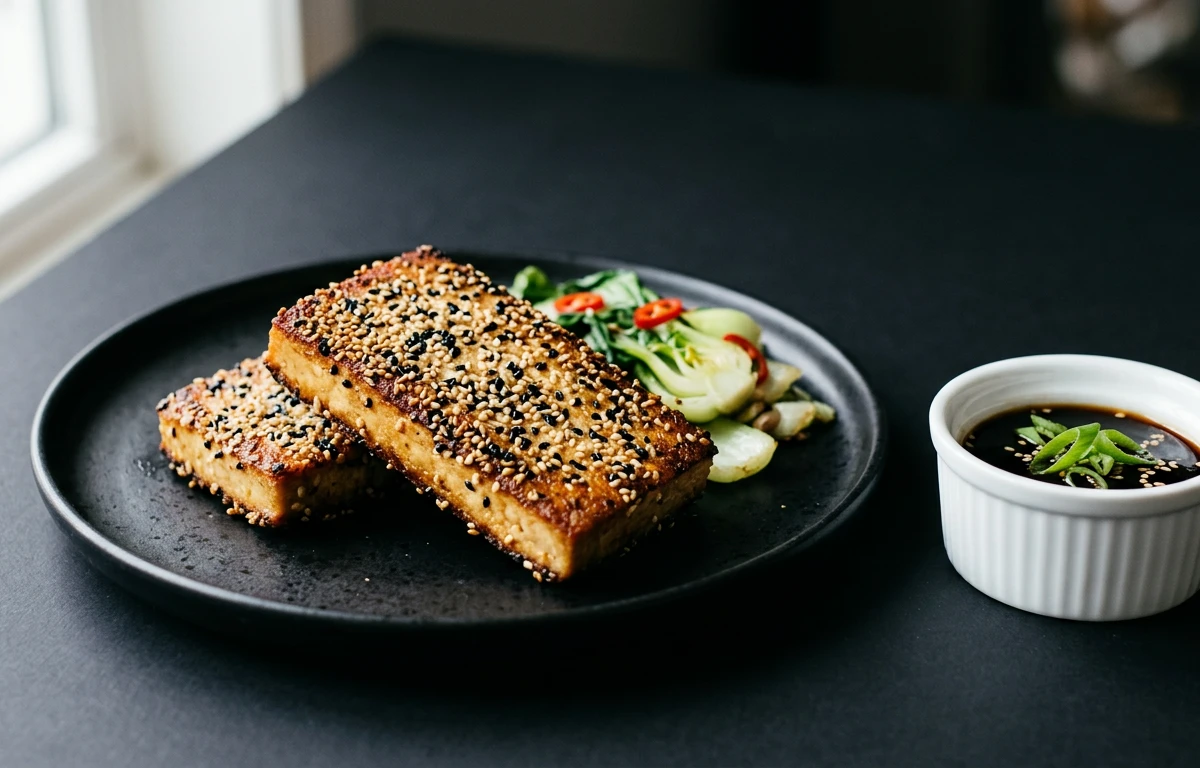
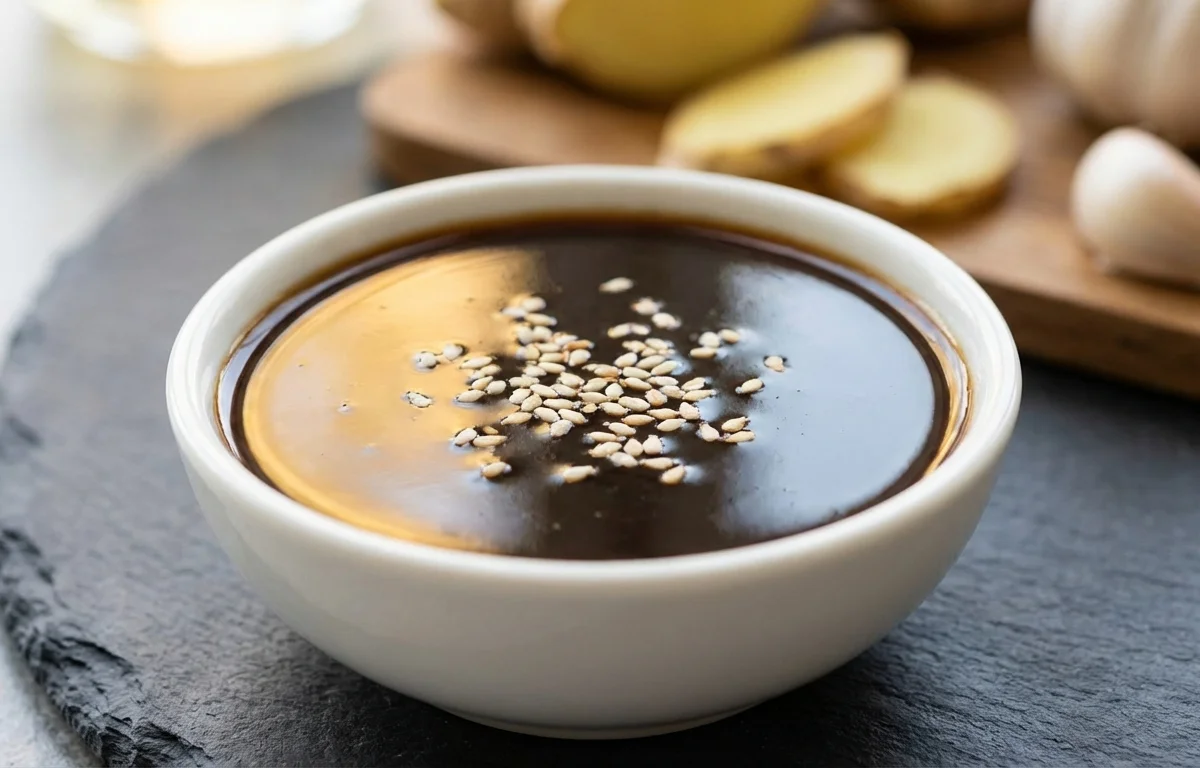
A glossy, sweet-savory Japanese sauce with a perfect balance of soy sauce, mirin, and sake. This homemade version comes together in just 15 minutes and beats anything from a bottle. Great as a marinade, glaze, or dipping sauce for grilled meats, seafood, and vegetables.
For 8 servings
- prep
Grate the ginger and mince the garlic.
Peel and grate enough fresh ginger to yield 1 teaspoon. Mince 1 garlic clove finely and set both aside.
- mix
Make the cornstarch slurry.
In a small bowl, whisk together 1 tablespoon cornstarch with 2 tablespoons cold water until smooth and lump-free. Set aside near the stove.
TIPCold water prevents lumps. Never add dry cornstarch directly to hot liquid. - boil · ~3 min
Combine all sauce ingredients and bring to a boil.
1.Pour soy sauce, mirin, sake, and sugar into a small saucepan over medium heat.2.Add the grated ginger and minced garlic.3.Whisk gently and bring to a gentle boil, stirring until sugar dissolves completely (2-3 min).TIPKeep heat at medium — high heat can scorch the sugars in mirin. - simmer · ~4 min
Simmer and thicken the sauce.
1.Reduce heat to low so the sauce barely bubbles.2.Stir the cornstarch slurry once more, then drizzle it into the saucepan while whisking.3.Simmer for 3-4 minutes, whisking occasionally, until the sauce thickens enough to coat the back of a spoon.TIPThe sauce will thicken further as it cools — pull it off the heat when it's slightly thinner than you want. - rest
Cool and store the teriyaki sauce.
Remove from heat and strain through a fine-mesh sieve if you want a smooth sauce without garlic-ginger bits. Let it cool completely, then transfer to a clean jar or bottle. Keeps refrigerated for up to 2 weeks.
TIPFor a thicker glaze, simmer 2-3 minutes longer. For a thinner sauce, stir in a splash of water.
What to keep in mind.
6 tips from the recipe — small details that make a real difference to the final dish.
- 1Use cold water for the cornstarch slurry to prevent clumps from forming.
- 2Simmer on low heat after adding the slurry to avoid a gummy texture.
- 3Strain the sauce through a fine-mesh sieve for a silky, smooth finish.
- 4The sauce thickens as it cools, so remove it from heat when slightly thinner than desired.
- 5Store in a sealed jar in the fridge for up to 2 weeks; shake before using.
- 6For a richer flavor, let the ginger and garlic infuse in the simmering liquid for a few minutes before adding the slurry.
Adapt it for your goals.
Low-sodium
Substitute low-sodium soy sauce and reduce sugar by 1 tbsp for those watching salt intake, maintaining the savory-sweet balance.
spicySpicy
Add 1/2 teaspoon red pepper flakes or a small minced fresh chili along with the ginger for a zesty kick.
garlic freeGarlic-free
Omit the garlic and double the ginger for a cleaner, ginger-forward flavor that still feels authentic.
gluten freeGluten-free
Replace soy sauce with tamari or coconut aminos to make the sauce celiac-friendly without losing depth.
Why this is on our healthy list.
Low in Added Fats
Made without oil or butter, this sauce adds flavor without unnecessary saturated fats, making it a lean choice for glazing proteins.
Contains Anti-Inflammatory Ginger
Fresh ginger root provides gingerol, a compound with anti-inflammatory properties, adding a subtle peppery warmth.
Fermented Soy Sauce Benefits
Traditional soy sauce is fermented, offering small amounts of probiotics and antioxidants from the fermentation process.
Frequently asked questions
Use dry white wine or dry sherry as a substitute; avoid sweet wines as they will unbalance the flavor. For a non-alcoholic version, use chicken or vegetable broth.