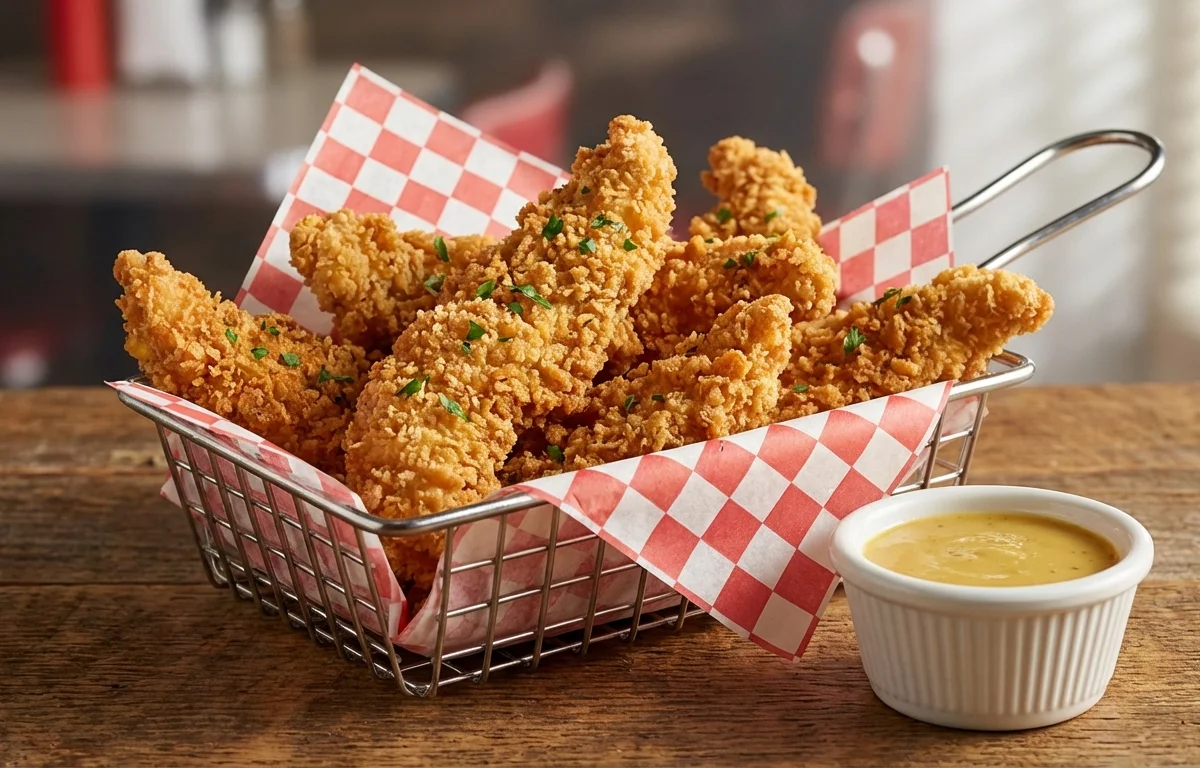
Chicken Strips
Crispy, golden-brown chicken strips with a juicy, tender interior. These homemade chicken tenders are coated in a seasoned flour and egg mixture, then shallow-fried to perfection. A family-friendly classic that's ready in under 30 minutes and tastes way better than takeout.
For 4 servings
- prep · ~5 min
Set up the breading station.
1.In one shallow bowl, mix all-purpose flour with garlic powder, paprika, onion powder, salt, and black pepper.2.In a second shallow bowl, whisk eggs with milk until well combined.3.Place breadcrumbs in a third shallow bowl. - prep · ~3 min
Cut the chicken breast into strips.
Slice each boneless, skinless chicken breast crosswise into strips about 1 inch wide. Pat them completely dry with paper towels — this helps the coating stick better.
TIPPatting the chicken dry is key for a crisp coating that doesn't slide off. - prep · ~8 min
Bread the chicken strips.
1.Dredge each strip in the seasoned flour, shaking off excess.2.Dip into the egg mixture, letting extra drip back into the bowl.3.Press firmly into the breadcrumbs so they stick all over. Transfer to a clean plate.TIPUse one hand for dry ingredients and the other for wet to avoid clumpy fingers. - fry · ~12 min
Fry the chicken strips until golden.
1.Heat oil in a large heavy-bottomed frying pan over medium heat until shimmering (about 350°F).2.Carefully place a few strips in the pan without crowding — work in batches.3.Fry for 3 to 4 minutes per side until deep golden brown and the internal temperature reaches 165°F.4.Transfer to a wire rack to drain excess oil.TIPDon't overcrowd the pan — it drops the oil temperature and makes the coating soggy. - rest · ~2 min
Rest the strips briefly before serving.
Let the chicken strips rest on the wire rack for 2 minutes. This keeps the bottom from steaming and the crust stays crisp.
- serve
Serve hot with your favorite dipping sauce.
Arrange the crispy chicken strips on a platter and serve immediately with ketchup, honey mustard, or ranch dressing on the side.
What to keep in mind.
6 tips from the recipe — small details that make a real difference to the final dish.
- 1Cut chicken strips uniformly to ensure even cooking and consistent crunch.
- 2Use a thermometer to keep oil at 350°F — too low makes greasy strips, too high burns the coating.
- 3Let breaded strips rest 5 minutes before frying so the coating adheres better.
- 4Rest fried strips on a wire rack, not paper towels, to keep the bottom crust crisp.
- 5Double-dip the strips (flour-egg-flour-egg-breadcrumbs) for an extra-thick, extra-crunchy crust.
- 6Season the breadcrumbs with a pinch of salt and pepper too for more flavor in every bite.
Adapt it for your goals.
Spicy Buffalo
Toss the fried strips in a mixture of melted butter and hot sauce for a classic buffalo wing flavor — perfect with blue cheese dip.
Parmesan CrustedParmesan-Crusted
Replace half the breadcrumbs with finely grated Parmesan cheese for a nutty, savory crust that browns beautifully.
Gluten FreeGluten-Free
Swap all-purpose flour with a gluten-free blend and use gluten-free panko breadcrumbs so those with gluten sensitivities can enjoy the same crunch.
Oven BakedOven-Baked
Place breaded strips on a greased wire rack over a baking sheet, spray with oil, and bake at 425°F for 15 minutes (flipping halfway) for a lighter version.
Herb & GarlicHerb & Garlic
Mix 1 tablespoon of dried Italian herbs (oregano, thyme, basil) into the breadcrumbs for an aromatic Mediterranean flair.
Why this is on our healthy list.
Lean Protein Source
Chicken breast is naturally low in fat and high in protein, supporting muscle repair and satiety.
No Artificial Additives
This homemade recipe contains no preservatives or artificial flavors, unlike many store-bought frozen strips.
Frequently asked questions
The most common culprit is not patting the chicken dry before breading, or pressing the breadcrumbs too lightly. Also, let the breaded strips rest 5 minutes before frying so the coating sets.