Taro Pancakes
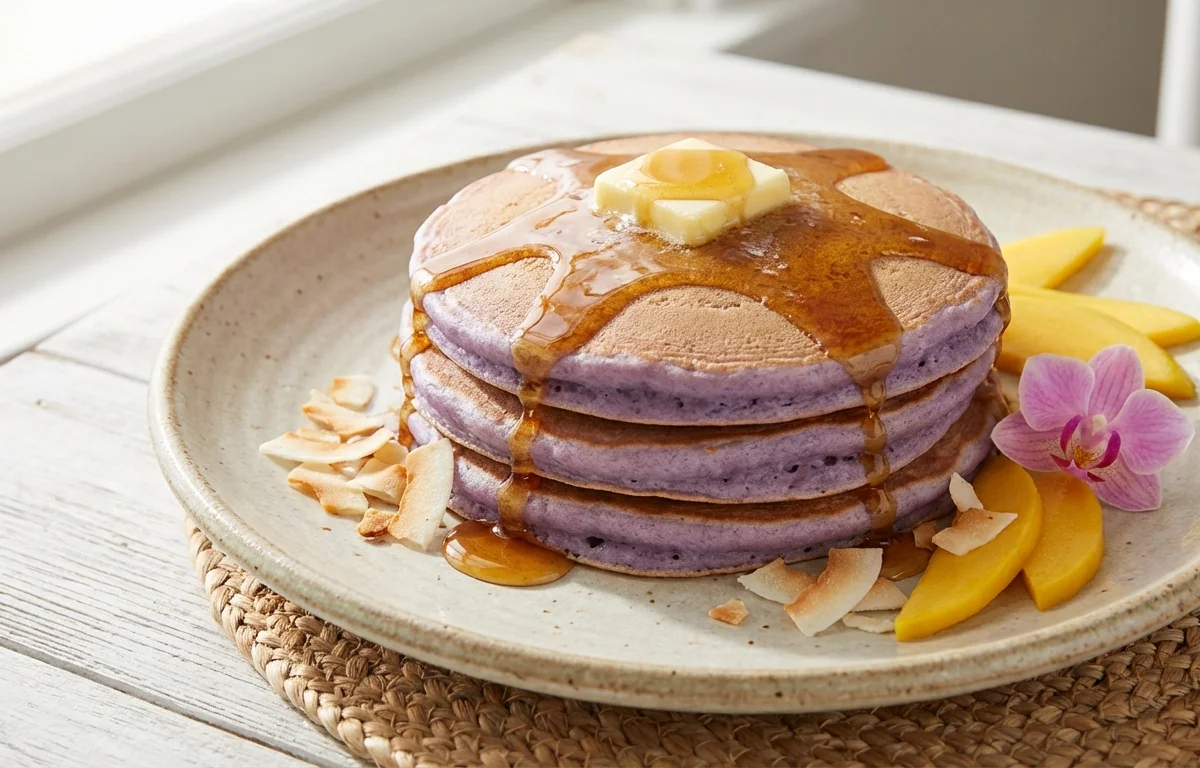
Crispy-edged, tender-centered pancakes with the delicate nutty flavor of taro root. Pan-fried until golden brown, these Hawaiian-inspired fritters are a beloved breakfast staple and side dish in the islands. Serve them plain for a quick breakfast or pair with sweet or savory toppings for a satisfying meal any time of day.
For 4 servings
- prep
Prepare the taro.
1.Wash and peel the taro root under running water.2.Grate the taro using the coarse side of a box grater into a large mixing bowl.TIPWear kitchen gloves when peeling taro — raw taro can irritate sensitive skin. - boil · ~10 min
Parboil the grated taro.
1.Place grated taro in a saucepan with 3 cups water and bring to a boil.2.Cook for 5 minutes until slightly softened but still holding shape.3.Drain well in a colander and let cool for 5 minutes.TIPDon't fully cook the taro at this stage — it should still have some bite. Overcooking makes the pancakes mushy. - mix
Make the pancake batter.
1.In the bowl with drained taro, add flour, beaten egg, green onions, salt, sugar, and black pepper.2.Stir everything together until well combined and a thick batter forms.TIPThe batter should be thick enough to scoop — if it's too wet, add an extra tablespoon of flour. - fry · ~7 min
Pan-fry the pancakes.
1.Heat 2 tablespoons oil in a skillet over medium heat.2.Scoop about 2 tablespoons of batter per pancake into the hot pan and flatten slightly.3.Cook for 3 to 4 minutes until golden brown and crispy on the bottom.4.Flip carefully with a spatula and cook another 3 minutes until cooked through.TIPDon't crowd the pan — leave space between pancakes so they crisp up properly. - fry
Cook remaining batches.
1.Transfer finished pancakes to a paper towel-lined plate.2.Add remaining oil to the skillet as needed and repeat with remaining batter.TIPKeep finished pancakes warm in a 200°F oven while you cook the rest. - serve
Serve hot with your favorite toppings.
Serve the taro pancakes immediately while hot and crispy. They're delicious plain with a sprinkle of salt, or topped with sour cream, apple sauce, or a drizzle of honey.
What to keep in mind.
6 tips from the recipe — small details that make a real difference to the final dish.
- 1Wear kitchen gloves when peeling raw taro to avoid skin irritation from calcium oxalate crystals.
- 2Grate taro just before boiling to prevent discoloration from oxidation.
- 3Drain parboiled taro thoroughly and squeeze out excess moisture to ensure crispy pancakes.
- 4Use a non-stick or well-seasoned cast iron skillet for even browning and easy flipping.
- 5Flatten each pancake gently with a spatula to ensure even thickness and uniform crisping.
- 6Keep cooked pancakes warm in a 200°F oven on a wire rack to maintain crispness while cooking batches.
Adapt it for your goals.
Savory herb
Add 1 tablespoon of minced cilantro and a pinch of chili flakes to the batter for a spicier, herbaceous Hawaiian-style pancake.
gluten freeGluten-free
Replace all-purpose flour with an equal amount of rice flour or chickpea flour for a gluten-free version that still crisps well.
veganVegan
Substitute the beaten egg with 2 tablespoons of ground flaxseed mixed with 3 tablespoons of water (let sit 5 minutes) for a vegan binder.
sweet taroSweet taro
Omit green onion and black pepper, increase sugar to 2 tablespoons, and add 1/2 teaspoon vanilla extract for a dessert-style pancake.
Why this is on our healthy list.
Rich in Dietary Fiber
Taro root provides a good amount of fiber, which supports healthy digestion and helps maintain stable blood sugar levels.
Good Source of Potassium
Taro is naturally high in potassium, an electrolyte that helps regulate blood pressure and muscle function.
Gluten-Free Base
When made with a gluten-free flour alternative, these pancakes are suitable for those with gluten sensitivities or celiac disease.
Contains Antioxidants
Taro root contains polyphenols and anthocyanins (especially in purple varieties) that help combat oxidative stress.
Frequently asked questions
Yes, thaw frozen taro completely and squeeze out excess moisture before grating. Reduce boiling time to 2–3 minutes as frozen taro is already par-cooked.