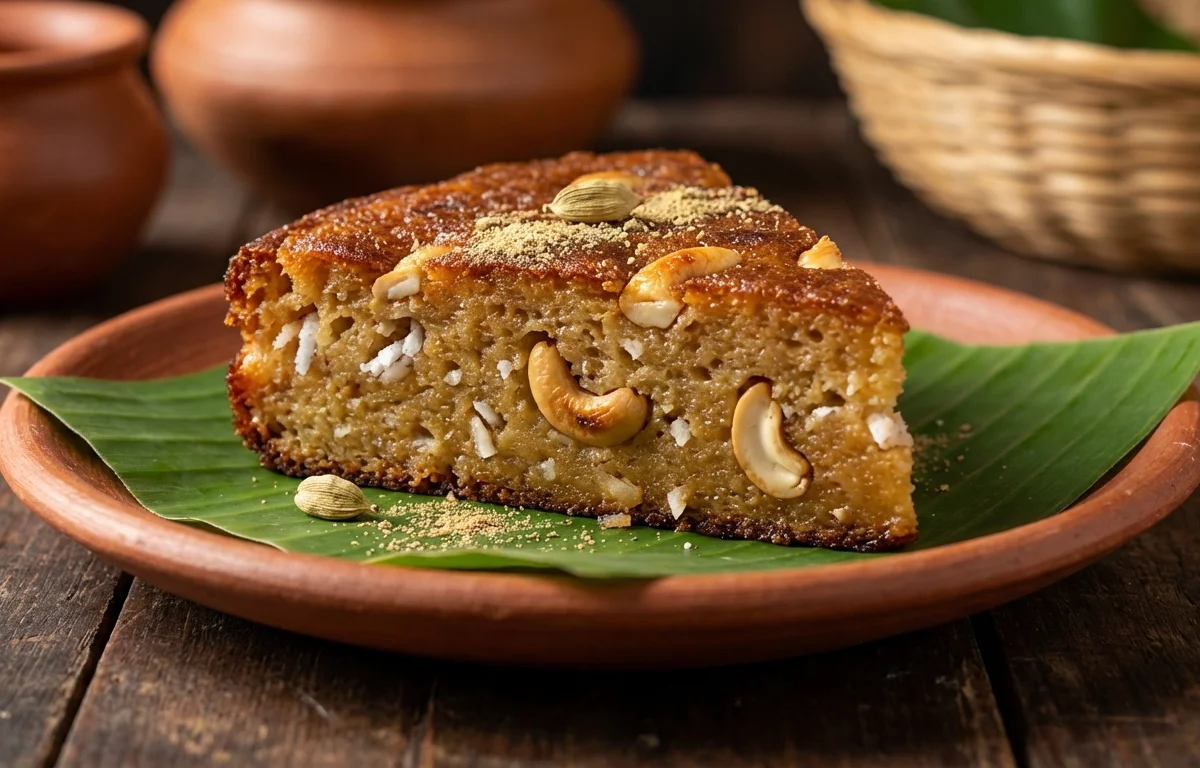
Anda Poda Pitha
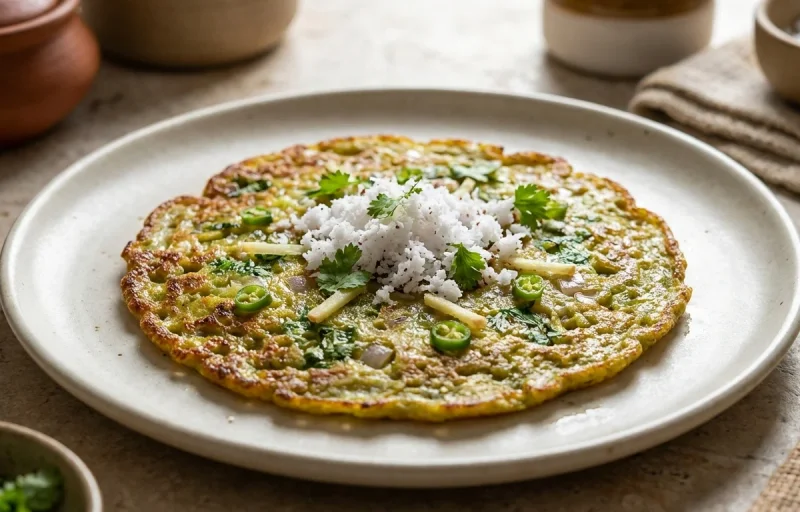
This rustic Odia baked rice cake has a gently crisp edge, a soft center, and the rich aroma of coconut, jaggery, and cardamom. Eggs help bind the batter and give it a tender, cake-like texture that is lovely warm with tea.
For 8 servings
- prep · ~240 min
Soak the rice.
Wash the rice well and soak it in plenty of water for 4 hours. Drain completely before grinding.
- prep · ~10 min
Heat the oven and grease the dish.
Heat the oven to 180°C. Grease a round or square baking dish well with ghee so the pitha releases easily after baking.
- mix · ~5 min
Grind the rice.
Grind the soaked rice with water to a slightly coarse batter. It should be thick and grainy, not as smooth as cake batter.
TIPA little texture gives poda pitha its rustic bite, so do not over-grind the rice. - mix · ~5 min
Make the batter.
1.Transfer the ground rice batter to a large bowl.2.Add jaggery and mix until it starts dissolving into the batter.3.Add grated coconut, eggs, crushed cardamom seeds, fennel seeds, black pepper, and salt.4.Mix well until the batter is thick, even, and pourable. - rest · ~15 min
Rest the batter.
Set the batter aside for 15 minutes so the rice absorbs the flavors and the jaggery melts further.
- assemble · ~1 min
Pour the batter into the dish.
Pour the batter into the greased baking dish and spread it evenly.
- bake · ~40 min
Bake until browned and set.
Bake for 35 to 40 minutes until the top is deep golden, the edges look slightly crisp, and a skewer inserted near the center comes out mostly clean.
TIPIf the top is coloring too quickly, cover it loosely for the last few minutes so the center finishes baking. - rest · ~15 min
Cool the pitha slightly.
Let the baked pitha rest in the dish for 15 minutes so it firms up and slices neatly.
- serve · ~2 min
Slice and serve.
Cut into 8 slices and serve warm or at room temperature.
What to keep in mind.
7 tips from the recipe — small details that make a real difference to the final dish.
- 1Drain the soaked rice very well before grinding, or the batter will turn thin and the pitha will lose its rustic bite.
- 2Keep the rice batter slightly coarse, not silky smooth; that grainy texture is key to authentic poda pitha.
- 3If your jaggery has hard bits or impurities, melt and strain it first so the batter mixes evenly.
- 4Resting the batter for the full 15 minutes helps the rice hydrate and gives a more even bake.
- 5Bake until the edges are clearly caramelized and pulling slightly from the dish; that toasted rim is part of the charm.
- 6Let it cool before slicing, because the egg-set center firms up as it rests and cuts much more neatly.
- 7This pitha tastes especially good a few hours after baking, when the jaggery, coconut, and spices settle together.
Adapt it for your goals.
Banana-enhanced
Mash in a ripe banana for extra sweetness, aroma, and a softer interior, a common home-style twist.
egglessEggless
Replace the eggs with mashed ripe banana or a little thick curd for a softer set if you want a vegetarian version.
smokier bakedSmokier-baked
Bake a little longer at the end for darker edges and a more pronounced toasted jaggery flavor.
festiveFestive
Add a small handful of chopped cashews or raisins for richer texture and a celebratory touch.
Why this is on our healthy list.
Energy-Giving Rice Base
Rice and jaggery make this pitha a satisfying, energy-rich snack that pairs well with tea or breakfast.
Protein From Eggs
Eggs add protein and also improve the structure, making the cake-like texture more nourishing and filling.
Coconut Adds Good Fats
Fresh coconut contributes richness, fiber, and natural fat, which helps the pitha feel more substantial.
Digestive Whole Spices
Fennel, cardamom, and a touch of black pepper bring aroma and traditional digestive spice notes.
Frequently asked questions
Yes, you can cook it in a heavy pan or pressure cooker without the whistle, using low heat so the center sets before the bottom scorches.