Groundnut Oil
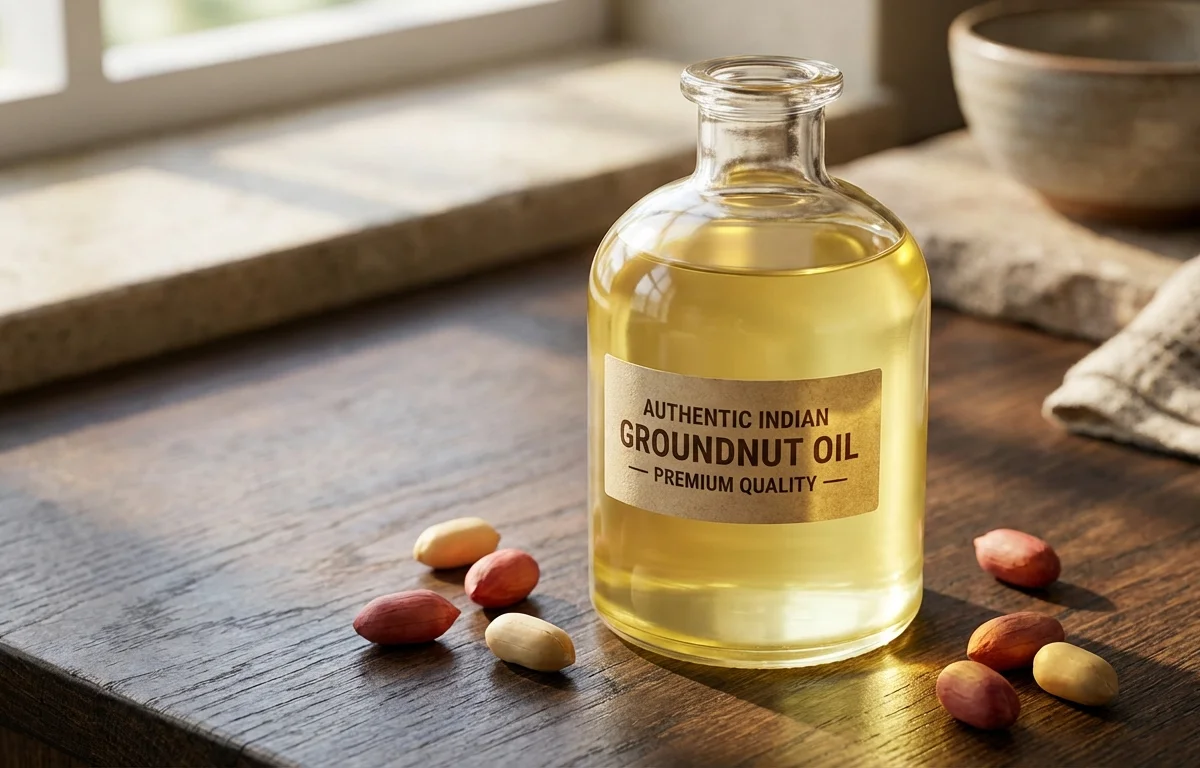
Homemade groundnut oil is deeply nutty and fragrant, made by slowly pressing warmth and flavor out of raw peanuts. This small-batch version shows the traditional idea in a home kitchen, then strains the oil for clean everyday use.
For 4 servings
- prep
Sort and clean the peanuts.
Pick through the peanuts and discard any shriveled or damaged ones. Wipe them dry if needed so they roast evenly.
- roast · ~15 min
Roast the peanuts gently.
1.Heat a heavy pan over low heat.2.Add the peanuts and roast, stirring often, until lightly golden and fragrant.3.Do not let them darken too much or the oil will taste bitter.4.Take them off the heat and cool completely.TIPKeep the heat low so the nuts release a sweet, clean aroma instead of a burnt taste. - mix · ~5 min
Grind the peanuts to a thick paste.
1.Transfer the cooled peanuts to a strong blender or grinder.2.Pulse first to break them down.3.Add the water and continue grinding until a thick, oily paste forms. - saute · ~10 min
Warm the peanut paste to help release the oil.
Return the peanut paste to a heavy pan and cook over very low heat, stirring all the time, until the paste looks glossy and you see oil beginning to separate.
TIPDo not rush this step. Gentle heat helps the oil separate without scorching the solids. - assemble · ~5 min
Strain and press out the oil.
1.Line a bowl with the muslin cloth.2.Spoon in the warm peanut paste.3.Gather the cloth and squeeze firmly to extract as much oil as possible.4.Let the strained oil settle for a few minutes. - serve
Store the groundnut oil in a clean dry jar.
Pour the clear oil into a sterilized glass jar, leaving any heavy sediment behind in the bowl. Use for cooking once fully cooled.
What to keep in mind.
7 tips from the recipe — small details that make a real difference to the final dish.
- 1Roast only to a pale golden stage; deeper color makes the finished oil noticeably bitter.
- 2Cool the peanuts completely before grinding so steam does not trap moisture in the oil.
- 3Use the smallest amount of water needed to move the blender; extra water makes separation slower.
- 4Stir the peanut paste constantly on very low heat, especially at the edges, where it catches first.
- 5Strain while the paste is still warm, because warm oil flows out much more easily than cold.
- 6Let the extracted oil stand undisturbed, then decant the clearer top layer to leave sediment behind.
- 7Store in a dry sterilized glass jar and keep water away from the bottle to improve shelf life.
Adapt it for your goals.
Cold-style lighter roast
Roast the peanuts only very briefly for a milder, fresher-tasting oil with less toasted character.
skin onSkin-on
Leave some peanut skins on for a darker color and a slightly earthier, more robust flavor.
double strainedDouble-strained
Filter the extracted oil a second time through fresh muslin for a cleaner-looking oil with less sediment.
small batch aromaticSmall-batch aromatic
Make a smaller quantity and use it quickly if you want the brightest nutty aroma for finishing and tempering.
Why this is on our healthy list.
Naturally Peanut-Based Fat
Because it is extracted from peanuts, this oil carries the characteristic fats and nut-derived compounds of groundnuts.
Minimal Ingredient Preparation
This homemade version uses only peanuts and a little water, with no added preservatives or flavoring ingredients.
Plant-Derived Cooking Oil
It offers a vegetarian, plant-based fat option for sautéing, tempering, and everyday Indian cooking.
Frequently asked questions
The peanuts were likely roasted too dark or the paste scorched while warming. Keep the roast light and the heat very low during oil separation.