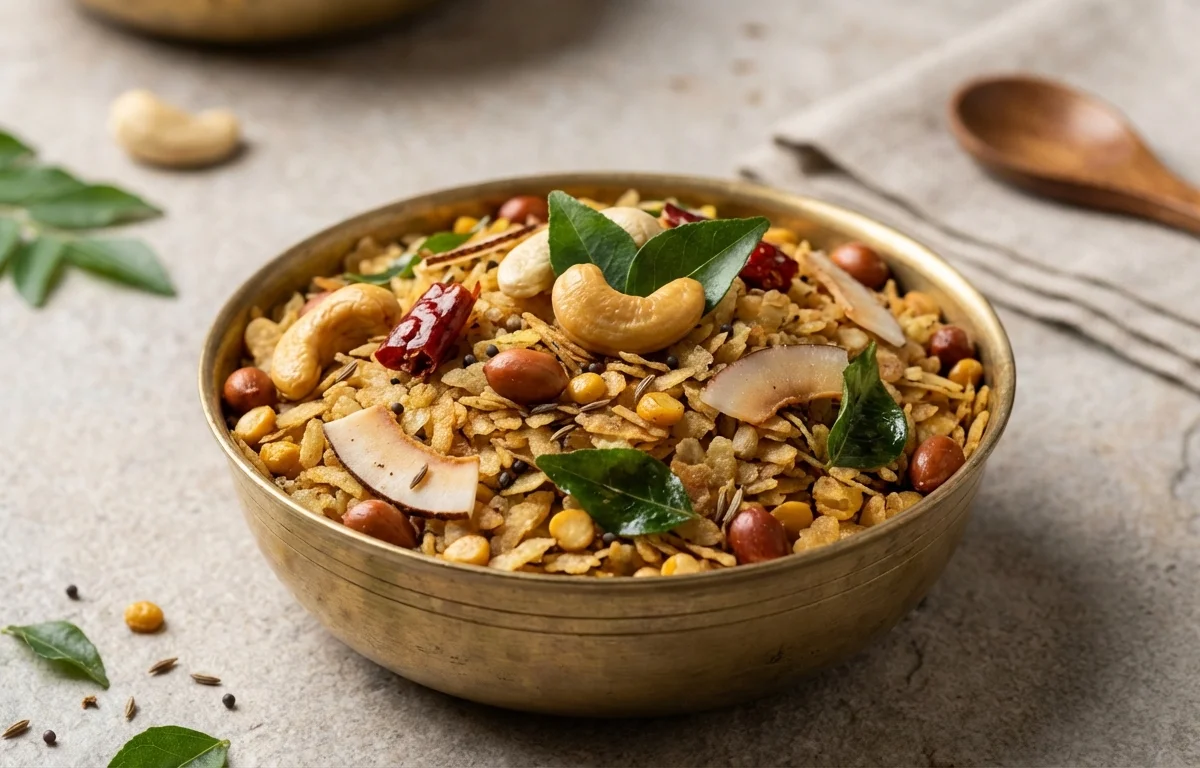
Roasted Poha
Crispy, golden roasted poha tossed with crunchy peanuts, aromatic spices, and a hint of lemon. A light yet satisfying Maharashtrian-style snack that comes together in minutes, perfect with a cup of hot chai.
For 4 servings
- prep · ~5 min
Wash and drain the poha.
Take thick poha in a colander and rinse under running water for 20 seconds. Let it drain completely for 5 minutes. The poha should be soft but not mushy — it should fluff up when you press a grain between your fingers.
TIPUse thick poha, not thin. Thin poha turns mushy instantly. If you only have thin poha, just sprinkle water instead of washing. - roast · ~4 min
Roast the peanuts until golden and crisp.
1.Heat a heavy bottom kadhai on medium-low heat.2.Add peanuts and dry roast, stirring continuously, for 3-4 minutes until they turn golden brown with tiny dark spots.3.Remove to a plate and set aside.TIPDry roasting intensifies the peanut flavor. Don't step away — peanuts burn quickly once they start browning. - temper · ~2 min
Make the tempering.
1.In the same kadhai, heat oil over medium heat.2.Add mustard seeds and let them splutter (30 seconds).3.Add cumin seeds and let them crackle (15 seconds).4.Add curry leaves and slit green chilies, sauté until fragrant (30 seconds). - saute · ~6 min
Sauté the onions until golden.
1.Add chopped onions to the tempering.2.Cook on medium heat, stirring occasionally, until the onions turn golden brown (5-6 minutes).3.Add turmeric powder and stir for 30 seconds.TIPGetting the onions properly golden is key — this caramelization adds the deep savory flavor that balances the tangy lemon. - roast · ~7 min
Add poha and roast until crisp.
1.Add the drained poha, salt, and sugar to the pan.2.Gently toss everything together on medium heat, mixing well.3.Roast for 5-7 minutes, stirring every minute, until the poha turns slightly golden and crisp at the edges.4.When done, the poha should have a light crunch with a soft interior.TIPKeep the heat at medium — too low and poha steams instead of roasting. Too high and it burns before crisping. Stir gently with a folding motion to avoid breaking the flakes. - mix · ~1 min
Finish with lemon juice and garnish.
1.Turn off the heat.2.Add roasted peanuts and lemon juice. Toss well.3.Sprinkle fresh grated coconut and chopped coriander leaves on top.4.Serve immediately while still warm and crisp.TIPAdd lemon juice off the heat to keep the flavor fresh and bright. Heat dulls the tang.
What to keep in mind.
7 tips from the recipe — small details that make a real difference to the final dish.
- 1Always use thick poha; thin poha turns mushy when washed.
- 2Dry roast peanuts until they develop tiny dark spots for maximum crunch.
- 3Let washed poha rest for 5 minutes so it softens evenly without clumping.
- 4Caramelize the onions fully — golden-brown onions build the savory base.
- 5Stir poha gently with a folding motion to keep the flakes intact.
- 6Add lemon juice only after turning off the heat to preserve its fresh tang.
- 7Serve immediately while warm; roasted poha loses crispness as it cools.
Adapt it for your goals.
Low-oil
Reduce oil to 1½ tablespoons and dry-roast the poha after tempering, stirring continuously to prevent sticking. This cuts fat while retaining the crisp texture, ideal for lighter snacking.
SpicySpicy
Add ½ teaspoon red chili powder along with turmeric and use 3 green chilies for a fiery kick. Perfect for those who love bold heat.
VeganVegan
This recipe is already vegan — skip any optional garnishes like dairy-based sev. Add extra peanuts or roasted chickpeas for protein.
Herb forwardHerb-forward
Swap the grated coconut for 2 tablespoons chopped mint leaves and a pinch of chaat masala for a refreshing, herby twist.
Why this is on our healthy list.
Low in Fat When Dry-Roasted
The dry-roasted peanuts and controlled oil in tempering keep the dish light, making it a satisfying snack without excessive fat.
Good Source of Plant Iron
Poha (flattened rice) is a source of iron, and pairing it with lemon juice aids iron absorption.
Gluten-Free Base
Rice-based poha makes this snack naturally gluten-free, suitable for those with gluten sensitivities.
Probiotic-Friendly Coconut
Fresh grated coconut adds dietary fiber and healthy fats, supporting gut health.
Frequently asked questions
It's better to stick with thick poha. If you only have thin poha, rinse it very quickly or just sprinkle a little water and let it sit — thin poha turns mushy easily.