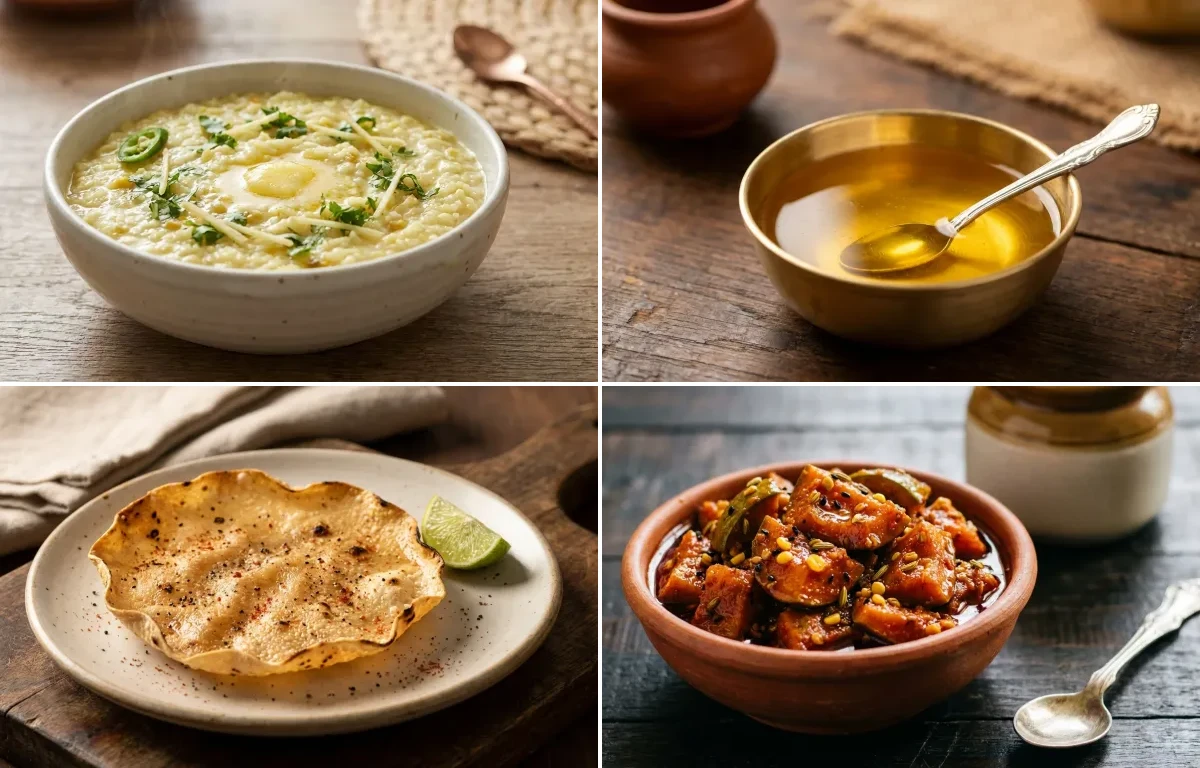
A wholesome and comforting one-pot meal made from rice and moong dal. Lightly spiced and cooked to a soft, porridge-like consistency, it's the ultimate Indian comfort food, perfect for any day.
Prep10 min
Cook25 min
Soak30 min
Servings4
Serving size: 1 serving
323cal
10gprotein
54gcarbs
Ingredients
1 cup Basmati Rice (Rinsed and soaked)
0.5 cup Moong Dal (Yellow split moong dal, rinsed and soaked)
Aromatic and nutty clarified butter, a staple in Indian cooking. Making ghee at home is simple, rewarding, and results in a pure, flavorful cooking fat perfect for sautéing, frying, and tempering.
A classic North Indian condiment, 'Aam ka Achar' is made with raw, tangy mangoes, a robust blend of aromatic spices, and pungent mustard oil. This traditional sun-cured pickle is the perfect spicy and sour accompaniment to any meal, from dal-rice to stuffed parathas.
Prep45 min
Cook10 min
Ferment10080 min
About Khichdi, Ghee, Roasted Papad and Mango Pickle
Soul-satisfying, gut-friendly Vegetable Khichdi, perfectly spiced and just like mom's comfort food.
This north_indian dish is perfect for dinner. With 538.39 calories and 10.440000000000001g of protein per serving, it's a nutritious choice for your meal plan.
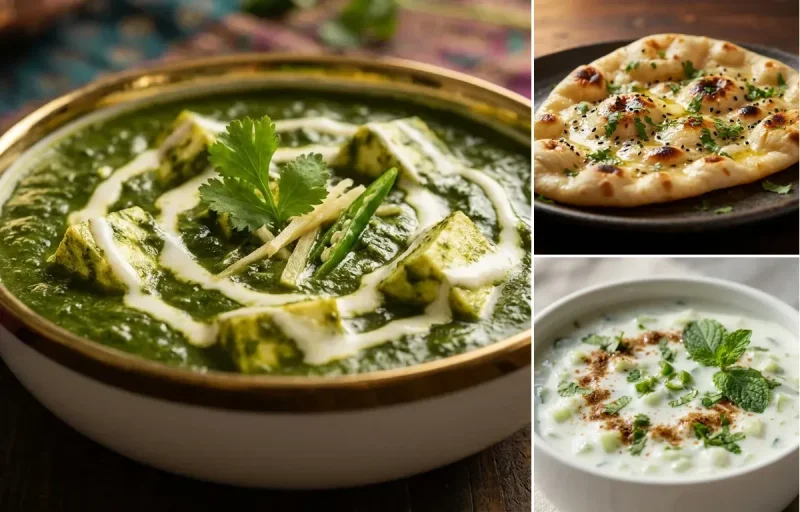
Other Cuisines to Explore
Discover authentic meals from cuisines around the world.
4.5 cup Water (Use hot water for adjusting consistency later)
2 tbsp Coriander Leaves (Freshly chopped, for garnish)
Instructions
1
Prepare Rice and Dal
In a medium bowl, combine the basmati rice and moong dal.
Rinse them together under cool running water 3-4 times, until the water runs mostly clear.
Soak the rinsed mixture in fresh water for at least 20-30 minutes. This step is optional but helps in even cooking. Drain thoroughly before use.
2
Prepare the Tempering (Tadka)
Place a 3-liter or larger pressure cooker on the stove over medium heat. Add the ghee and let it melt.
Once the ghee is hot, add the cumin seeds. Allow them to sizzle and become fragrant, which takes about 30 seconds.
Add the hing, followed by the grated ginger and slit green chilies. Sauté for another 30-45 seconds until the raw smell of ginger disappears.
3
Sauté and Pressure Cook
Add the drained rice and dal mixture to the pressure cooker. Stir gently and sauté for 1 minute to lightly toast the grains.
Add the turmeric powder and salt. Mix well to combine with the rice and dal.
Pour in 4.5 cups of water and give everything a final stir.
Secure the lid of the pressure cooker. Cook on medium-high heat for 4-5 whistles (approximately 10-12 minutes).
After the whistles, turn off the heat and let the pressure release naturally. This is crucial for a soft texture and takes about 10-15 minutes.
4
Finish and Serve
Once the pressure has completely subsided, carefully open the cooker lid.
Stir the khichdi well. It should have a soft, porridge-like consistency. If it appears too thick for your liking, add 1/2 cup of hot water and mix until you reach the desired consistency.
Garnish with freshly chopped coriander leaves.
Serve hot with an extra dollop of ghee on top. It pairs wonderfully with plain yogurt (curd), pickle (achar), and roasted papad.
136cal
0gprotein
0gcarbs
15gfat
Ingredients
1 lb Unsalted Butter (High-quality, grass-fed butter will yield the most flavorful and nutritious ghee.)
Instructions
1
Melt the Butter
Cut the unsalted butter into 1-inch cubes to ensure even melting.
Place the butter cubes in a heavy-bottomed, medium-sized saucepan or pot.
Heat the pot over medium-low heat. Allow the butter to melt completely without stirring, which should take about 5-7 minutes.
2
Simmer and Clarify
Once melted, increase the heat slightly to a medium-low simmer. The butter will go through several stages.
First, it will come to a boil and a layer of white foam (milk solids) will form on top. Let it simmer gently.
After 10-15 minutes, the foam will start to thin, the bubbling will become finer, and the liquid will turn more transparent.
Continue simmering. The milk solids will begin to sink to the bottom and turn a golden-brown color. The bubbling will become very quiet, and the liquid will be clear and golden. This process takes about 10 more minutes.
The key indicator that the ghee is ready is a distinct nutty, popcorn-like aroma. Be very watchful at this stage to prevent the solids from burning.
3
Strain the Ghee
Immediately remove the pot from the heat once the milk solids are golden brown and the aroma is nutty.
Let the ghee cool in the pot for about 5-10 minutes to reduce the risk of burns.
Line a fine-mesh sieve with 2-3 layers of cheesecloth and place it over a clean, completely dry, heatproof glass jar.
Carefully and slowly pour the hot ghee through the cheesecloth-lined sieve, leaving the browned milk solids behind in the pot.
4
Cool and Store
Allow the strained ghee to cool completely to room temperature in the jar, uncovered. As it cools, it will solidify and become opaque.
Once fully cooled and solidified, seal the jar with an airtight lid.
Store the ghee in a cool, dark pantry for up to 3 months, or in the refrigerator for up to a year.
1 kg Raw Mangoes (Use a firm, sour, pickling variety like Ramkela or Rajapuri)
2 cup Mustard Oil (To be heated to smoking point and then cooled completely)
0.75 cup Salt (Use non-iodized or sea salt for best results)
5 tbsp Red Chili Powder (Adjust to your spice preference)
2 tbsp Turmeric Powder
4 tbsp Fennel Seeds (Also known as Saunf)
4 tbsp Split Mustard Seeds (Also known as Rai ki Dal)
2 tbsp Fenugreek Seeds (Also known as Methi Dana)
2 tsp Nigella Seeds (Also known as Kalonji)
1 tsp Asafoetida (Also known as Hing)
Instructions
1
Prepare the Mangoes (Day 1)
Wash the raw mangoes thoroughly. Wipe them completely dry with a clean kitchen towel. It is critical that there is no moisture.
Cut the mangoes into 1-inch cubes, discarding the inner stone but keeping the peel on.
Place the mango pieces in a large, dry glass or ceramic bowl. Add 1/2 cup of the salt and all the turmeric powder.
Mix well to coat every piece. Cover the bowl with a cloth or a loose lid and let it sit at room temperature for 24 hours. The mangoes will release a significant amount of water.
2
Dry the Mangoes (Day 2)
After 24 hours, drain all the water released by the mangoes. You can discard this brine.
Spread the mango pieces in a single layer on a clean cloth or a large tray.
Let them dry under a fan or in a shady, well-ventilated area for 4-5 hours until the surface moisture has evaporated. They should feel dry to the touch but not hard.
3
Prepare the Spice Mix and Oil
While the mangoes are drying, gently dry roast the fennel seeds and fenugreek seeds in a pan on low heat for 1-2 minutes until fragrant. Let them cool completely.
Grind the roasted seeds along with the split mustard seeds into a coarse powder using a spice grinder or mortar and pestle.
In a large, dry mixing bowl, combine this coarsely ground spice mix, red chili powder, nigella seeds, asafoetida, and the remaining 1/4 cup of salt.
In a separate pan, heat the mustard oil until it reaches its smoking point (you'll see faint white fumes). Turn off the heat and let it cool down completely to room temperature. This step is crucial to mellow the oil's raw pungency.
4
Combine and Bottle the Pickle
Add the dried mango pieces to the bowl containing the spice mix. Toss well until each piece is thoroughly coated.
Pour about 1.5 cups of the completely cooled mustard oil over the mango-spice mixture. Mix everything thoroughly with a clean, dry spoon.
Carefully transfer the pickle into a sterilized, completely dry glass or ceramic jar (a 'barnī'). Pack it down gently to remove air pockets.
5
Mature the Pickle (7-10 Days)
Cover the mouth of the jar with a clean piece of muslin cloth and secure it with a string. This allows moisture to escape while keeping dust out.
Place the jar in direct sunlight for 7 to 10 days. Shake the jar gently or stir with a dry spoon once every day to redistribute the oil and spices.
After 3-4 days, the mango pieces will have softened and settled. Pour the remaining 0.5 cup of cooled mustard oil over the top to create a protective layer that submerges the mangoes.
After the sunning period, the mangoes will have softened and absorbed the flavors. The pickle is now ready. Replace the muslin cloth with an airtight lid and store in a cool, dry place. It can last for over a year.