Chaula Poda Pitha
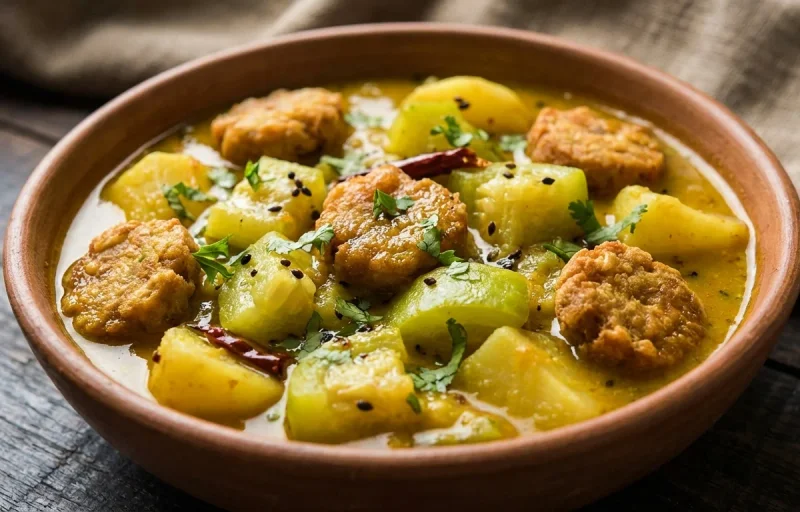
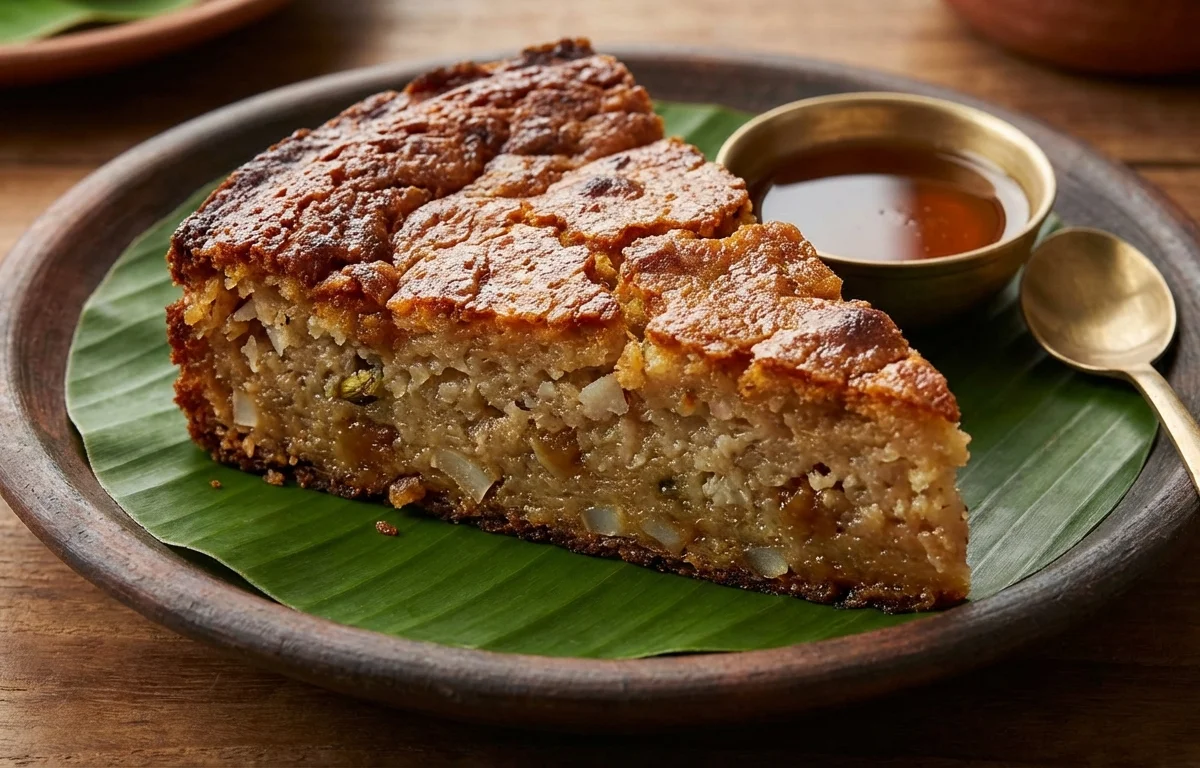
This rustic Odia rice cake is softly sweet inside with a lightly caramelized crust from slow baking. Made with soaked rice, fresh coconut, jaggery, and black pepper, it is a festive favorite that tastes even better after resting.
For 8 servings
- prep · ~360 min
Soak the rice.
Wash the rice well and soak it in enough water for 6 hours. Drain completely before grinding.
- mix · ~7 min
Grind the rice batter.
1.Add the drained rice to a grinder jar.2.Pour in the milk little by little and grind to a slightly coarse batter.3.Keep the batter thicker than dosa batter so the pitha bakes up soft and sliceable.TIPA little texture in the batter gives Chaula Poda Pitha its traditional bite. - mix · ~5 min
Mix the sweet batter.
1.Transfer the rice batter to a bowl.2.Add grated coconut, grated jaggery, crushed black pepper, cardamom powder, and salt.3.Mix well until the jaggery starts dissolving and the batter looks evenly combined. - rest · ~15 min
Rest the batter.
Set the batter aside for 15 minutes so the rice, coconut, and jaggery blend together.
- prep · ~10 min
Prepare the baking dish.
Heat the oven to 180°C. Grease a round or square baking dish with ghee, then pour in the batter and drizzle the remaining ghee over the top.
- bake · ~50 min
Bake the pitha.
Bake until the top turns deep golden brown and the edges caramelize, 45 to 50 minutes. A skewer inserted in the center should come out mostly clean.
TIPDo not pull it out too early; the browned top is what gives poda pitha its signature flavor. - rest · ~20 min
Cool before slicing.
Let the pitha cool in the dish for 20 minutes so it firms up and slices neatly.
- serve
Slice and serve.
What to keep in mind.
7 tips from the recipe — small details that make a real difference to the final dish.
- 1Drain the soaked rice very well before grinding, or the batter will turn loose and bake up gummy instead of sliceable.
- 2Grind the rice only to a slightly coarse texture; that grainy batter gives chaula poda pitha its traditional bite.
- 3If your jaggery has grit, melt it with a little milk and strain before mixing so the crumb stays smooth.
- 4Use a shallow, well-greased tin so the edges caramelize properly without leaving the center underbaked.
- 5Bake until the top is deeply browned, not just pale gold; that caramelized crust is the hallmark of poda pitha.
- 6Cool for the full resting time before cutting, since the rice and jaggery set further as it stands.
- 7This pitha tastes even better after a few hours of rest, when the pepper, cardamom, coconut, and jaggery meld.
Adapt it for your goals.
Banana
Mash in ripe banana for a softer, more aromatic pitha with extra natural sweetness, a common homestyle twist.
dry fruitDry-fruit
Add chopped cashews and raisins for festive texture and richer bites, especially good for celebrations.
veganVegan
Replace milk with thin coconut milk and use coconut oil instead of ghee for a dairy-free version with deeper coconut flavor.
low sweetLow-sweet
Reduce the jaggery slightly if you prefer a less sweet pitha that lets the rice, coconut, and pepper stand out more.
Why this is on our healthy list.
Energy-Rich Festival Food
Rice and jaggery make this pitha a sustaining, energy-giving dish that suits festive meals and special breakfasts.
Contains Beneficial Spices
Black pepper and cardamom add aroma and warmth while bringing traditional digestive spice notes to the sweet cake.
Includes Fresh Coconut
Fresh grated coconut adds texture and richness along with plant fats and fiber from a whole ingredient.
Frequently asked questions
You can, but the texture will be different. Freshly ground soaked rice gives the slightly coarse, traditional bite that chaula poda pitha is known for.