


vegetariannut-free
punjabi
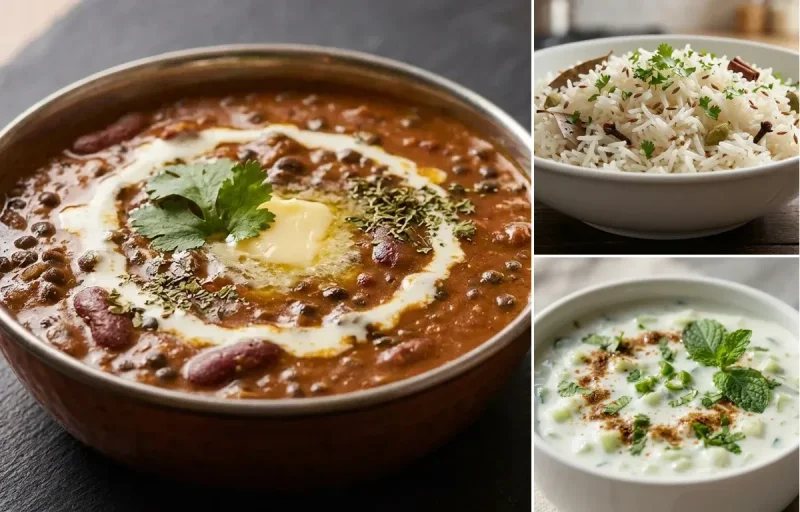
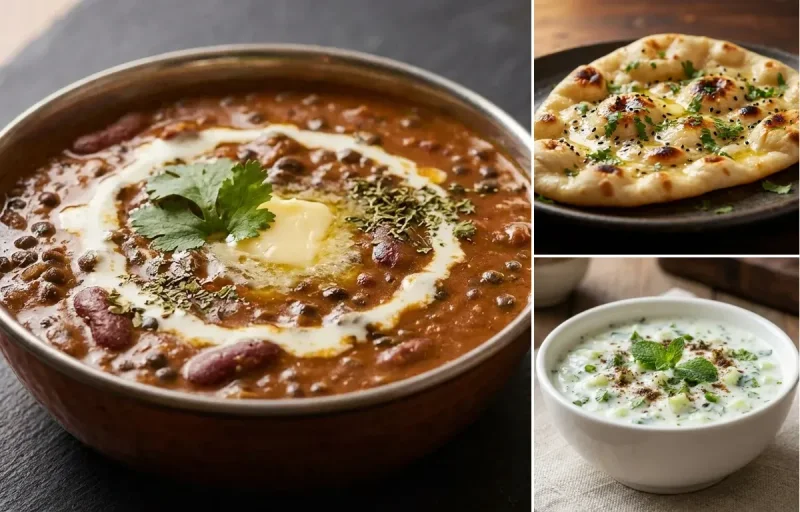
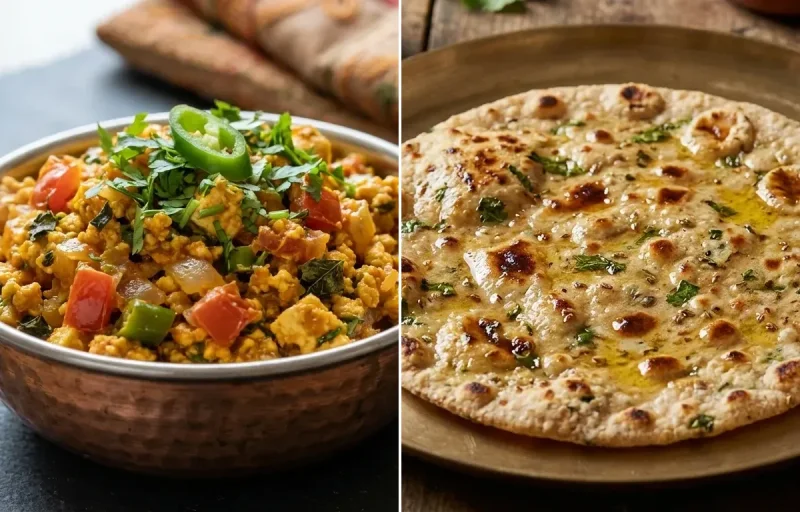
Dal Tadka, Steamed Rice, Aloo Gobi and Cucumber Raita
A comforting and wholesome meal featuring flavorful tempered yellow lentils, fluffy steamed rice, spiced potato and cauliflower curry, and a cooling yogurt raita.
40 min
827 cal
27gProtein
129gCarbs
23gFat
4Recipes