Chane ka Saag
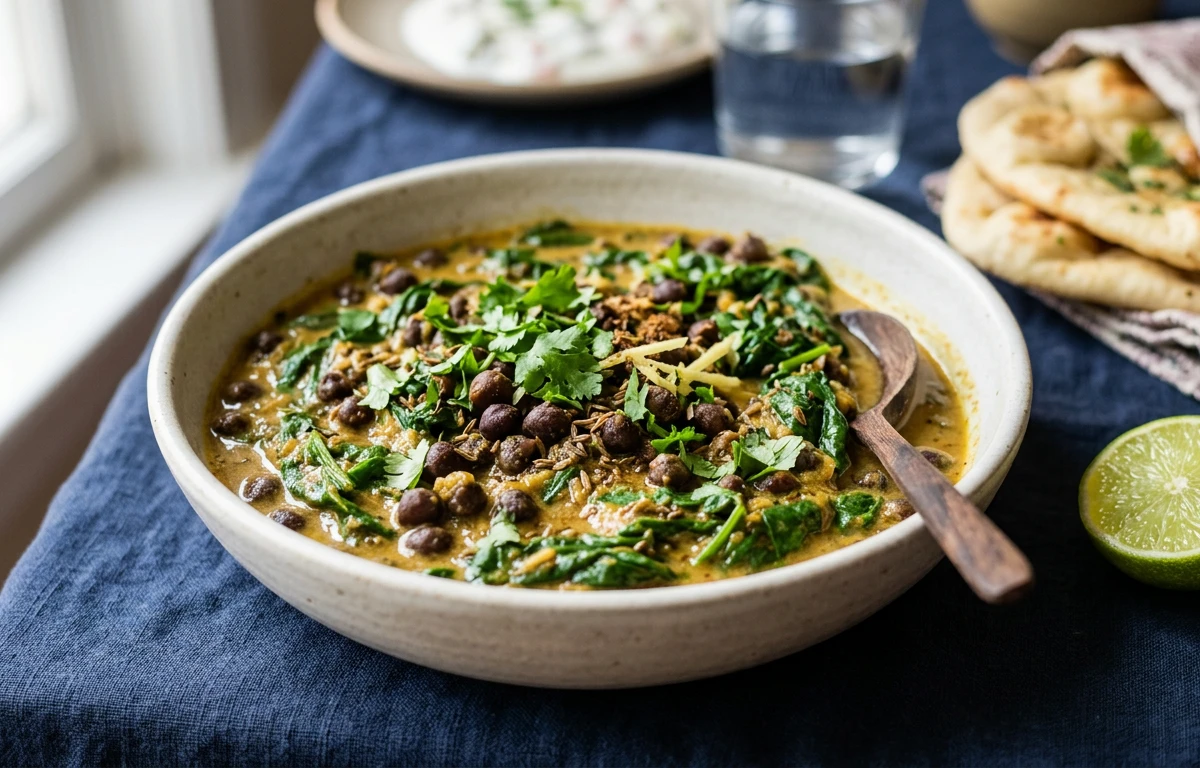
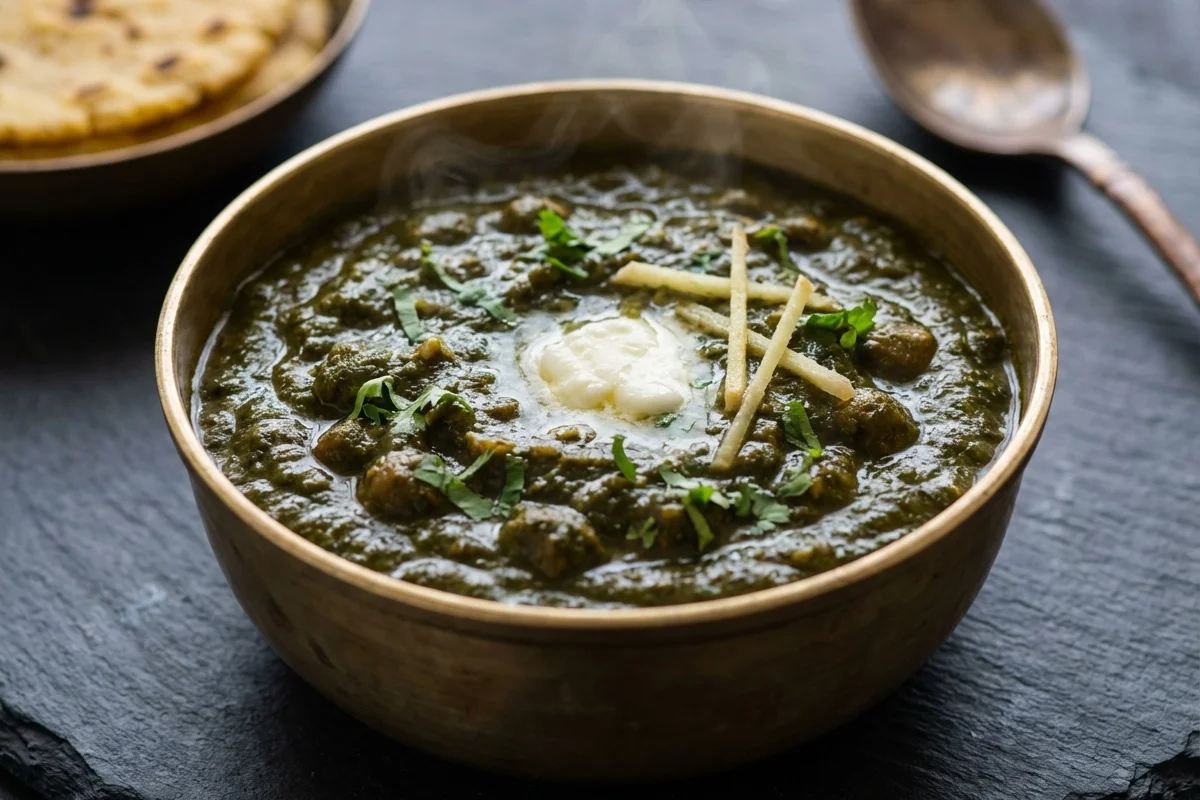
A rustic North Indian greens dish where tender chickpea leaves are cooked down with onion, garlic, and simple spices. Earthy, lightly tangy, and comforting, it pairs especially well with makki ki roti or plain phulka.
For 4 servings
- prep · ~10 min
Clean and chop the chickpea leaves.
1.Pick through the chickpea leaves and remove any thick stems or damaged leaves.2.Wash the leaves in several changes of water until no grit remains.3.Drain well and roughly chop the leaves and tender tips.TIPDrying the leaves well helps them cook down faster without turning watery. - prep · ~5 min
Prepare the remaining ingredients.
1.Finely chop the onion and tomato.2.Crush the garlic and finely chop the ginger.3.Slit the green chilies and keep the spices, corn flour, water, and lemon juice ready. - temper · ~1 min
Heat the oil and crackle the cumin.
Heat the oil in a kadai over medium heat. Add cumin seeds and let them sizzle, then add asafoetida for a few seconds.
TIPKeep the heat moderate so the cumin blooms without burning. - saute · ~7 min
Cook the onion, garlic, ginger, and chili.
1.Add the onion and cook until soft and light golden, 5 to 6 minutes.2.Add garlic, ginger, and green chilies.3.Cook for 1 minute until the raw smell fades. - saute · ~5 min
Add tomato and dry spices.
Add the tomato, turmeric powder, red chili powder, coriander powder, and salt. Cook until the tomato softens and the masala looks slightly jammy.
- saute · ~7 min
Cook the chickpea leaves down.
1.Add the chopped chickpea leaves to the kadai in batches if needed.2.Mix well so the leaves are coated with the masala.3.Cook for 5 to 7 minutes, stirring often, until the leaves wilt and reduce.TIPThe leaves shrink a lot, so keep stirring and let their natural moisture release first. - mix · ~2 min
Stir in the corn flour slurry.
Mix the corn flour with the water until smooth, then pour it into the pan. Stir well so it lightly binds the saag and gives it a soft, rustic texture.
- simmer · ~7 min
Simmer until the saag is tender.
Lower the heat, cover, and cook for 6 to 8 minutes, stirring once or twice, until the leaves are tender and the mixture is semi-dry.
- garnish
Finish with lemon juice.
Turn off the heat and mix in the lemon juice for a fresh, bright finish.
- serve
Serve the chane ka saag hot.
What to keep in mind.
7 tips from the recipe — small details that make a real difference to the final dish.
- 1Wash chickpea leaves in several changes of water; they often hold fine grit near the stems.
- 2Dry the leaves well before chopping so the saag cooks down instead of steaming watery.
- 3Add the greens in batches and keep tossing until the first lot wilts enough to fit in the kadai.
- 4Cook the onion only to light golden, not deep brown, so the saag keeps its fresh green character.
- 5Let the tomato masala turn slightly jammy before adding the leaves; this prevents a raw, sour taste.
- 6Mix the corn flour slurry completely smooth before pouring in, or small lumps can stay in the saag.
- 7Add lemon juice only after switching off the heat to keep the finish bright rather than dull.
Adapt it for your goals.
No-cornflour
Skip the corn flour for a looser, more leafy saag if your greens are naturally tender and not too watery.
veganVegan
This recipe is already vegan; just ensure the asafoetida used is a pure, wheat-free vegan variety if needed.
spicierSpicier
Increase green chilies and red chili powder for a sharper village-style heat that stands up well to makki ki roti.
garlic heavyGarlic-heavy
Add a few extra crushed garlic cloves for a more robust, earthy saag that pairs especially well with plain phulka.
Why this is on our healthy list.
Leafy Green Goodness
Chickpea leaves bring the benefits of tender greens, making this dish a wholesome way to eat more plant foods.
Digestive Spice Support
Ginger, garlic, cumin, and hing are traditional aromatics that add flavor while making a greens-based dish feel easier to digest.
Light Yet Satisfying
With greens as the main ingredient and only a modest amount of oil, this saag stays comforting without feeling too rich.
Frequently asked questions
No, it is optional. It lightly binds the juices and gives a traditional rustic body, but the dish can be made without it.
.webp)