Hare Matar ki Ghugni
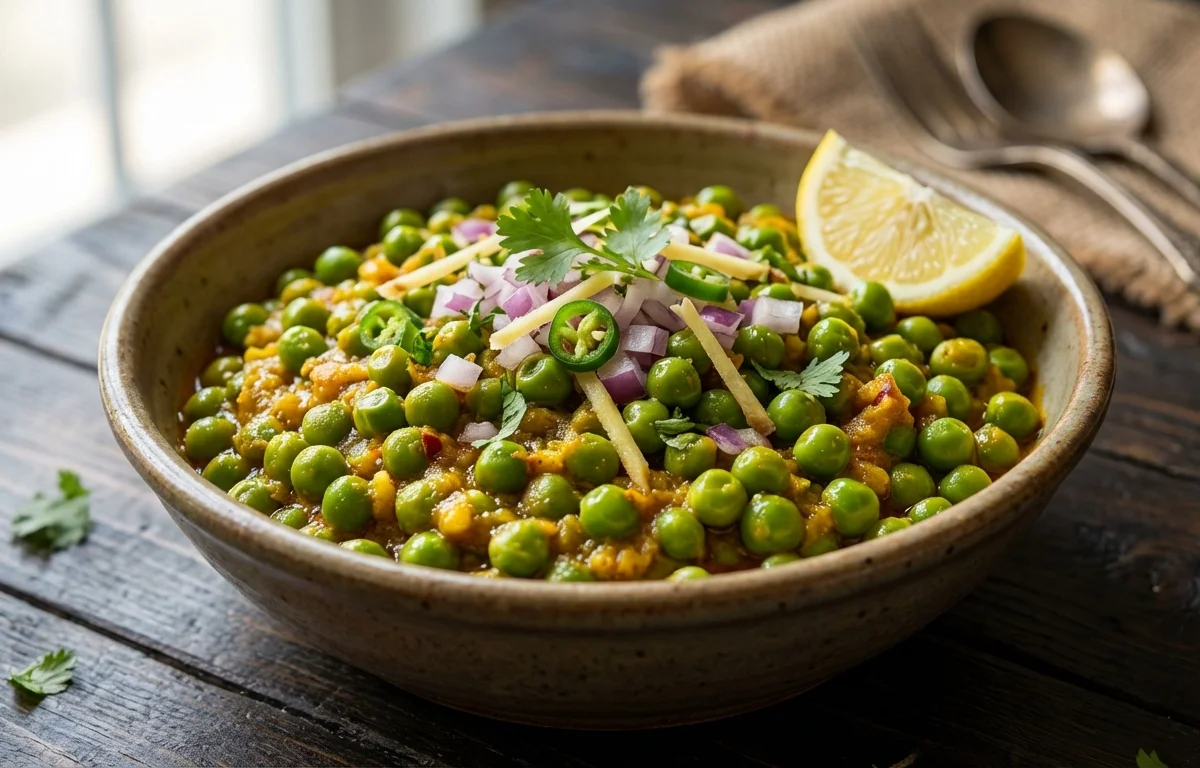
A homestyle green peas ghugni with soft matar, warm spices, onion, and tomato. It cooks into a lightly thick, comforting curry that works beautifully as a breakfast side, evening snack, or simple meal companion.
For 4 servings
- prep · ~5 min
Prepare the peas and aromatics.
1.Rinse the green peas well and set them aside.2.Finely chop the onion, tomatoes, and green chili.3.Grate the ginger and mince the garlic.TIPIf the peas are very mature, pressure cook them a little longer so they turn soft and creamy. - saute · ~11 min
Cook the masala base.
1.Heat oil in a pressure cooker over medium heat.2.Add cumin seeds and let them crackle for 20 to 30 seconds.3.Add onion and cook until lightly golden, 4 to 5 minutes.4.Add ginger, garlic, and green chili and sauté for 1 minute.5.Add tomatoes, turmeric powder, red chili powder, and coriander powder.6.Cook until the tomatoes soften and the masala looks glossy, 4 to 5 minutes.TIPCook the tomatoes well here; this gives ghugni its rounded flavor and helps the gravy cling to the peas. - pressure cook · ~12 min
Pressure cook the ghugni.
Add the green peas, salt, and water. Mix well, cover, and pressure cook on medium heat for 2 whistles, then let the pressure release naturally.
- simmer · ~4 min
Mash lightly and finish the ghugni.
Open the cooker and lightly mash a small portion of the peas with the back of a spoon to thicken the mixture. Add garam masala and simmer uncovered for 3 to 4 minutes until lightly thick and semi-dry.
TIPDo not mash too much; ghugni tastes best when most peas stay whole and just a few break down into the gravy. - garnish
Finish with lemon juice and coriander leaves.
- serve
Serve hot.
Serve Hare Matar ki Ghugni warm as a side with poori, paratha, or bread, or enjoy it as a light snack.
What to keep in mind.
7 tips from the recipe — small details that make a real difference to the final dish.
- 1If using frozen peas, reduce the pressure time slightly so they stay bright and don't turn mushy.
- 2Cook the onion until lightly golden, not dark brown, so the ghugni keeps its fresh matar flavor.
- 3Let the pressure release naturally; this helps the peas finish softening without splitting too much.
- 4Mash only a small handful of peas after cooking to get the classic lightly thick, semi-dry texture.
- 5Add lemon juice only after turning off the heat to keep its brightness and prevent bitterness.
- 6If the curry looks thin after opening the cooker, simmer uncovered a few extra minutes before garnishing.
- 7This tastes even better after 20 to 30 minutes of resting, when the peas absorb the masala.
Adapt it for your goals.
No-onion-no-garlic
Skip onion and garlic, increase ginger slightly, and add a pinch more cumin for a satvik-style version with a cleaner, lighter flavor.
spicierSpicier
Add an extra green chili or a little more red chili powder if you want a sharper, snack-style heat.
dry ghugniDry-ghugni
Use a little less water and simmer longer after pressure cooking for a drier version that pairs especially well with poori or bread.
jainJain
Omit onion and garlic, then build flavor with ginger, green chili, cumin, and coriander powder for a Jain-friendly adaptation.
Why this is on our healthy list.
Plant-Based Protein and Fiber
Green peas provide filling plant protein and fiber, making this ghugni satisfying as a light meal or snack.
Rich in Vegetable Goodness
Peas, tomatoes, onion, ginger, and coriander bring a mix of vitamins, minerals, and phytonutrients from whole ingredients.
Moderate Oil Cooking
The recipe uses only a small amount of oil, relying on pressure cooking and simmering rather than heavy frying.
Frequently asked questions
Yes. Frozen peas work well, but they cook faster than mature fresh peas, so use slightly less pressure cooking time to avoid a mushy texture.
.webp)