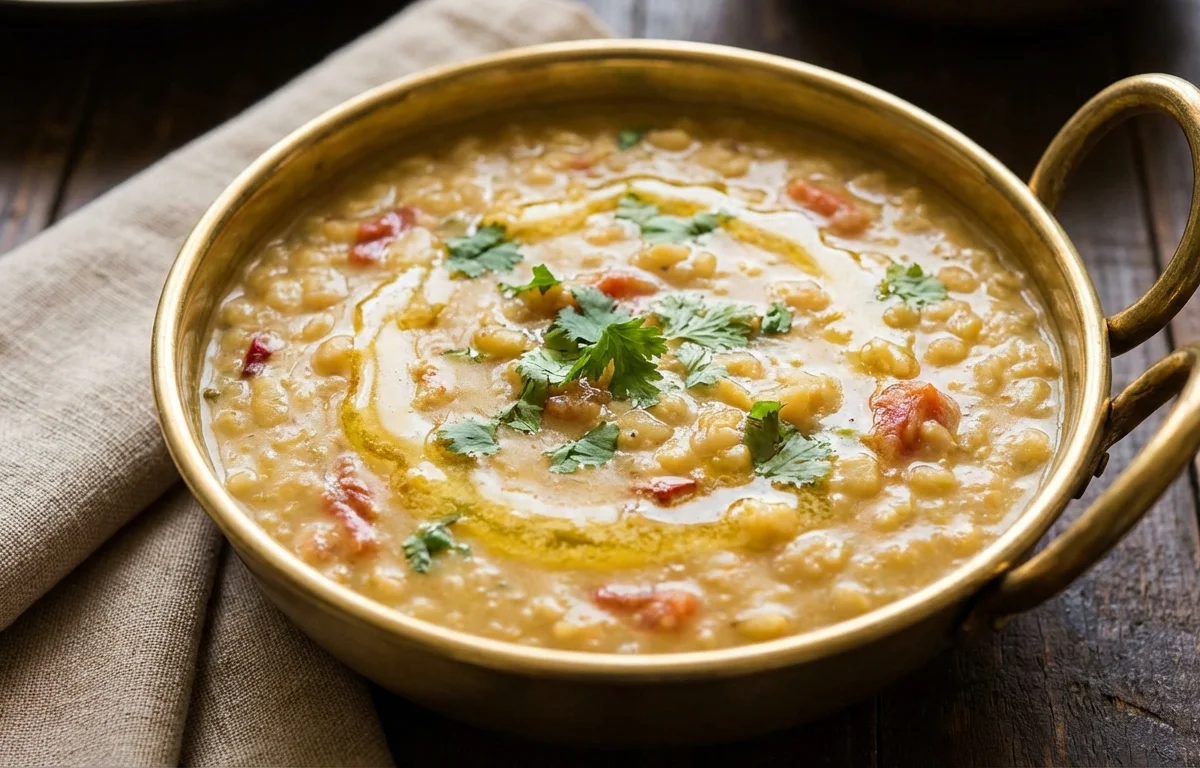
Urad Dal Fry
Creamy and earthy split urad dal slow-cooked and tempered with cumin, garlic, and whole red chilies. A rustic North Indian dal that pairs beautifully with roti or jeera rice.
For 4 servings
- pressure cook · ~20 min
Pressure cook the urad dal.
1.Drain soaked urad dal and add to pressure cooker with 3 cups water and turmeric powder.2.Close the lid and pressure cook on medium-high heat.3.Wait for 3 whistles, then lower the heat and cook for another 5 minutes.4.Let the pressure release naturally.TIPNatural pressure release keeps the dal creamier — don't rush it with cold water. - simmer · ~5 min
Mash and simmer the dal.
1.Open the pressure cooker and whisk the dal well until smooth and creamy.2.Add 1 cup water to adjust consistency.3.Stir in salt and bring to a gentle simmer over low heat for 5 minutes. - temper · ~5 min
Make the tadka.
1.Heat ghee in a small pan over medium heat until shimmering.2.Add cumin seeds and let them crackle for 30 seconds.3.Add chopped garlic and sauté until golden (1 minute).4.Add dried red chilies and asafoetida, stir for 15 seconds.5.Add chopped onion and sauté until soft and translucent (3-4 minutes).TIPGarlic should turn light golden, not dark brown — it will taste bitter if burnt. - saute · ~3 min
Add tomatoes and spices to the tadka.
1.Add chopped tomato and slit green chilies to the pan.2.Cook until tomatoes soften and the ghee starts to separate (2-3 minutes).3.Sprinkle red chili powder, stir for 30 seconds.4.Pour the tadka immediately over the simmering dal. - simmer · ~2 min
Finish the dal.
1.Stir the tadka into the dal and let it simmer together for 2 minutes.2.Turn off the heat and sprinkle garam masala over the top.3.Add lemon juice and mix gently.TIPAdding garam masala at the end preserves its aromatic punch. - garnish
Garnish with fresh cilantro and serve hot.
What to keep in mind.
7 tips from the recipe — small details that make a real difference to the final dish.
- 1Soak urad dal for at least 3 hours to ensure even cooking and a creamy texture.
- 2Natural pressure release is key — it lets the dal continue cooking gently and prevents it from turning mushy.
- 3When making tadka, cook garlic just until light golden; burnt garlic will make the dal bitter.
- 4Add garam masala only after turning off the heat to preserve its volatile aromatics.
- 5The dal thickens as it cools; adjust consistency with hot water just before serving.
- 6For deeper flavor, cook the tadka until the ghee visibly separates from the onion-tomato mixture.
- 7Leftover dal stores well in the fridge for 3 days and tastes even better the next day.
Adapt it for your goals.
Dairy-Free
Replace ghee with coconut oil or avocado oil for a vegan-friendly version that still delivers rich flavor from the tempering.
Extra ProteinExtra Protein
Add 1/4 cup of finely chopped paneer or tofu along with the tomatoes to turn the dal into a heartier, protein-packed meal.
Smoky TadkaSmoky Tadka
Swap dried red chilies for 1 teaspoon of smoked paprika in the tempering for a subtle smoky twist.
Mild SpiceMild Spice
Skip the green chilies and reduce red chili powder to a pinch for a kid-friendly version that keeps the creamy texture intact.
Why this is on our healthy list.
High in Plant Protein
Urad dal is a rich source of plant-based protein, making this dish a satisfying and muscle-friendly choice for vegetarians.
Rich in Dietary Fiber
Split black gram lentils provide a good amount of soluble fiber, supporting digestive health and helping to maintain steady blood sugar levels.
Antioxidant-Rich Spices
Turmeric, cumin, and asafoetida are known for their anti-inflammatory and antioxidant properties, adding depth and wellness to every serving.
Low in Saturated Fat
Despite using ghee for tempering, the overall dish contains minimal saturated fat when consumed in standard serving sizes.
Frequently asked questions
Soaking is recommended to reduce cooking time and improve creaminess, but you can cook unsoaked dal for 8-10 whistles instead of 3.