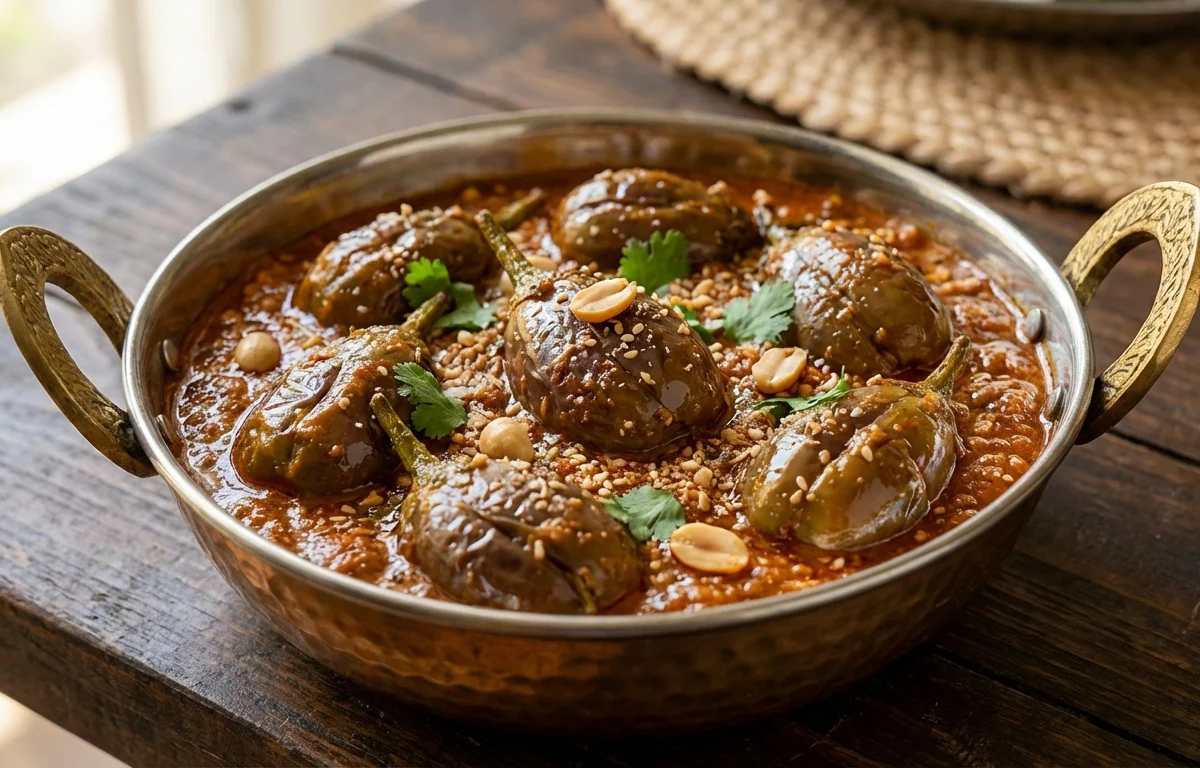
Brinjal Masala Curry
Small brinjals simmered in a spiced onion-tomato masala make a comforting curry with plenty of flavor in every bite. It pairs beautifully with roti, jeera rice, or plain steamed rice for an everyday Indian meal.
For 4 servings
- prep · ~10 min
Prep the brinjals and aromatics.
1.Wash the brinjals and keep the stems on.2.Slit each brinjal into quarters from the base, keeping it joined at the top.3.Chop the onions and tomatoes finely.4.Grate the ginger, mince the garlic, and slit the green chilies.TIPKeep the brinjals in one piece while slitting so they hold their shape in the curry. - saute · ~5 min
Sear the brinjals lightly.
Heat 1 tbsp oil in a kadai over medium heat. Add the brinjals and cook for 4 to 5 minutes, turning gently until lightly softened and a little blistered. Remove to a plate.
TIPDo not cook the brinjals fully at this stage or they can break apart later. - temper · ~2 min
Make the tempering.
1.Heat the remaining 1 tbsp oil in the same kadai.2.Add cumin seeds and let them sizzle for 20 to 30 seconds.3.Add green chilies, ginger, and garlic.4.Cook for about 30 seconds until fragrant. - saute · ~14 min
Cook the onion tomato masala.
1.Add the chopped onions and cook until soft and light golden, 5 to 6 minutes.2.Add the chopped tomatoes and mix well.3.Add turmeric powder, red chili powder, coriander powder, cumin powder, garam masala, and salt.4.Cook the masala until the tomatoes turn soft and the oil starts to leave the sides, 6 to 8 minutes.TIPMash the tomatoes lightly with the spoon while cooking for a smoother, richer masala. - simmer · ~12 min
Simmer the brinjals in the masala.
Return the seared brinjals to the kadai and coat them gently in the masala. Pour in the water, cover, and simmer on low heat for 10 to 12 minutes until the brinjals are tender and the gravy thickens.
TIPStir gently once or twice so the brinjals stay whole. - garnish · ~1 min
Finish with lemon juice and coriander leaves.
Turn off the heat and stir in the lemon juice. Sprinkle the chopped coriander leaves on top.
- serve
Serve the brinjal masala curry hot.
Serve with roti, paratha, or rice while the gravy is still warm and thick.
What to keep in mind.
7 tips from the recipe — small details that make a real difference to the final dish.
- 1Choose small, firm brinjals of similar size so they cook evenly and stay intact.
- 2Keep slit brinjals in salted water if prepping ahead to prevent browning.
- 3Sear the brinjals only until lightly blistered; overcooking now makes them collapse in the gravy.
- 4Cook the onion-tomato masala until oil releases at the edges for a deeper, less raw taste.
- 5Simmer on low and stir gently from the sides so the quartered brinjals do not break.
- 6Add lemon juice only after switching off the heat to keep its brightness fresh.
- 7This curry tastes even better after 20 to 30 minutes of resting as the brinjals absorb the masala.
Adapt it for your goals.
Peanut-coconut
Add a spoonful of roasted peanut and coconut paste to the masala for a thicker, richer South Indian-style gravy.
low oilLow-oil
Skip the separate brinjal searing and cook the slit brinjals directly in the masala with a splash more water for a lighter everyday version.
potato brinjalPotato-brinjal
Add cubed potatoes with the brinjals to make the curry heartier and more filling for serving with roti.
no onion no garlicNo-onion-no-garlic
Omit onion and garlic, increase tomatoes slightly, and use extra ginger and cumin for a simple satvik-style curry.
Why this is on our healthy list.
Vegetable-Rich Main
Brinjal, onion, tomato, ginger, garlic, and chilies make this curry a flavorful way to include multiple vegetables and aromatics in one meal.
Contains Antioxidant Ingredients
Brinjal skin, tomatoes, coriander leaves, ginger, and garlic all contribute plant compounds that are commonly valued in home cooking.
Moderate Oil Cooking
The curry gets body from a cooked masala rather than heavy cream or butter, keeping the texture rich without being overly heavy.
Frequently asked questions
They were likely seared too long or simmered on high heat. Lightly blister them first, then finish gently on low so they stay whole.