Dhaba Anda Tadka
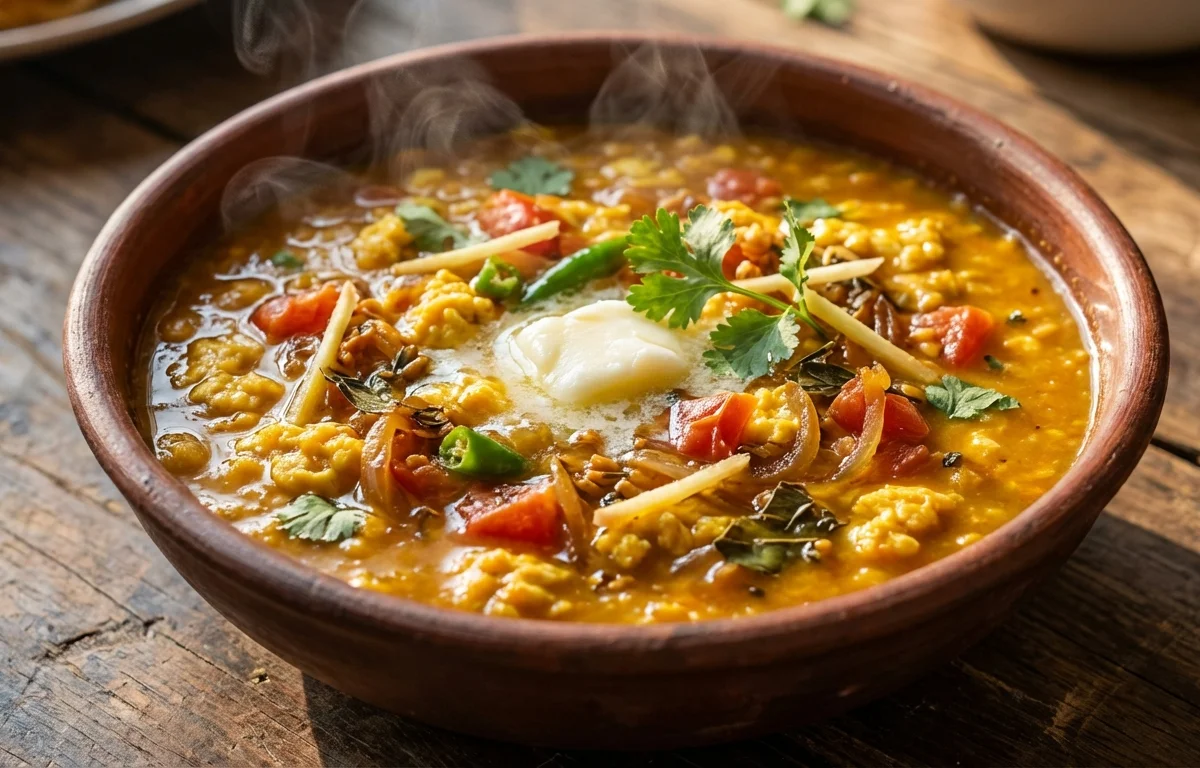
A hearty roadside-style egg curry made with boiled eggs in a bold onion-tomato masala, finished with a smoky tadka. Rich, comforting, and made to be scooped up with roti or paired with jeera rice.
For 4 servings
- boil · ~10 min
Boil and peel the eggs.
Place the eggs in a pan, cover with water, and boil until hard cooked, about 10 minutes. Cool, peel, and set aside.
TIPCool the eggs in water before peeling for a cleaner surface. - prep · ~5 min
Prep the masala ingredients.
1.Finely chop the onion.2.Finely chop the tomato.3.Finely chop the ginger and garlic.4.Slit the green chili.5.Chop the coriander leaves. - saute · ~8 min
Start the base masala.
1.Heat oil in a pan over medium heat.2.Add 1 tsp cumin seeds and let them crackle for 20 to 30 seconds.3.Add the onion and cook until light golden, 5 to 6 minutes.4.Add ginger, garlic, and green chili and cook for 1 minute.TIPKeep the heat medium so the garlic does not burn and turn bitter. - saute · ~8 min
Cook the tomato masala.
1.Add the tomato and salt, then mix well.2.Add turmeric powder, red chili powder, and coriander powder.3.Cook until the tomatoes break down and the masala looks thick, 6 to 8 minutes.4.Stir in the kasuri methi and garam masala.TIPMash the tomatoes with the spoon as they soften for a smoother dhaba-style gravy. - simmer · ~5 min
Add water and simmer the gravy.
Pour in the water and bring the masala to a gentle simmer. Cook for 4 to 5 minutes until the gravy thickens slightly.
- simmer · ~5 min
Add the eggs and finish the curry.
Add the boiled eggs to the gravy and turn them gently so they get coated well. Simmer for 4 to 5 minutes so the eggs pick up the masala flavor.
TIPMake a few shallow slits in the eggs before adding them if you want more masala to cling. - temper · ~1 min
Make the finishing tadka.
1.Heat ghee in a small pan.2.Add 0.5 tsp cumin seeds and the dried red chili.3.Cook for 20 to 30 seconds until fragrant.4.Turn off the heat and stir in 1 pinch red chili powder.TIPAdd the chili powder after turning off the heat so it blooms without burning. - assemble · ~1 min
Pour the tadka over the curry.
Pour the hot tadka over the egg curry and cover for 1 minute to trap the aroma.
- garnish
Garnish with coriander leaves.
- serve
Serve hot with roti or rice.
What to keep in mind.
7 tips from the recipe — small details that make a real difference to the final dish.
- 1Make 2-3 shallow slits in the boiled eggs so the masala seeps in while simmering.
- 2Cook the onions to light golden, not dark brown, or the gravy can taste slightly bitter.
- 3Mash the tomatoes into the pan as they soften for a thicker, more dhaba-style masala.
- 4Wait for oil to separate from the onion-tomato masala before adding water; that means the base is cooked.
- 5Add the finishing chili powder off the heat so the tadka stays bright red instead of turning burnt.
- 6Cover the pan for a minute after pouring the tadka to trap the smoky ghee-cumin aroma.
- 7This curry tastes even better after 20-30 minutes of rest, once the eggs absorb the gravy.
Adapt it for your goals.
Spicier
Add an extra green chili or a little more red chili powder if you want a hotter, more robust dhaba-style curry.
semi drySemi-dry
Use less water and cook the masala down further for a thicker anda masala that works well with roti or pav.
low oilLow-oil
Reduce the oil slightly and use a splash of water while sautéing the masala for a lighter everyday version.
smokySmoky
Give the finished curry a quick dhungar with hot charcoal and ghee for a stronger dhaba-style smoky aroma.
Why this is on our healthy list.
Protein-Rich Main Dish
Eggs make this curry filling and satisfying, helping turn the masala gravy into a substantial meal.
Contains Protective Spices
Ginger, garlic, cumin, turmeric, and chili add flavor while contributing beneficial plant compounds.
Tomato-Based Gravy
Tomatoes and onions create a vegetable-rich base with natural acidity that balances the richness of eggs and ghee.
Frequently asked questions
Yes. Lightly pan-frying the boiled eggs can add color and help them hold the masala better, though the recipe works well without that extra step.