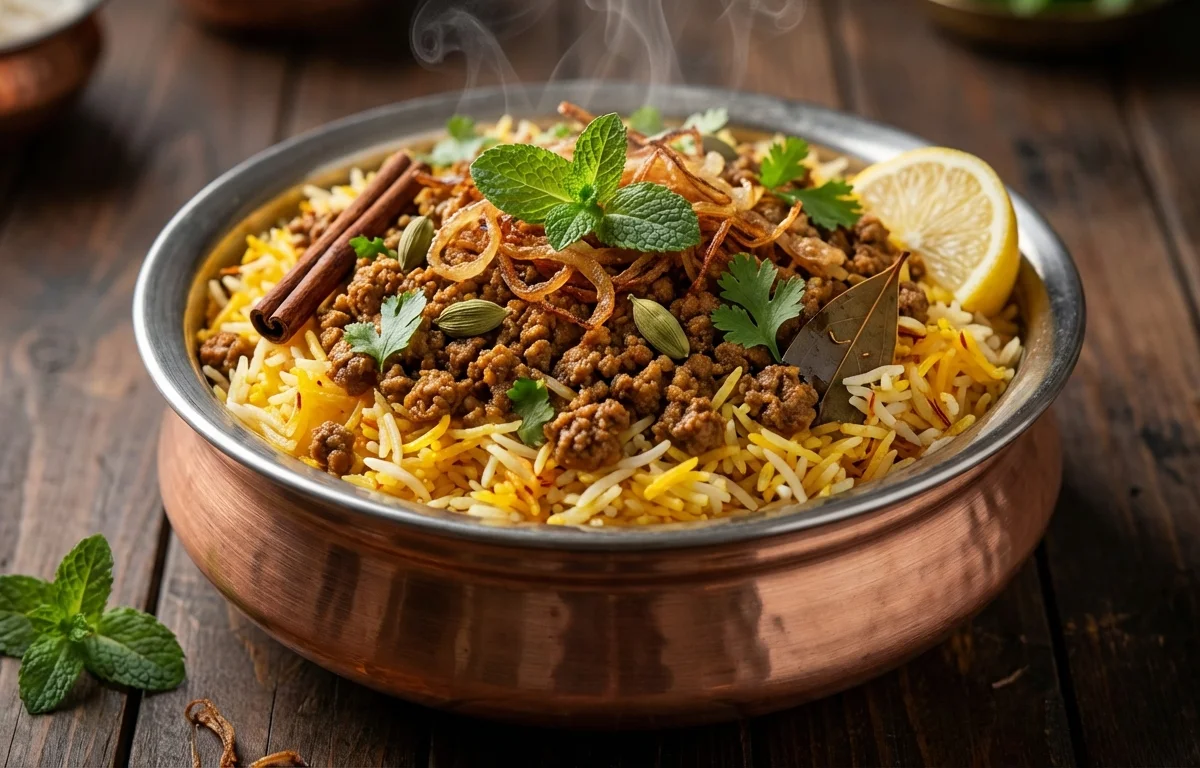
Soya Keema Biryani
A fragrant, layered biryani made with soya chunks cooked like spiced minced keema, then steamed with aromatic basmati rice. This vegetarian biryani has all the richness and deep flavors of a traditional dum biryani, with smoky notes from the dum cooking, tender soya, and perfectly cooked long-grain rice.
For 4 servings
- prep · ~10 min
Boil the soya chunks.
1.Bring 3 cups water to a rolling boil in a pot.2.Add soya chunks and boil for 5 minutes until soft and puffed up.3.Drain in a colander and rinse under cold water.4.Squeeze out excess water and roughly chop the chunks into keema-like crumbles.TIPSqueeze out as much water as possible — this prevents the keema from becoming mushy and helps it absorb flavors better. - prep · ~7 min
Parboil the rice.
1.Bring 3 cups water to a boil with a pinch of salt.2.Add soaked and drained basmati rice.3.Cook until 70% done — grains are still firm with a slight bite.4.Drain immediately and spread on a plate to cool.TIPThe rice should be parboiled, not fully cooked. It will finish cooking during the dum. - fry · ~15 min
Fry the crispy onions.
1.Heat 2 tbsp oil in a kadai over medium heat.2.Add sliced onions and fry until golden brown and crisp (12-15 min).3.Remove half the fried onions and set aside for layering.TIPStir frequently toward the end — onions can go from golden to burnt very quickly. - saute · ~15 min
Build the soya keema masala.
1.Add remaining 1 tbsp oil to the onions still in the kadai.2.Add cumin seeds, bay leaf, cardamom, cloves, and cinnamon stick. Sauté 30 seconds until fragrant.3.Add ginger-garlic paste and green chilies. Cook 1 minute until raw smell fades.4.Add chopped tomatoes and cook until soft and mushy (5 min).5.Add turmeric powder, red chili powder, coriander powder, and salt. Mix well.6.Add the chopped soya chunks and sauté 4-5 minutes until well coated with spices.7.Stir in whisked yogurt and cook 3-4 minutes until oil separates slightly.8.Add half the chopped mint and coriander leaves. Sprinkle garam masala. Turn off heat. - assemble · ~25 min
Layer and finish with dum.
1.Spread half the soya keema in the heavy-bottomed pot.2.Top with half the parboiled rice.3.Sprinkle half the reserved fried onions, a few mint and coriander leaves.4.Repeat layering: remaining keema, rice, fried onions, herbs.5.Drizzle saffron-infused milk and ghee over the top layer.6.Pour 0.25 cup water gently from the sides of the pot.7.Cover with a tight-fitting lid and seal edges with dough if needed.8.Cook on very low heat for 20-25 minutes.TIPPlace a tawa (flat griddle) under the pot to prevent the bottom from scorching during dum. - rest · ~10 min
Rest the biryani before serving.
Turn off heat and let the biryani rest covered for 10 minutes. This allows the flavors to settle and grains to firm up perfectly.
TIPDon't peek during dum or rest — each time you open the lid, steam escapes and affects the final texture. - serve · ~2 min
Fluff and serve the biryani.
1.Gently open the lid without letting condensed water drip into the rice.2.Run a spatula along the edges and fold layers together carefully.3.Serve hot onto plates, ensuring each portion has both rice and keema layers.
What to keep in mind.
7 tips from the recipe — small details that make a real difference to the final dish.
- 1Squeeze soya chunks thoroughly after boiling to remove excess water so they absorb the masala better.
- 2Parboil the rice to exactly 70% doneness — it will finish cooking perfectly during the dum stage without turning mushy.
- 3Fry onions on medium heat and stir constantly toward the end to achieve deep golden color without burning.
- 4Seal the pot lid with a tight-fitting dough ring to trap all steam inside for proper dum cooking.
- 5Place a flat tawa or griddle under the pot during dum to prevent direct heat from scorching the bottom layer.
- 6Let the biryani rest for 10 minutes after dum before opening — this allows steam to redistribute and grains to separate.
- 7Use a heavy-bottomed pot or a handi for even heat distribution and better dum results.
Adapt it for your goals.
High-Protein
Replace half the soya chunks with crumbled paneer or cooked chickpeas for an extra protein boost while keeping the biryani hearty and satisfying.
VeganVegan
Swap yogurt with thick coconut milk or cashew cream and use plant-based oil instead of ghee to make this biryani completely vegan while retaining richness.
Low OilLow-Oil
Reduce oil to 1 tbsp and ghee to 1 tsp, and air-fry the onions instead of deep-frying — perfect for those watching their fat intake without losing layered flavor.
SpicierSpicier
Add 1 finely chopped green chili more at the sauté stage and ½ tsp Kashmiri red chili powder for extra heat and a vibrant red color.
Grain FreeGrain-Free
Replace basmati rice with cauliflower rice cooked separately and layered similarly to create a low-carb, keto-friendly version of this biryani.
Why this is on our healthy list.
High in Plant Protein
Soya chunks are a complete source of plant protein, providing all essential amino acids and making this dish ideal for vegetarians and vegans.
Rich in Digestive Spices
Ginger, cardamom, cumin, and cinnamon traditionally support digestion, helping you break down the protein-rich soya and rice effortlessly.
Low in Saturated Fat
Compared to traditional meat keema biryani, this version uses light oil and ghee, making it lower in saturated fat while still satisfying.
Good Source of Fiber
Soya chunks contribute dietary fiber for healthy digestion, while onions and tomatoes add additional fiber and antioxidants.
Frequently asked questions
Yes, use the same weight (200 g) of soya granules. Skip the chopping step after boiling — just drain, squeeze, and use directly.